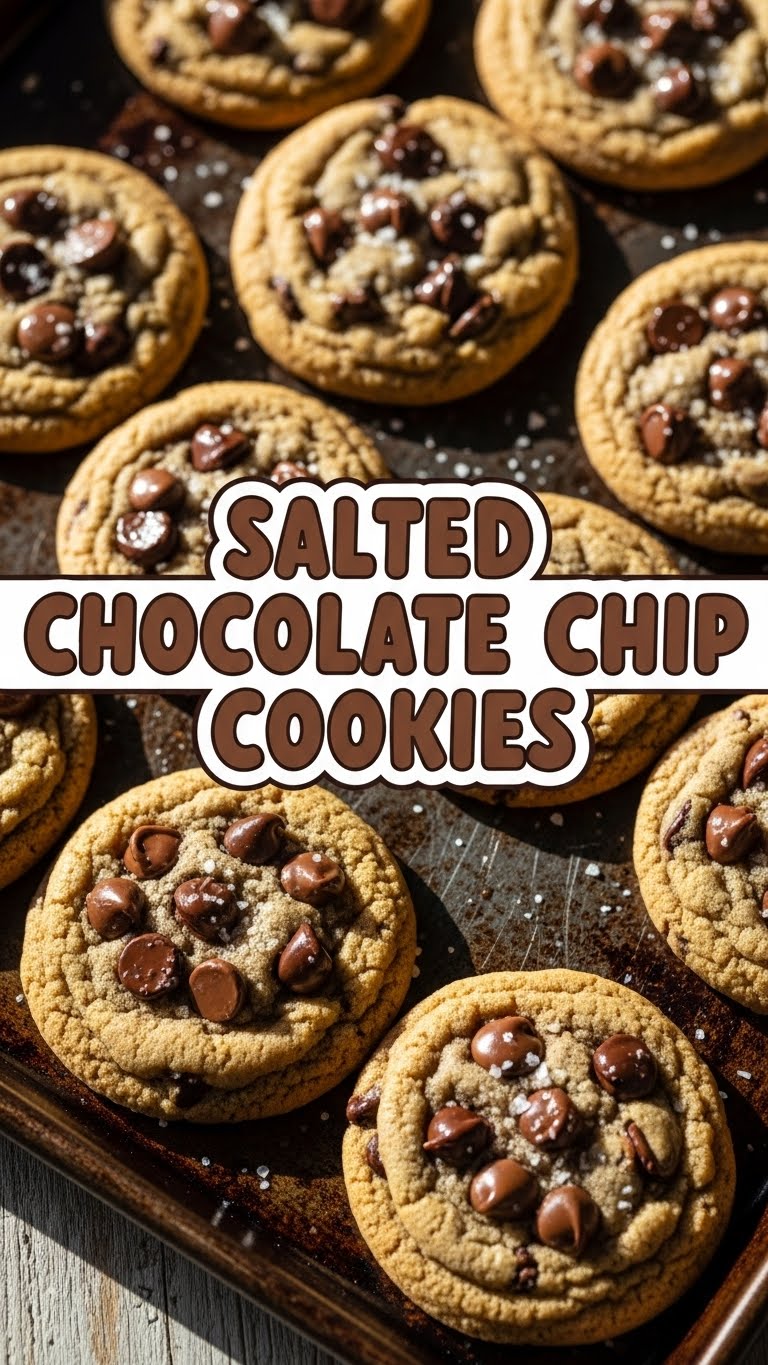
So, you’re craving something delicious, possibly a little fancy, but let’s be real, you’re not trying to win any Michelin stars tonight, huh? Same. We’re here for maximum deliciousness with minimum fuss. And today, my friend, we’re leveling up the classic chocolate chip cookie. We’re talking about those dreamy, chewy, slightly crisp-edged wonders, but with a grown-up twist that’ll make your taste buds do a happy dance: Salted Chocolate Chip Cookies.
Why This Recipe is Awesome
Okay, hold up. This isn’t just *another* chocolate chip cookie recipe. This is *the* recipe. Why? Because it’s practically foolproof. Seriously, even I, a person known to burn water, haven’t messed this one up. It’s designed for maximum impact with minimal effort, which, IMO, is the holy grail of home baking.
What makes it sing? That perfect harmony of sweet and salty. It’s like your mouth is at a fancy concert, and the salt is hitting those high notes that make the chocolate’s bass lines even richer. Plus, the texture? Think soft, chewy centers with slightly crispy edges, loaded with melty chocolate. You’re welcome.
Ingredients You’ll Need
Get ready to raid your pantry! Here’s what’s on the VIP list:
- 1 cup (2 sticks) unsalted butter, softened: Not melted, not rock hard. Goldilocks zone, people.
- ¾ cup granulated sugar: The classic sweet stuff.
- ¾ cup packed light brown sugar: This is key for that chewy texture and a hint of molasses flavor. Don’t skimp!
- 2 large eggs: Room temp is best, but if you forget, don’t sweat it too much.
- 2 teaspoons vanilla extract: Go for the good stuff if you can. It makes a difference!
- 2 ¼ cups all-purpose flour: Standard issue.
- 1 teaspoon baking soda: Our magical leavening agent.
- 1 teaspoon sea salt (fine grain): For the dough itself.
- 1 ½ cups chocolate chips (or chunks!): Use a mix of semi-sweet and dark for maximum flavor complexity. Or just whatever you have. No judgment.
- Flaky sea salt (like Maldon or fleur de sel): This is the *secret weapon* for sprinkling on top. Don’t you dare skip it!
Step-by-Step Instructions
Alright, apron on, let’s do this!
- Cream it up: In a large bowl (or stand mixer if you’re fancy), beat the softened butter with both sugars until it’s light and fluffy. This usually takes about 2-3 minutes. Scrape down the sides of the bowl often.
- Egg-cellent addition: Beat in the eggs one at a time, then stir in the vanilla extract until just combined. Don’t overmix here!
- Dry run: In a separate medium bowl, whisk together the flour, baking soda, and the 1 teaspoon fine sea salt. Make sure it’s all evenly distributed.
- Combine forces: Gradually add the dry ingredients to the wet ingredients, mixing on low speed until *just* combined. Stop mixing as soon as you see no more streaks of flour. Overmixing makes tough cookies, and nobody wants that.
- Chocolate shower: Gently fold in those glorious chocolate chips. Use a spatula for this.
- The patience game (aka chilling): Cover the bowl with plastic wrap and refrigerate the dough for at least 30 minutes. An hour is better. Overnight? Even better! This helps prevent spreading and deepens the flavor. Trust me on this one.
- Preheat & prep: When you’re ready to bake, preheat your oven to 375°F (190°C). Line a baking sheet with parchment paper or a silicone mat.
- Scoop & bake: Scoop rounded tablespoons of dough onto the prepared baking sheet, leaving a couple of inches between them. Don’t flatten them!
- Golden deliciousness: Bake for 10-12 minutes, or until the edges are golden brown and the centers are still slightly soft. They’ll continue to set up as they cool.
- The grand finale: Immediately after taking them out of the oven, generously sprinkle those warm cookies with flaky sea salt. This is the moment, friends!
- Cool down: Let them cool on the baking sheet for a few minutes before transferring them to a wire rack to cool completely. Or just eat one (or three) warm. I won’t tell.
Common Mistakes to Avoid
We’ve all been there. Here’s how to sidestep those common cookie calamities:
- Skipping the chill: Thinking you don’t need to chill the dough? Rookie mistake. Your cookies will spread out like pancakes, and frankly, who wants flat cookies when you can have perfectly plump ones?
- Overmixing the dough: Once the flour goes in, mix only until it’s combined. If you keep beating it, you’re developing gluten, which means tough, chewy-in-a-bad-way cookies.
- Overbaking: Don’t wait for them to look perfectly golden all over. They should look slightly underdone in the middle when you pull them out. This is the secret to soft, chewy centers!
- Forgetting the flaky salt: This isn’t just for show, people! It’s the star of the show. Without it, you just have a regular chocolate chip cookie. Good, but not *legendary*.
- Crowding the pan: Give your cookies space to breathe! If they’re too close, they’ll bake unevenly and merge into one giant cookie monster, which sounds fun but isn’t ideal.
Alternatives & Substitutions
Feeling adventurous? Here are some ways to switch things up:
- Chocolate Choices: Not a fan of semi-sweet? Go all dark chocolate! Or milk chocolate if you have a serious sweet tooth. White chocolate chips are also an option, but TBH, they aren’t my fave in this specific recipe. Try chopping up a high-quality chocolate bar for extra melty puddles.
- Flour Power: If you’re experimenting with gluten-free, use a 1:1 gluten-free baking blend. Just know the texture might be slightly different.
- Butter Swap? Shortening can be used, but honestly, butter is where the flavor’s at. Margarine? Well, technically yes, but why hurt your soul (and your cookies’ flavor) like that?
- Mix-ins: Want to get wild? Add a handful of chopped nuts (walnuts or pecans are great), a sprinkle of toffee bits, or even some crushed pretzels for an extra salty crunch.
FAQ (Frequently Asked Questions)
- Can I use margarine instead of butter? Well, technically yes, you *can*. But think of butter as the VIP section of flavor; margarine is more like the standing-room-only section. For best results (and taste), stick with butter!
- Do I *really* need to chill the dough? Yes, friend, you really do. It lets the flavors meld, and more importantly, it prevents your cookies from spreading into flat, sad discs. Patience is a virtue, especially in baking.
- My cookies spread too much! What happened? Likely culprits: your butter was too warm/melted, you didn’t chill the dough long enough (or at all!), or your oven temperature is off. Make sure your butter is just softened, not greasy.
- How long do these cookies last? Stored in an airtight container at room temperature, they’re typically good for 3-5 days. But let’s be real, they rarely last more than 24 hours in my house.
- Can I freeze the dough? Absolutely! Scoop the dough into balls, place them on a parchment-lined baking sheet, and freeze until solid. Then transfer to a freezer-safe bag for up to 3 months. When ready to bake, no need to thaw—just add an extra minute or two to the baking time.
- What kind of salt is best for the topping? Go for a flaky sea salt like Maldon or Fleur de Sel. Their larger crystals and delicate crunch are what give these cookies their signature sparkle and burst of salty goodness. Table salt is a no-go here.
Final Thoughts
And there you have it! Your new go-to recipe for Salted Chocolate Chip Cookies. They’re dangerously good, surprisingly easy, and guaranteed to make you feel like a baking wizard. So, go on, whip up a batch. Impress your friends, bribe your boss, or simply treat yourself (you absolutely deserve it). Now go impress someone—or yourself—with your new culinary skills. You’ve earned it!


