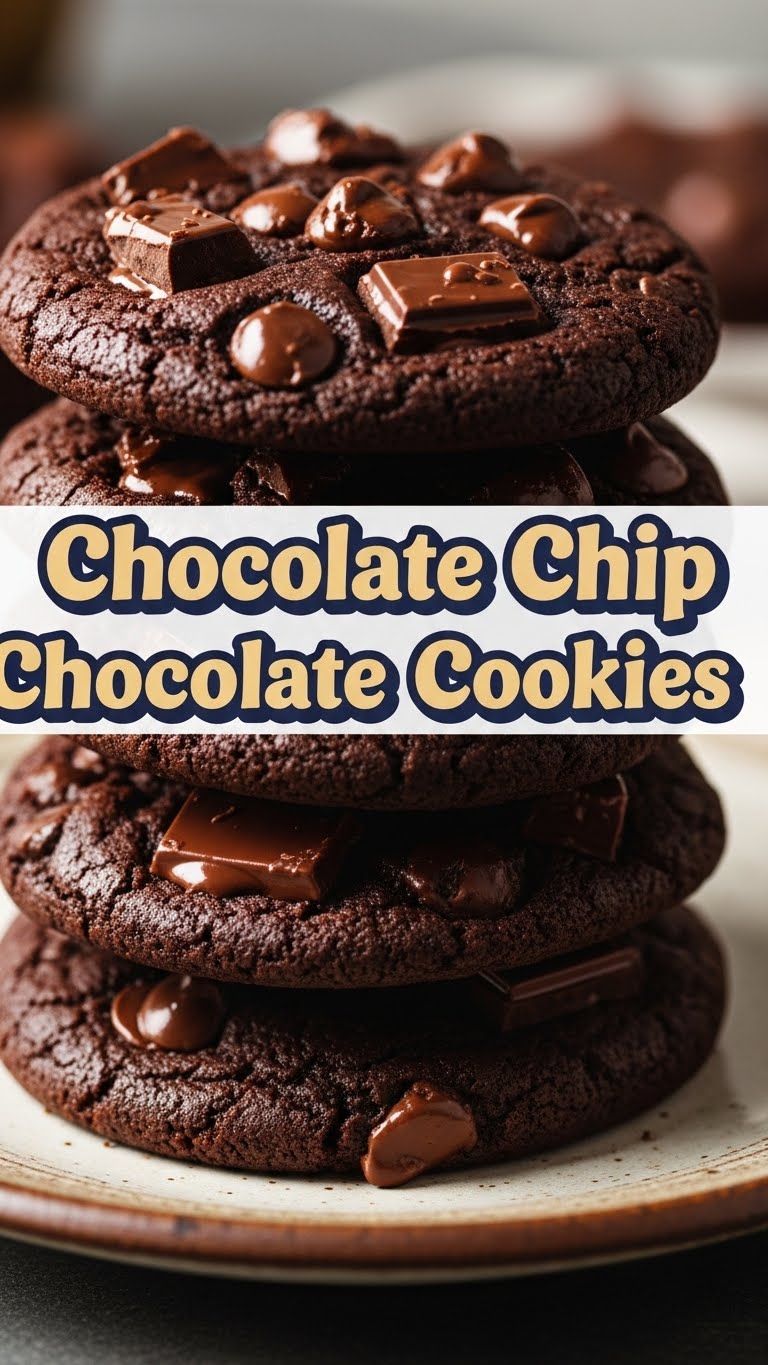
So you’re craving something rich, chocolatey, and utterly decadent but also want to avoid looking like a contestant on a baking show gone wrong? You’ve come to the right place, friend. We’re talking about those dreamy, dark chocolate cookies studded with even *more* chocolate chips. Yeah, you heard that right. It’s a chocolate party, and everyone’s invited!
Why This Recipe is Awesome
This isn’t just *a* cookie recipe; it’s *the* cookie recipe for when you want to feel like a master baker without, you know, actually *being* a master baker. It’s so foolproof, even my notoriously clumsy self didn’t set off the smoke detector. Plus, it’s incredibly satisfying to pull a tray of these beauties from the oven. They’re chewy, fudgy, and packed with so much chocolate, your inner chocoholic will sing opera. **Seriously, it’s that good and that easy.**
Ingredients You’ll Need
Gather your troops! Here’s what you’ll need for this delicious mission:
- Unsalted Butter (1 stick / 1/2 cup): Softened. Don’t be a hero and try to microwave it into oblivion. Patience, my friend.
- Granulated Sugar (1/2 cup): The classic sweetness.
- Light Brown Sugar (1/2 cup, packed): Adds chewiness and a lovely depth of flavor. The unsung hero!
- Large Egg (1): Preferably not from a dinosaur, but hey, you do you. Room temperature is ideal, but don’t sweat it too much.
- Pure Vanilla Extract (1 tsp): Skip the imitation; your taste buds deserve better.
- All-Purpose Flour (1 cup): The main structural engineer of our cookie empire.
- Unsweetened Cocoa Powder (1/2 cup): This is where the *chocolate* in chocolate cookies comes from, duh. Use good quality stuff if you can.
- Baking Soda (1/2 tsp): The lift-off agent, making them perfectly puffed.
- Salt (1/4 tsp): Just a pinch. Balances all that sweet goodness and makes the chocolate pop!
- Chocolate Chips (1 cup): Semi-sweet or dark. A generous amount. Because too much chocolate is, like, a myth.
Step-by-Step Instructions
Alright, let’s get down to business! Follow these simple steps and you’ll be swimming in chocolatey goodness in no time.
- **Preheat Your Oven:** Crank that oven to **350°F (175°C)**. While it’s heating up, line two baking sheets with parchment paper or silicone mats. This makes cleanup a breeze and prevents sticking.
- **Cream the Butter and Sugars:** In a large bowl, using an electric mixer (or some serious arm muscle), **beat together the softened butter, granulated sugar, and brown sugar** until light and fluffy. This usually takes about 2-3 minutes.
- **Add the Wet Stuff:** **Beat in the egg and vanilla extract** until just combined. Don’t go overboard here; we’re just making sure everything is happy together.
- **Whisk the Dry Ingredients:** In a separate medium bowl, **whisk together the flour, cocoa powder, baking soda, and salt**. Give it a good whisk to break up any lumps and ensure everything is evenly distributed.
- **Combine Wet and Dry:** Gradually **add the dry ingredients to the wet ingredients**, mixing on low speed until just combined. **Stop mixing as soon as you see no more streaks of flour.** Overmixing is the enemy of tender cookies!
- **Stir in the Chocolate Chips:** Now for the fun part! **Fold in those glorious chocolate chips** with a spatula. Make sure they’re evenly distributed throughout the dough.
- **Scoop ‘Em Out:** Use a cookie scoop (or two spoons) to **drop rounded spoonfuls of dough** onto your prepared baking sheets, leaving about 2 inches between each cookie. They like their personal space, you know?
- **Bake ‘Em Up:** **Bake for 9-11 minutes.** The cookies will look slightly soft in the center but the edges will be set. Don’t overbake them if you want that perfect chewy texture!
- **Cool and Devour:** Let the cookies **cool on the baking sheets for 5 minutes** before transferring them to a wire rack to cool completely. Or, you know, eat one (or three) while they’re still warm and gooey. You’ve earned it!
Common Mistakes to Avoid
Even though this recipe is basically idiot-proof, there are a few rookie errors to sidestep. Learn from my past culinary misadventures!
- **Overmixing the Dough:** This isn’t a marathon, people! Overmixing develops gluten, leading to tough, sad cookies. Nobody wants sad cookies. Mix until *just* combined.
- **Not Preheating the Oven:** Patience, grasshopper. A cold oven equals flat, unevenly baked disasters. Always preheat your oven to the correct temperature for at least 15-20 minutes.
- **Melting the Butter Instead of Softening:** You want “room temp soft,” not “liquid gold.” If your butter is too warm and greasy, your cookies will spread like gossip at a family reunion.
- **Eating All the Dough Before Baking:** I get it, it’s tempting. Raw cookie dough is a siren song. But trust me, baked cookies are even better (and safer!). A little taste test is fine, but leave enough for the finished product!
- **Baking on an Ungreased Pan:** Oh, the horror of stuck cookies! Use parchment paper or silicone mats. Your future self will thank you.
Alternatives & Substitutions
Feeling adventurous? Or maybe you’re just out of a specific ingredient? Here are some ideas to mix things up:
- **Chocolate Chips:** Milk chocolate? White chocolate? Chopped up leftover Halloween candy? Peanut butter chips? Go wild! Just don’t skimp on the quantity. **IMO**, a mix of semi-sweet and dark chips adds lovely complexity.
- **Butter:** Vegan butter works surprisingly well if you’re dairy-free, but for that classic richness, nothing beats real butter. Coconut oil (solid, at room temp) can also be used as a 1:1 substitute, but it might give a slightly different texture and flavor.
- **Cocoa Powder:** Dutch-processed cocoa will give you a darker color and milder flavor, while natural cocoa will lend a slightly fruitier, more intense chocolate hit. Both are fantastic, so use what you have!
- **Add-ins:** Sprinkle a tiny bit of flaky sea salt on top before baking for a sophisticated sweet-and-salty kick. Or throw in some chopped walnuts, pecans, or even a dash of espresso powder (1/2 tsp) to deepen that chocolate flavor even further!
FAQ (Frequently Asked Questions)
Got questions? I’ve got answers. Probably.
- **Can I chill the dough?** Oh, absolutely! **FYI**, chilling dough for at least 30 minutes (or even overnight!) helps prevent spreading and often deepens the flavor. It’s like giving your cookies a spa day.
- **My cookies are flat! What happened?** Probably your butter was too warm, your oven wasn’t preheated properly, or your baking soda has seen better days (check its expiry!). Make sure you’re using a cookie scoop or measuring consistent dough balls too.
- **How long do these magic cookies last?** In a sealed container at room temp, about 3-5 days. But honestly, who are we kidding? They’ll be gone way sooner.
- **Can I freeze the dough?** Yes! Scoop balls onto a baking sheet, freeze until solid, then transfer to a freezer bag. Bake from frozen, adding a couple of minutes to the baking time. Future you will thank past you!
- **Do I *have* to use pure vanilla extract?** Well, technically no, but why hurt your soul and taste buds like that? Pure vanilla makes a huge difference in the overall flavor. Don’t cheap out on this one!
- **Can I make these gluten-free?** You can try a 1:1 gluten-free all-purpose flour blend, but I haven’t personally tested it. Results may vary, but it’s worth a shot!
Final Thoughts
See? I told you this was easy! You’ve just whipped up a batch of glorious, rich, chewy chocolate chip chocolate cookies that will make you question all your previous life choices that *didn’t* involve these cookies. Go ahead, take a bow. You’re a cookie superstar!
Now go impress someone—or just yourself—with your new culinary superpower. You’ve earned it, you magnificent cookie wizard!


