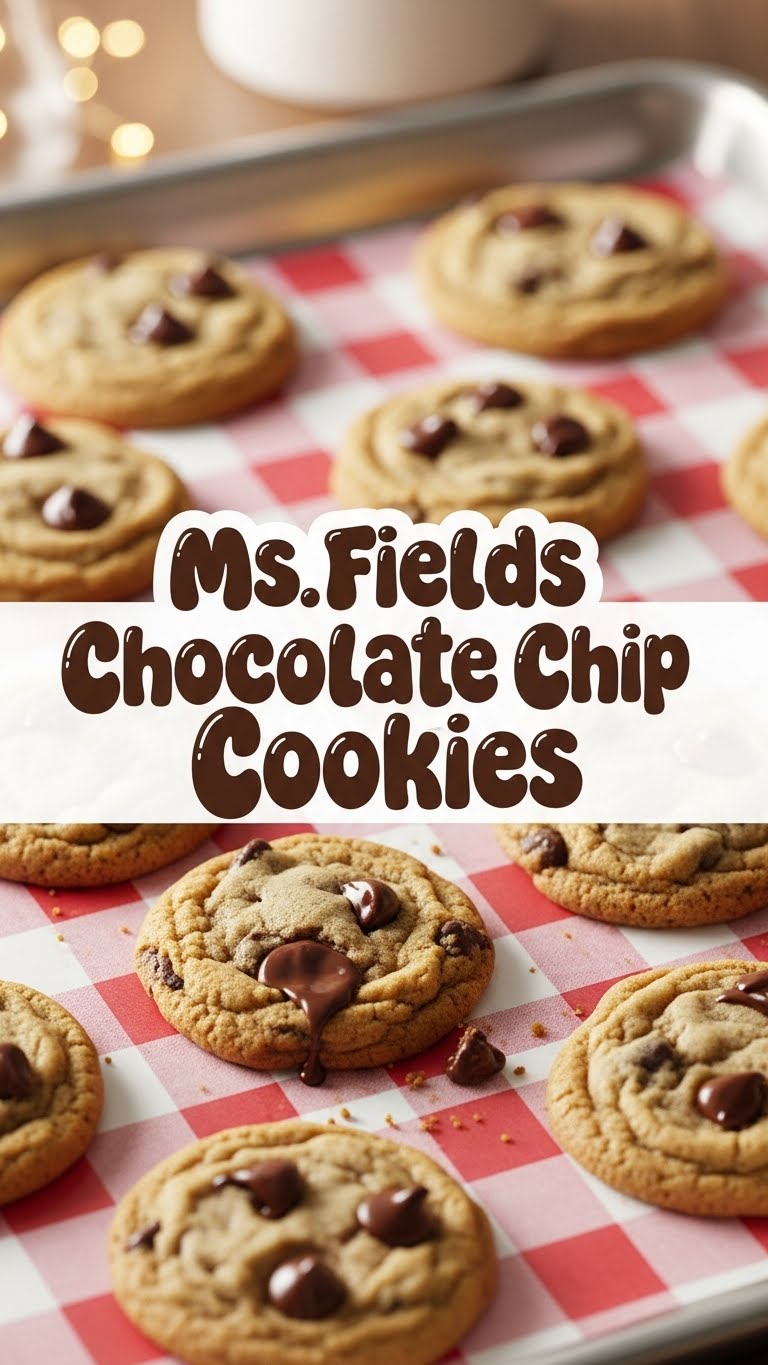
So you’re craving something warm, gooey, chocolatey, and generally just *heavenly*, but the thought of a complicated recipe makes you wanna just order takeout? Been there, done that, got the crumb-covered t-shirt. But what if I told you there’s a way to get those iconic, chewy, perfectly-sweet Ms. Fields-style chocolate chip cookies right in your own kitchen, without the drama? Grab your apron (or just a clean shirt, no judgment), because we’re about to make some magic!
Why This Recipe is Awesome
Okay, let’s be real. There are a million chocolate chip cookie recipes out there. But *this* one? This is the one you’ll keep coming back to. Why? Because it delivers big-time on flavor, has that perfect chewiness, and **it’s practically idiot-proof**. Seriously, if I can make these without setting off the smoke detector, you’re golden. It’s also incredibly satisfying to pull a fresh batch out of the oven that smells exactly like your favorite mall cookie spot. Plus, it’s way cheaper than buying them, and you get to lick the bowl. Win-win-win, IMO!
Ingredients You’ll Need
No fancy, hard-to-find stuff here. Just your usual suspects, ready to be transformed into pure deliciousness. Think of them as your cookie dream team.
- **1 cup (2 sticks) Unsalted Butter**, softened: Not melted, not rock-hard. Just perfectly squishy. This is where the magic starts.
- **¾ cup Granulated Sugar**: The white stuff. Don’t skimp.
- **¾ cup Packed Light Brown Sugar**: The caramel-y goodness. Make sure it’s packed tightly, like your suitcase before a vacation.
- **2 Large Eggs**: Room temperature, if you can remember to take them out. If not, don’t sweat it too much.
- **2 teaspoons Vanilla Extract**: The good stuff. It makes all the difference. None of that imitation nonsense!
- **2¼ cups All-Purpose Flour**: The base of our operations. Sifted, if you’re feeling extra fancy.
- **1 teaspoon Baking Soda**: Our little leavening friend, helping those cookies puff just right.
- **½ teaspoon Salt**: Balances all that sweetness. Don’t skip it!
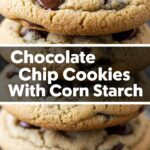
- **2 cups Chocolate Chips**: Your choice! Semi-sweet, milk, dark, a mix – go wild! The more, the merrier, right?
Step-by-Step Instructions
Ready? Let’s get baking! These steps are so easy, you could probably do them in your pajamas (and honestly, I encourage it).
- **Preheat Your Oven:** Set that baby to **375°F (190°C)**. Get it nice and toasty while you prep.
- **Cream the Fats & Sugars:** In a large bowl, or your stand mixer, beat the softened butter with both the granulated and brown sugars until light and fluffy. This usually takes about 2-3 minutes. **Don’t rush this step**, it’s key for that perfect texture.
- **Introduce the Eggs & Vanilla:** Add the eggs one at a time, mixing well after each addition. Then, stir in that glorious vanilla extract. Scrape down the sides of the bowl to make sure everything is incorporated.
- **Whisk the Dry Squad:** In a separate medium bowl, whisk together the flour, baking soda, and salt. Give it a good swirl so everything is evenly distributed.
- **Combine Wet & Dry:** Gradually add the dry ingredients to the wet ingredients, mixing on low speed (or by hand) until just combined. **Do not overmix!** Overmixing develops the gluten too much, leading to tough cookies. Nobody wants tough cookies.
- **Fold in the Chips:** Gently fold in your chocolate chips using a spatula. We want them evenly distributed, but again, no aggressive mixing.
- **Scoop & Bake:** Drop rounded spoonfuls (or use a cookie scoop for perfectly uniform cookies!) onto ungreased baking sheets, leaving a couple of inches between each one.
- **Bake ’em Up:** Pop them in your preheated oven for **9-11 minutes**, or until the edges are golden brown and the centers still look a little soft. They’ll firm up as they cool.
- **Cool Down, Buttercup:** Let them cool on the baking sheet for a few minutes before transferring them to a wire rack to cool completely. Or, you know, eat them warm because you can’t resist. (I won’t tell.)
Common Mistakes to Avoid
We all make mistakes, but with these tips, you’ll be a cookie master in no time! Learn from my past burnt offerings, people.
- **Not Preheating the Oven:** Rookie mistake! An oven that’s not hot enough means flat, sad cookies. Always wait for that preheat beep.
- **Using Cold Butter:** If your butter is straight from the fridge, it won’t cream properly with the sugars, leading to a denser, less fluffy cookie. Plan ahead, or zap it in the microwave for *just* a few seconds.
- **Overmixing the Dough:** I cannot stress this enough! Once you add the flour, mix only until just combined. Overmixing makes your cookies tough instead of tender.
- **Baking Too Long:** Those few extra minutes can turn perfect cookies into crispy hockey pucks. Pull them out when the edges are set and the centers still look a bit soft. They’ll keep cooking on the hot tray.
- **Thinking You Don’t Need Salt:** Salt is not just for savory dishes! It cuts through the sweetness and enhances the chocolate flavor. Don’t skip it!
Alternatives & Substitutions
Feeling adventurous? Or maybe you’re just out of one ingredient? Here are a few tweaks to keep things interesting:
- **Chocolate Chip Varieties:** Mix it up! Try white chocolate chips, dark chocolate chunks, or even a handful of mini M&Ms for a pop of color and extra fun.
- **Nutty Additions:** Want some crunch? Fold in ½ to 1 cup of chopped walnuts, pecans, or almonds with the chocolate chips. Toasted nuts are even better!
- **Flavor Boost:** A dash of instant espresso powder (about ½ teaspoon) really deepens the chocolate flavor without making your cookies taste like coffee. Shhh, it’s our little secret.
- **Butter Substitute:** While butter is king for flavor, you *can* use margarine in a pinch. Just know that the texture might be slightly different, and frankly, why hurt your soul like that?
- **Less Sweet?** You can slightly reduce the sugar by ¼ cup overall, but be aware it might affect the texture and spread a little.
FAQ (Frequently Asked Questions)
Got questions? I’ve got (casual and hopefully helpful) answers!
- **Can I use margarine instead of butter?** Well, technically yes, you *can*, but why compromise on that rich, buttery flavor? Butter really makes these cookies sing. If you absolutely have to, use full-fat stick margarine for the best results, but your cookies won’t be quite the same.
- **Do I have to chill the dough?** Not for this recipe! While chilling can enhance flavor and reduce spread in some cookie recipes, these are designed to be baked immediately. Instant gratification, my friend!
- **My cookies are flat! What went wrong?** Ah, the dreaded flat cookie! Common culprits are butter that was too soft or melted, not enough flour, an oven that wasn’t hot enough, or using old baking soda. Double-check your measurements and ingredient temperatures next time!
- **How long do these cookies last?** If you’re lucky enough to have leftovers, they’ll stay fresh in an airtight container at room temperature for about 3-4 days. But let’s be real, they usually vanish within hours.
- **Can I freeze the dough?** Absolutely! Scoop the dough onto a baking sheet, freeze until solid, then transfer the frozen dough balls to a freezer-safe bag. When a craving hits, bake from frozen, adding a couple of extra minutes to the baking time. Future you will thank you!
- **What’s the secret to that chewy center?** A combination of brown sugar (which adds moisture) and not overbaking them! Pull them out when the edges are golden, but the center still looks a little soft.
- **What kind of chocolate chips are best?** Honestly, that’s up to you! A mix of semi-sweet and milk chocolate chips is a popular choice for a balanced flavor, but if you love dark chocolate, go for it!
Final Thoughts
And there you have it! Your very own batch of Ms. Fields-style chocolate chip cookies, baked with love (and maybe a little bit of sweat if your kitchen is hot). These aren’t just cookies; they’re a mood booster, a stress reliever, and quite possibly, your new favorite reason to turn on the oven. So go forth, my friend, and bake up some happiness. And maybe, just maybe, share one. Or don’t. No judgment here. You’ve earned this!

