So you’re craving something warm, gooey, and just straight-up *delicious* but the idea of pulling out a stand mixer feels like too much commitment right now? My friend, I feel you. And guess what? We’re making legendary chocolate chip cookies with just your own two hands and a bowl. No fancy gadgets required. Let’s get mixing!
Why This Recipe is Awesome
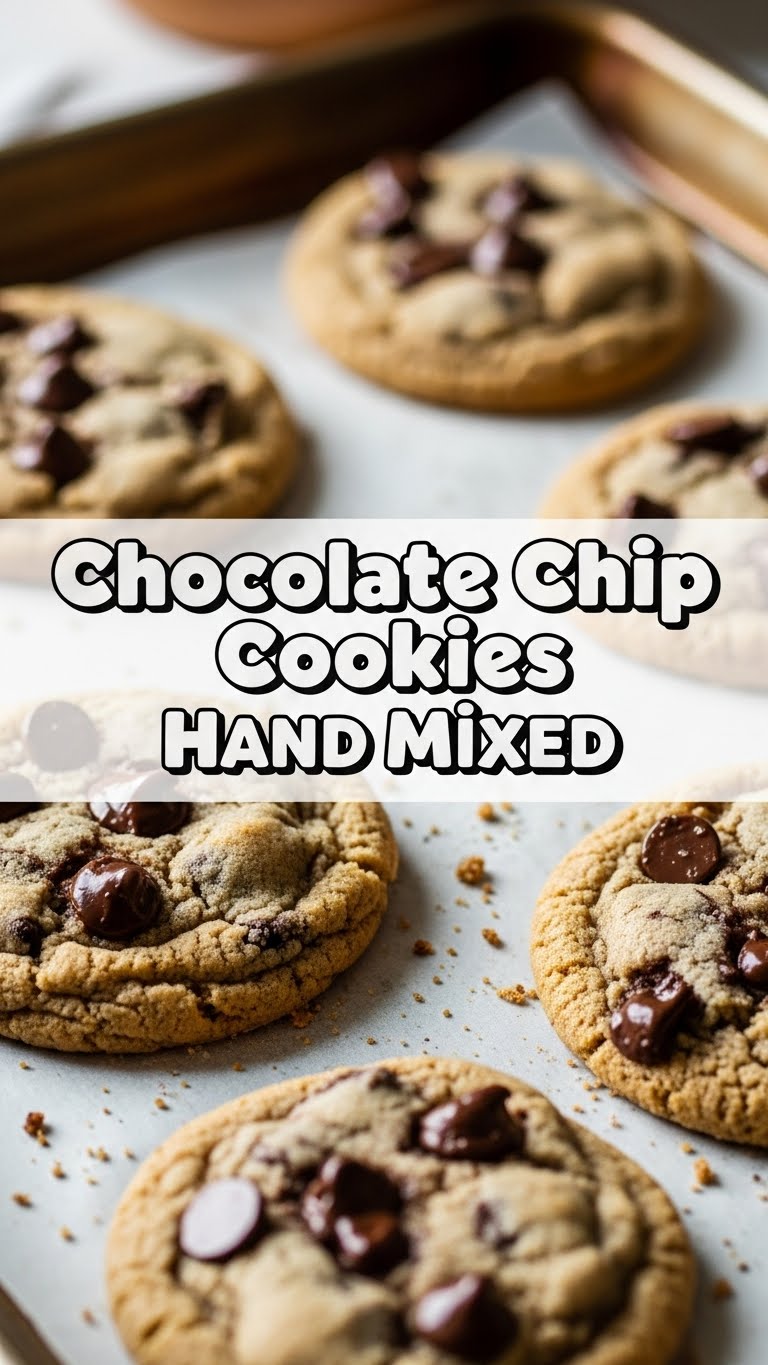
Okay, first off, it’s a hand-mixed recipe, which means no wrestling with a heavy stand mixer or listening to its motor scream at 7 AM. Your biceps might get a tiny workout, but think of it as pre-cookie exercise. Plus, it’s pretty much idiot-proof – if I, a person known for occasionally burning toast, can ace these, you definitely can. They come out chewy, slightly crisp at the edges, and packed with melty chocolate. What more could you want? World peace? Maybe, but cookies first.
Ingredients You’ll Need
- 1 cup (2 sticks) unsalted butter, softened (but not melted! Think squishy, not liquid.)
- ¾ cup granulated sugar (the regular white stuff)
- ¾ cup packed light brown sugar (this is your secret weapon for chewiness)
- 2 large eggs (straight from the fridge is fine, but room temp is slightly better for mixing, FYI)
- 1 teaspoon vanilla extract (don’t skimp on this! It’s like the soul of the cookie.)
- 2 ¼ cups all-purpose flour (don’t pack it, just spoon it in lightly)
- 1 teaspoon baking soda (fresh is best; old soda is like a deflated balloon)
- ½ teaspoon salt (enhances all the flavors, don’t skip!)
- 1 ½ cups chocolate chips (your choice: milk, semi-sweet, dark – or a mix!)
Step-by-Step Instructions
Preheat & Prep: First things first, crank that oven to 375°F (190°C). Line a couple of baking sheets with parchment paper or silicone mats. Trust me, less sticking, happier you.
Cream the Butter & Sugars: Grab a big bowl. Toss in your softened butter, granulated sugar, and brown sugar. Now, with a sturdy spatula or wooden spoon, cream them together until they’re light, fluffy, and look like sunshine. This might take a few minutes, so embrace the arm workout!
Add Wet Ingredients: Crack in those two eggs, one at a time, mixing well after each addition. Then, stir in the vanilla extract until it’s fully combined. The mixture should look smooth and luscious.
Combine Dry Ingredients: In a separate, smaller bowl, whisk together the flour, baking soda, and salt. Make sure there are no lumps of baking soda – nobody wants a bitter bite!
Mix Dry into Wet: Gradually add the dry ingredient mix to your wet mixture. Mix until just combined. Seriously, stop mixing as soon as you don’t see any dry flour streaks. Overmixing is the enemy of tender cookies.
Fold in Chocolate Chips: Dump in your glorious chocolate chips. Gently fold them into the dough until they’re evenly distributed. Try not to eat too many raw, though I won’t judge if you sneak a few.
Scoop & Bake: Drop rounded tablespoons of dough onto your prepared baking sheets, leaving about 2 inches between each cookie. These babies like their space.
Bake Away: Pop them into the preheated oven for 9-12 minutes. You’re looking for golden edges and centers that still look a tiny bit soft. That’s the secret to chewy perfection!
Cool Down (If You Can Wait): Let the cookies cool on the baking sheets for 5 minutes before transferring them to a wire rack to cool completely. Or, you know, eat one hot and melty like a boss.
Common Mistakes to Avoid
- Melting your butter: Softened means pliable, not liquid. Melted butter makes flat, greasy cookies. Don’t do it!
- Overmixing the dough: Once you add the flour, mix *just* until combined. Too much mixing develops gluten, leading to tough cookies. And nobody wants tough cookies, right?
- Not preheating your oven: This is like trying to run a marathon without stretching. Always preheat your oven to the correct temperature for even baking. Rookie mistake if you skip it!
- Baking too long: Keep an eye on them! If the edges are golden and the center still looks slightly underdone, pull them out. They’ll continue to cook a bit on the hot sheet.
- Forgetting the salt: It might seem minor, but salt balances the sweetness and brings out the chocolate flavor. Don’t be a hero, add the salt.
Alternatives & Substitutions
- Chocolate Choices: Feeling adventurous? Swap out semi-sweet for dark chocolate chunks, milk chocolate, white chocolate, or even a mix! Peanut butter chips are also a fun twist. Go wild!
- Add-ins: Stir in ½ cup of chopped nuts (walnuts, pecans) for extra crunch. Or, if you’re feeling fancy, a sprinkle of sea salt on top before baking elevates the flavor profile *immensely*.
- Flour Power: While all-purpose is classic, you *can* use half whole wheat flour for a slightly nuttier flavor, though it might change the texture a bit. Personally, I stick to all-purpose for maximum classic cookie goodness.
- Butter alternative? Technically, yes, you could use margarine, but IMO, butter just tastes better. For a dairy-free version, use a good quality plant-based butter alternative. Results might vary slightly, but it’s worth a shot!
FAQ (Frequently Asked Questions)
- Can I use cold butter straight from the fridge? Well, you *can* try, but good luck creaming it by hand! You’ll get an arm workout from Hades. Softened butter is key for a smooth, airy dough.
- Do I have to chill the dough? For this specific recipe, no, it’s designed to be bake-as-you-go! But if you *want* to for an even deeper flavor and slightly thicker cookie, a 30-minute chill never hurt anyone. Just sayin’.
- My cookies are flat! What happened? Ah, the dreaded flat cookie! Usually, this means your butter was too soft (or melted), or your oven wasn’t hot enough. Sometimes it’s also overmixing. Next time, make sure your butter is softened, not gooey, and your oven is fully preheated.
- How long do these magical cookies last? In an airtight container at room temp, they’re typically good for 3-5 days. But honestly? They rarely last past day 2 in my house.
- Can I freeze the dough? Absolutely! Scoop the dough balls onto a baking sheet, freeze until solid, then transfer to a freezer-safe bag. Bake from frozen, adding a couple of extra minutes to the baking time. Fresh cookies anytime!
- What if I don’t have brown sugar? You’re gonna miss out on some serious chewiness, friend. Brown sugar has molasses, which adds moisture and that lovely bend. You *can* use all granulated sugar, but expect a crispier cookie.
Final Thoughts
See? You totally did it! Who needs a fancy mixer when you’ve got strong arms, a good recipe, and a craving for warm, homemade goodness? These hand-mixed chocolate chip cookies are proof that sometimes, the simplest methods yield the best results. Now go impress someone—or yourself—with your new culinary skills. You’ve earned it! And maybe share a cookie or two, if you’re feeling generous. 😉


