So you’re scrolling, maybe dreaming of something sweet, but the thought of a complicated recipe makes you want to nap, huh? Been there, baked that. Today, we’re making *magic* – the kind that involves sprinkles, chocolate chips, and minimal brain power. Get ready for Chocolate Chip Sprinkle Cookies!
Why This Recipe is Awesome
Okay, let’s be real. This isn’t just *a* cookie recipe. It’s *the* cookie recipe for when you want instant gratification, a burst of color, and that classic chocolate chip hug, but you also want to feel like a baking superstar without actually doing superstar-level work. **It’s practically fail-proof.** Seriously, even if your culinary skills are usually limited to ordering takeout, you got this. Plus, sprinkles! Who doesn’t need more joy in their life?
Ingredients You’ll Need
- Unsalted Butter (1 cup, softened): The good stuff. Don’t even *think* about melting it in the microwave ’cause you’re impatient. (Okay, maybe a little, but don’t tell anyone.)
- Granulated Sugar (3/4 cup): The classic sweet stuff.
- Brown Sugar (3/4 cup, packed): Our secret weapon for that irresistible chewiness.
- Large Eggs (2): They’re the glue that holds our delicious dreams together.
- Vanilla Extract (2 teaspoons): The soul of any cookie. **Don’t skimp!** Real vanilla makes a huge difference.
- All-Purpose Flour (2 1/4 cups): The sturdy backbone. No fancy cake flour needed; we’re not that sophisticated today.
- Baking Soda (1 teaspoon): For that perfect puff. Not baking powder, friend, pay attention!
- Salt (1/2 teaspoon): Just a pinch! Balances all that sweetness and makes flavors pop.
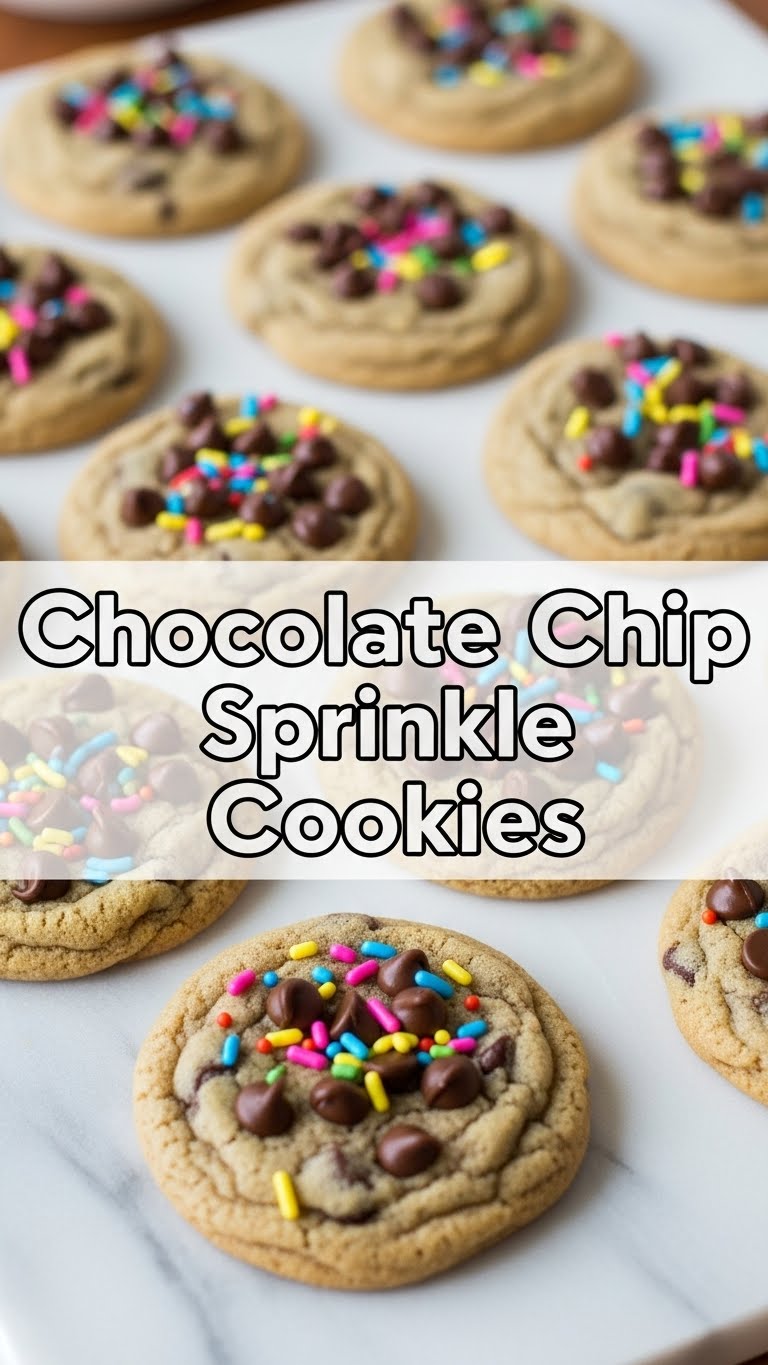
- Chocolate Chips (1 cup): Your choice! Milk, semi-sweet, dark – whatever makes your heart sing. Or just use whatever’s lurking in the pantry.
- Sprinkles (1/2 cup): The *star* of the show! Rainbow jimmies are classic, but go wild with whatever colorful confetti makes you happy. Nonpareils, quins, whatever!
Step-by-Step Instructions
- Preheat that oven to 375°F (190°C). Then, line your baking sheets with parchment paper or silicone mats. Trust me, it makes life easier.
- In a large bowl, cream together the softened butter, granulated sugar, and brown sugar until the mixture is light and fluffy. Give it a good minute or two with an electric mixer.
- Beat in the eggs, one at a time, until they’re just incorporated. Then stir in the vanilla extract. Scrape down the sides of the bowl to make sure everything gets mixed.
- In a separate, smaller bowl, whisk together the flour, baking soda, and salt. Gradually add these dry ingredients to your wet mixture, mixing on low speed until just combined. **Don’t overmix!**
- Now for the fun part: Stir in the chocolate chips. Then, *gently* fold in the sprinkles. **Be careful not to overmix the sprinkles** or they might bleed their glorious colors!
- Drop rounded tablespoons (or use a cookie scoop for perfectly uniform cookies) of dough onto your prepared baking sheets, leaving a couple of inches between each cookie.
- Bake for 9-12 minutes, or until the edges are golden brown and the centers still look delightfully soft. Every oven is different, so keep an eye on them!
- Let those beauties cool on the baking sheets for about 5 minutes (if you can wait that long!), then transfer them to a wire rack to cool completely. Or, you know, eat them warm. No judgment here.
Common Mistakes to Avoid
- Overmixing the dough: This is how you get tough, sad cookies instead of tender, happy ones. Mix just until combined, then stop! Your arms will thank you, and your taste buds will too.
- Not chilling the dough (if you have time): While optional for this specific recipe because we’re going for speed, a quick 30-minute chill can help prevent spreading and deepen the flavors. If you’re in a hurry, no worries, but for peak cookie perfection, it’s a game-changer.
- Baking on an unlined sheet: Hello, stuck cookies! Always use parchment paper or a silicone mat. Your future self (who won’t be scrubbing burnt cookie bits) will definitely thank you.
- Adding sprinkles too early/mixing too much: Unless you’re going for tie-dye cookies (which, honestly, could be a vibe), add those sprinkles last and fold gently. Otherwise, your rainbow will be a muddy puddle.
- Not preheating your oven: Rookie mistake! An evenly heated oven ensures even baking. Patience, young padawan.
Alternatives & Substitutions
- Butter: Margarine? Technically, yes, but your cookies deserve better, IMO. Or try a plant-based butter for a vegan twist (you might need to adjust other ingredients slightly, FYI).
- Chocolate Chips: White chocolate chips? Peanut butter chips? M&Ms? Go nuts! Mix and match. Your cookie, your rules.
- Sprinkles: Any kind! Holiday sprinkles, single-color, even edible glitter. Just make sure they’re oven-safe if you want them to keep their pizzazz.
- Flour: Want to make them gluten-free? A 1:1 gluten-free baking flour blend usually works great without major adjustments.
FAQ (Frequently Asked Questions)
- Can I use all brown sugar? You *can*, but expect a chewier, slightly flatter cookie. The granulated sugar helps with structure and a bit of crispness on the edges. Why mess with perfection?
- Do I *really* need to use unsalted butter? Yes! It gives you control over the salt content. If you only have salted, reduce the added salt by about half. You’re welcome.
- My cookies spread too much! What happened? Could be your butter was too soft, your oven temp is off, or you skipped the chill. Also, make sure your baking soda isn’t expired – old soda means flat cookies!
- Can I freeze the cookie dough? Absolutely! Scoop balls onto a baking sheet, freeze until solid, then transfer to a freezer-safe bag. Bake from frozen, adding a minute or two to the baking time. Future you will high-five past you.
- How long do these cookies stay fresh? In an airtight container at room temp, they’re typically good for 3-5 days. But let’s be real, they rarely last that long!
- Can I just buy store-bought dough and add sprinkles? (Whispers) Yes, you totally can. But homemade is always better, and you’ll feel like a domestic god/goddess. Just sayin’.
Final Thoughts
And there you have it! A batch of gloriously colorful, perfectly chewy, chocolatey, sprinkle-packed cookies that didn’t demand your entire afternoon. Go ahead, bask in the glory. Take a picture, eat three, share one (maybe). **You’ve earned this win.** Now go impress someone—or just yourself—with your new culinary skills. Happy baking, friend!


