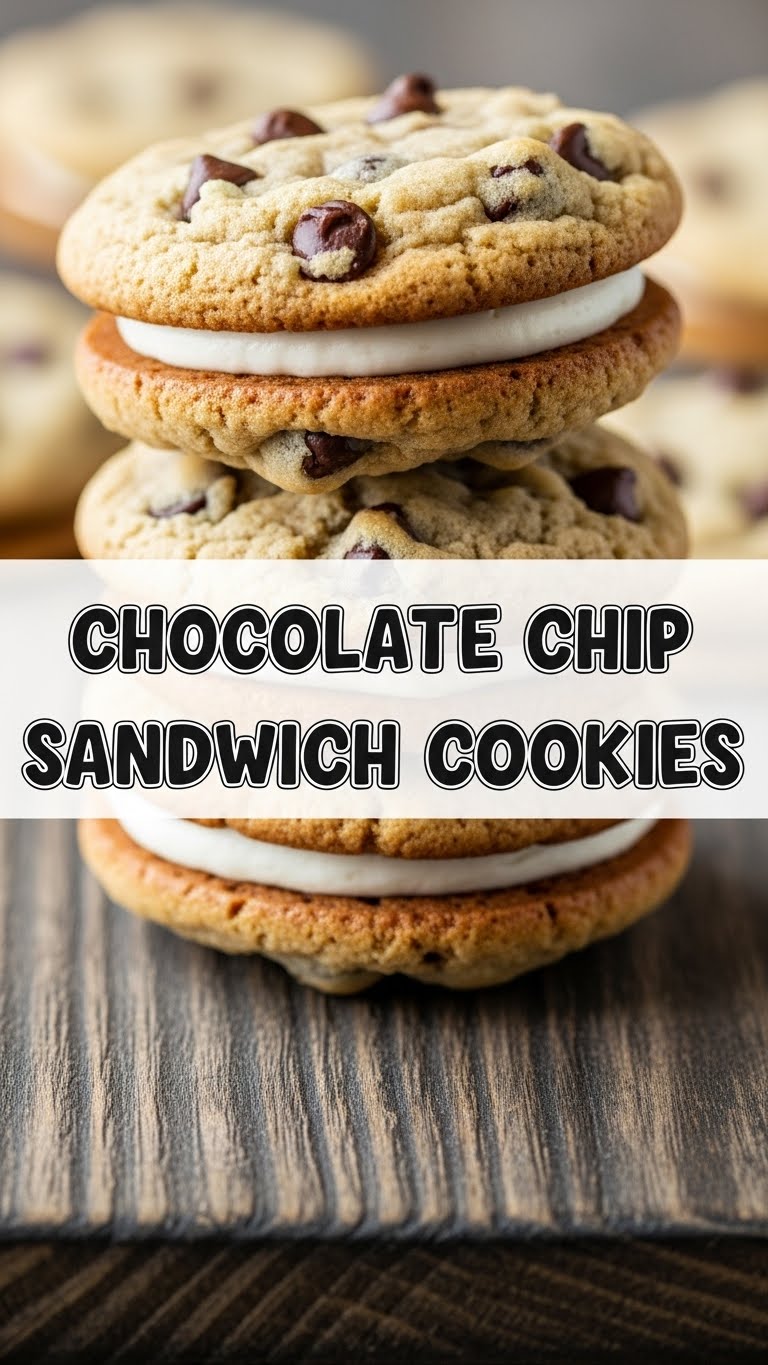
So, you’ve got that pesky sweet tooth kicking in, demanding something ridiculously good but also, you know, achievable without a culinary degree or a full day of kitchen labor, right? Yeah, me too. Enter the **Chocolate Chip Sandwich Cookie** – your new best friend in the dessert world. Think of it: two chewy, chocolate-chip-packed cookies, hugging a creamy, dreamy filling. It’s basically a party in your mouth, and everyone’s invited!
Why This Recipe is Awesome
Okay, let’s be real. There are a gazillion cookie recipes out there. So why *this* one? Because it’s the culinary equivalent of a warm hug and a high-five all at once. It’s **foolproof**, even if your oven has a mind of its own (like mine). You don’t need fancy equipment, just a bowl and a spoon (or a mixer if you’re feeling fancy, but no pressure).
Plus, it combines the two best things in life: chocolate chip cookies AND a creamy filling. It’s like the universe heard our dessert prayers and answered with a mic drop. Seriously, you’ll feel like a baking wizard, even if your usual go-to is instant ramen.
Ingredients You’ll Need
Time to gather your edible arsenal! Don’t worry, nothing too exotic here. Most of these are probably already lurking in your pantry.
- **For the Cookies:**
- **1 cup (2 sticks) unsalted butter, softened:** The good stuff. Not margarine, unless you want your cookies to have an identity crisis.
- **1/2 cup granulated sugar:** For that perfect crisp-chewy balance.
- **1 1/4 cups packed light brown sugar:** The secret to that glorious chewiness. Don’t skimp!
- **2 large eggs:** Room temperature, please! They mix better.
- **2 teaspoons vanilla extract:** The soul of any good cookie. Don’t be shy!
- **2 1/4 cups all-purpose flour:** Your basic baking BFF.
- **1 teaspoon baking soda:** Helps them puff just right.
- **1/2 teaspoon salt:** Balances all that sweetness. Crucial!
- **1 1/2 cups chocolate chips:** Semi-sweet, milk, dark – whatever makes your heart sing. More is always more, IMO.
- **For the Creamy Filling:**
- **1/2 cup (1 stick) unsalted butter, softened:** Again, the good stuff.
- **2 cups powdered sugar (confectioners’ sugar):** Sifted, if you’re feeling fancy and want super smooth.
- **1 teaspoon vanilla extract:** Or a touch more, because vanilla is life.
- **1-2 tablespoons milk or cream:** Just enough to get that perfect spreadable consistency.
Step-by-Step Instructions
- **Get Ready, Get Set, Bake!** Preheat your oven to **375°F (190°C)**. Line two baking sheets with parchment paper or silicone mats. Trust me, it makes cleanup a breeze!
- **Cream the Dream:** In a large bowl (or your stand mixer), **cream together the softened butter, granulated sugar, and brown sugar** until light and fluffy. This usually takes about 2-3 minutes. Don’t rush it!
- **Egg-cellent Addition:** Beat in the eggs one at a time, mixing well after each addition. Then stir in the vanilla extract. Scrape down the sides of the bowl to make sure everything is incorporated.
- **Dry Mix Magic:** In a separate medium bowl, whisk together the flour, baking soda, and salt. This ensures even distribution, so your cookies rise beautifully.
- **Combine Forces:** Gradually add the dry ingredients to the wet ingredients, mixing on low speed until *just* combined. **Do not overmix!** Overmixing develops gluten, leading to tough cookies.
- **Chip In:** Fold in the chocolate chips until they’re evenly distributed throughout the dough. Try not to eat too much raw dough, even though it’s tempting.
- **Scoop ‘Em Up:** Drop rounded tablespoons of dough onto your prepared baking sheets, leaving a couple of inches between each. These babies will spread a little.
- **Bake ‘Til Golden:** Bake for **9-11 minutes**, or until the edges are golden brown and the centers are still slightly soft. They’ll firm up as they cool.
- **Cool Down:** Let the cookies cool on the baking sheets for 5 minutes before transferring them to a wire rack to cool completely. Patience, young grasshopper! You need them cool for the filling.
- **Whip Up the Filling:** While the cookies are chilling, beat the softened butter for the filling until creamy. Gradually add the powdered sugar, vanilla extract, and milk/cream (start with 1 tbsp, add more if needed) until smooth and fluffy.
- **Sandwich Time!** Once the cookies are completely cool, spread a generous spoonful of filling on the flat side of one cookie. Top with another cookie, pressing gently to make a delicious sandwich. Repeat until all your cookies are paired up.
Common Mistakes to Avoid
We all make ’em. Here’s how to dodge the most common cookie catastrophes:
- **Not preheating your oven:** Rookie mistake! Your oven needs to be at the correct temperature for even baking. Don’t skip this step.
- **Overmixing the dough:** This is a big one. As soon as the flour is incorporated, stop mixing. Seriously, put the mixer down. **Tough cookies are sad cookies.**
- **Baking on warm sheets:** After your first batch, let those baking sheets cool down before putting more dough on them. Putting dough on warm sheets makes cookies spread too much and flatten.
- **Not letting cookies cool completely before filling:** If your cookies are warm, that glorious buttercream filling will melt and slide everywhere. A delicious mess, but still a mess.
- **Eyeballing ingredients:** Baking is a science, my friend. **Measure accurately** for the best results.
Alternatives & Substitutions
Feeling adventurous? Or just out of something crucial? Here are a few ideas:
- **Chocolate Chip Varieties:** Mix it up! Try white chocolate chips, dark chocolate chunks, or even a mix of all three. Butterscotch chips could be fun too!
- **Flavor the Filling:** Want to kick up that filling? Add a pinch of cinnamon, a tiny bit of almond extract, or even a tablespoon of cocoa powder for a chocolate buttercream. Espresso powder? Yes, please!
- **Nutty Fun:** Add 1/2 cup of chopped walnuts or pecans to your cookie dough for an extra crunch.
- **Vegan-ish?** You *could* try vegan butter substitutes and an egg replacer for the cookies, and plant-based butter and milk for the filling. Results might vary, but it’s worth a shot if you’re feeling experimental.
- **No Brown Sugar?** If you’re really in a pinch, you can usually substitute brown sugar with granulated sugar and a tablespoon of molasses per cup of sugar, but the texture won’t be quite the same. It’s better to make a quick trip to the store if you can!
FAQ (Frequently Asked Questions)
Got questions? I’ve got (mostly) answers!
- **Can I make the dough ahead of time?** Absolutely! You can chill the cookie dough for up to 3 days. In fact, chilling the dough often results in a richer flavor and chewier cookie. Win-win!
- **My cookies are spreading too much, help!** Are your baking sheets too hot? Is your butter too soft? Did you accurately measure your flour? Sometimes adding a tablespoon or two more flour to the dough can help if it’s really sticky.
- **Can I freeze these sandwich cookies?** You bet! Freeze them in an airtight container for up to 2-3 months. Thaw them in the fridge or at room temperature. They’re practically a meal prep item, right?
- **Why do my cookies taste bland?** Did you remember the salt? And the vanilla? Those little guys are flavor powerhouses! Don’t skimp on them.
- **Can I use margarine instead of butter?** Well, technically yes, but why hurt your soul (and the texture of your cookies) like that? **Butter just tastes better** and gives a superior texture. For real.
- **How do I get uniform cookie sizes?** A cookie scoop is your best friend here, FYI. It ensures even baking and perfectly matched cookie tops and bottoms for your sandwiches.
Final Thoughts
And there you have it! Your ticket to dessert nirvana. These Chocolate Chip Sandwich Cookies are not just treats; they’re an experience. They’re perfect for sharing (if you’re feeling generous), for impressing guests (or your significant other), or just for indulging in a moment of pure, unadulterated cookie bliss all by yourself. You whipped up a batch of these beauties, so you’ve earned it! Now go forth and conquer that craving, you magnificent baker, you!


