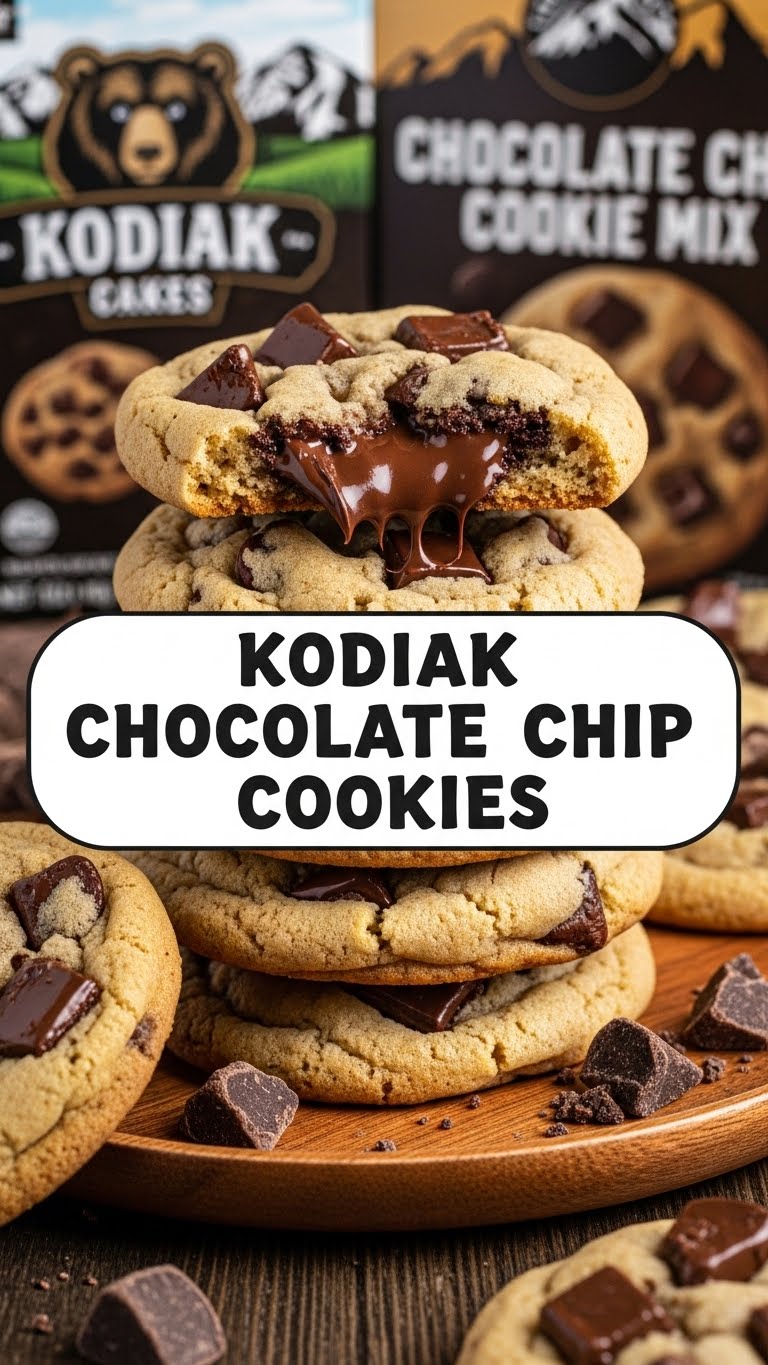
So, you’ve stared into that glorious box of Kodiak Cakes Chocolate Chip Flapjack & Waffle Mix, haven’t you? And a little voice in your head whispered, “Cookies… but make them *even better*.” Well, my friend, you’ve come to the right place. We’re about to turn that breakfast staple into a cookie legend, and trust me, it’s easier than trying to fold a fitted sheet. Let’s get baking!
Why This Recipe is Awesome
Okay, let’s be real. We all love a good chocolate chip cookie, but sometimes you want to feel a *smidge* healthier while devouring half the batch. That’s where Kodiak mix swoops in like a caped crusader. These cookies are thick, chewy, packed with that whole-grain goodness (so basically health food, right?), and ridiculously easy to make. Plus, using a mix cuts down on the gazillion ingredients, so you can spend less time measuring and more time doing important things, like planning your next cookie-eating session. It’s practically idiot-proof; even I didn’t mess it up, and that’s saying something.
Ingredients You’ll Need
Gather your troops, culinary commander! Here’s what we’re wrangling:
- 1 ½ cups (about 180g) Kodiak Cakes Frontier Flapjack & Waffle Mix (Chocolate Chip flavor!) – The MVP of our cookie squad, obvs.
- ½ cup (1 stick) unsalted butter, softened – Because everything’s better with butter, duh. Make sure it’s soft, not melted, or things get weird.
- ½ cup (100g) packed light brown sugar – For that gorgeous chew and deep flavor.
- ¼ cup (50g) granulated sugar – The supporting actor, adding crispness and sweetness.
- 1 large egg – The binder, holding all this deliciousness together.
- 1 teaspoon vanilla extract – Don’t skip this! It’s like the secret handshake of good cookies.
- ¼ cup milk (any kind!) – Just a splash to bring the dough to life. Almond, dairy, oat, whatever floats your boat.
- ½ cup extra chocolate chips (or more, no judgment) – Because the mix’s chips are a good start, but we’re not savages. More chocolate is always the answer.
Step-by-Step Instructions
Ready? Let’s make some cookie magic happen!
- Preheat & Prep: Fire up that oven to 375°F (190°C). Line a couple of baking sheets with parchment paper or silicone mats. This is key for easy cleanup and preventing stickage.
- Cream it Good: In a large mixing bowl, beat together your softened butter, brown sugar, and granulated sugar until it’s light and fluffy. This usually takes about 2-3 minutes with an electric mixer, or a good arm workout if you’re going old school.
- Egg-cellent Addition: Crack in that large egg and pour in the vanilla extract. Beat until fully combined, scraping down the sides of the bowl to make sure everything gets acquainted.
- Mix it Up: Now, add your Kodiak mix to the wet ingredients. Mix on low speed (or by hand) until just combined. Don’t overmix! We want tender cookies, not tough ones.
- Milk & Chocolate Time: Pour in the milk and mix just until incorporated. Then, gently fold in those glorious extra chocolate chips. You can use a spoon or spatula here.
- Scoop & Bake: Drop rounded tablespoons of dough onto your prepared baking sheets, leaving about 2 inches between each cookie. These babies like their space.
- Golden Goodness: Bake for 8-10 minutes, or until the edges are golden brown and the centers still look slightly soft. Remember, ovens are like snowflakes—no two are exactly alike—so keep an eye on ’em!
- Cool Down: Let the cookies cool on the baking sheet for a few minutes before transferring them to a wire rack to cool completely (if you can wait that long, you’re a stronger person than I).
Common Mistakes to Avoid
Listen up, buttercup. We’re dodging disaster here, not creating it!
- Overmixing the Dough: This is the cardinal sin of cookie baking. Once you add the dry ingredients, mix just until combined. Overmixing develops the gluten, making your cookies tough instead of tender and chewy. Nobody wants a hockey puck.
- Ignoring Oven Temp: Thinking you don’t need to preheat the oven? Rookie mistake. Your cookies need that initial blast of heat to set properly. Also, ovens can lie; an oven thermometer is your friend!
- Using Cold Butter: Hard butter doesn’t cream well with sugar, leading to a lumpy, inconsistent texture. Softened means soft enough to indent with a finger, not melted and greasy.
- Baking on Hot Sheets: If you’re doing multiple batches, let your baking sheets cool down between rounds. Baking on a hot sheet will make the cookies spread too much and potentially burn the bottoms.
- Eyeballing Ingredients: While we’re all for culinary freedom, baking is a science. Use proper measuring cups and spoons, especially for flour and sugar.
Alternatives & Substitutions
Feeling adventurous? Here are some tweaks to keep things interesting:
- Butter Swaps: Can you use margarine instead of butter? Well, technically yes, but why hurt your soul like that? Your cookies won’t be as rich or flavorful. For a dairy-free option, good quality vegan butter sticks often work well, though the texture might vary slightly. Coconut oil can also work, but will give a different flavor and a slightly crisper cookie.
- Sugar Ratios: I’ve given you my preferred ratio for chewiness and sweetness, but you can adjust slightly. More brown sugar equals chewier cookies; more granulated sugar equals crispier edges. Don’t go wild, though.
- Chocolate Chip Frenzy: Milk, dark, white chocolate chips? Peanut butter chips? Butterscotch? M&Ms? Chopped nuts? Toffee bits? Go nuts (literally)! These cookies are a blank canvas for your wildest mix-in dreams. A sprinkle of sea salt on top before baking is also a game-changer.
- Milk Alternatives: Any milk will do the trick here – almond, soy, oat, even water in a pinch. It’s just there to help hydrate the mix.
FAQ (Frequently Asked Questions)
Got questions? I’ve got (casual) answers!
- Can I use a different Kodiak mix? You can! Just know that the results might vary, especially if it’s a plain mix. You might want to add more sugar or spices if it’s not the chocolate chip version.
- My cookies spread too much! What did I do wrong? A few culprits: your butter might have been too warm or melted, you might have overmeasured your butter, your oven could be too cool, or your baking sheets might have been hot. Try chilling the dough for 15-30 minutes before baking! It works wonders.
- How long do these cookies last? If they last longer than 24 hours in your house, you’re clearly not trying hard enough. Kidding! Store them in an airtight container at room temperature for 3-5 days.
- Can I freeze the cookie dough? Absolutely, you smart cookie! Scoop the dough into balls, place them on a baking sheet, and freeze until solid. Then transfer to a freezer-safe bag. When you want a fresh-baked treat, bake from frozen, adding an extra 1-2 minutes to the baking time.
- Do these taste “healthy” or like they have protein? Nope! That’s the beauty of it. They taste like a damn good chocolate chip cookie, with a slightly denser, chewier texture thanks to the whole grains. You get all the flavor without any weird protein powder aftertaste. Win-win!
- Can I make them bigger/smaller? You bet! Adjust your scoop size and then keep a closer eye on them in the oven. Smaller cookies will bake faster, larger ones will take a bit longer.
Final Thoughts
See? Told ya it was easy-peasy lemon-squeezy. You just took a humble box of pancake mix and elevated it to cookie stardom. Now go forth and impress someone—or yourself—with your new culinary skills. You’ve earned every single protein-packed, chocolate-chipped bite. Enjoy, kitchen wizard!


