Ever have one of those days where only a seriously thick, chewy, chocolate-packed cookie will do? But, like, you also want it to be *easy*? And preferably without selling a kidney for exotic ingredients or spending half your day on prep? My friend, you’ve officially stumbled into the right corner of the internet. This isn’t just a recipe; it’s a life hack for ultimate cookie satisfaction, designed for people who love to eat delicious things but also love their couch.
Why This Recipe is Awesome
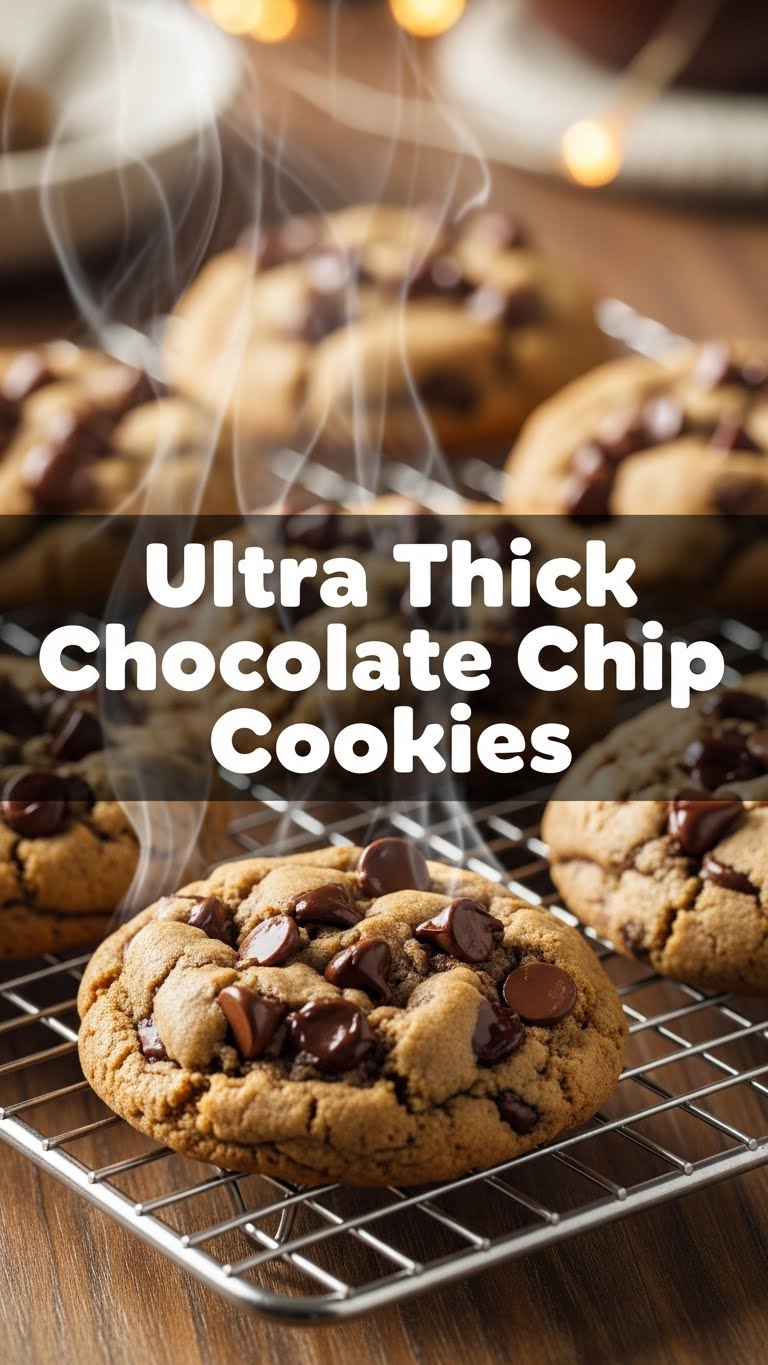
Listen, I’ve had more cookie fails than I’ve had good hair days. But this one? This bad boy delivers. It’s practically a miracle. Seriously, these aren’t your grandma’s flat, sad cookies (no offense to grandma, bless her heart). We’re talking **thick, gooey centers**, perfectly crisp edges, and enough chocolate to make you question all your previous life choices in the best way possible. Plus, it’s so straightforward, even your cat could probably follow the instructions. Okay, maybe not, but you get the gist. **Minimal fuss, maximum cookie glory.** It’s idiot-proof, honestly, even I didn’t mess it up.
Ingredients You’ll Need
Gather your troops, folks. We’re making magic.
- 1 cup (2 sticks) Unsalted Butter: Cold, and cut into 1-inch cubes. Because we’re fancy and control our salt, unlike that one ex.
- 1 cup Granulated Sugar: The classic. Can’t make cookies without it, unless you’re a goblin.
- 1/2 cup Packed Light Brown Sugar: Our secret weapon for that irresistible chewiness. Don’t skimp, unless you’re into crumbly sadness.
- 1 Large Egg: Room temperature, please. It mixes better, trust me.
- 1 Large Egg Yolk: Also room temperature. This is our second secret weapon for epic chew! Shhh, don’t tell the whites they’re missing out.
- 2 teaspoons Vanilla Extract: The good stuff. If it smells like a candle, upgrade.
- 2 1/4 cups All-Purpose Flour: Don’t go trying to get fancy with whole wheat here, unless you’re into health-ish cookies, which is not what we’re doing today.
- 1 teaspoon Baking Soda: Fresh, please! If it’s older than your dog, replace it. It’s important for the “lift”!
- 1/2 teaspoon Salt: Just a pinch to balance the sweetness. Or two pinches, if you’re like me and believe salt makes everything better.
- 2 cups Chocolate Chips: LOTS. A mix of dark and semi-sweet is divine. Or go wild with milk chocolate if that’s your jam. No judgment here.
Step-by-Step Instructions
- Cream the Butter & Sugars: In a large mixing bowl (or your stand mixer), beat the cold cubed butter, granulated sugar, and brown sugar on medium speed. Beat it like it owes you money for about 3-5 minutes until it’s light, fluffy, and looks like creamy deliciousness. **This step is crucial for texture!**
- Add the Eggs & Vanilla: Beat in the whole egg and then the extra egg yolk, one at a time, mixing well after each addition until just combined. Stir in the vanilla extract. Scrape down the sides of the bowl to make sure everything is incorporated.
- Combine Dry Ingredients: In a separate medium bowl, whisk together the flour, baking soda, and salt. Make sure it’s mixed well, so you don’t end up with salty patches or weirdly flat cookies.
- Add Dry to Wet: Gradually add the dry ingredients to the wet ingredients, mixing on low speed until *just* combined. **Do not overmix!** We’re aiming for tender, not tough.
- Fold in the Chocolate: Gently fold in those glorious chocolate chips. Use a spatula for this, not the mixer, unless you want pulverized chocolate (which, arguably, could also be good, but not today).
- Chill the Dough: Cover the bowl with plastic wrap and **chill the dough for at least 30 minutes, or up to 2 hours.** Longer is better for ultra-thick cookies. Trust me on this. FYI, this is a non-negotiable step for thickness!
- Preheat & Prep: While the dough is chilling, preheat your oven to 375°F (190°C). Line a baking sheet with parchment paper or a silicone mat. This prevents sticking and makes cleanup a breeze.
- Scoop ‘Em Out: Using a large cookie scoop (about 3 tablespoons per cookie), drop balls of dough onto the prepared baking sheet, leaving about 2 inches between them. These are going to be big, so give them space.
- Bake to Perfection: Bake for 10-12 minutes, or until the edges are lightly golden and set, but the centers still look a *little* soft and gooey. **Do not overbake!** They will continue to bake on the hot sheet after you pull them out.
- Cool & Devour: Let the cookies cool on the baking sheet for 5-10 minutes before transferring them to a wire rack. This helps them set up and prevents them from falling apart. Then, enjoy your magnificent, ultra-thick creations!
Common Mistakes to Avoid
- Thinking **chilling the dough is optional.** It’s not. It’s like telling a supermodel not to pose – it just won’t be as good. Cold dough = less spreading = thick cookies. You’re welcome.
- Overmixing the flour. Once the flour goes in, be gentle. We’re not making bread, we’re making tender cookies, not hockey pucks.
- Baking for too long. Seriously, pull them out when the edges are set and the centers still look a *little* gooey. They’ll continue to bake on the hot sheet. **This is key for that perfect chew!**
- Using warm butter or eggs. Room temperature for eggs is fine, but that **cold butter is a game-changer** for the creaming process and cookie structure.
- Skimping on the chocolate. Is it really a chocolate chip cookie if it’s not packed with chocolate? I think not.
Alternatives & Substitutions
Feeling adventurous? Or just missing an ingredient? Here are some thoughts:
- Chocolate Varieties: Mix and match! White chocolate, peanut butter chips, butterscotch chips, chopped nuts, M&Ms… Your cookie, your rules. Just keep the total quantity similar. IMO, a good quality dark chocolate chopped from a bar is next-level.
- Butter: Can you use margarine? **Technically, yes.** But if you want that rich, buttery flavor and the best texture, stick with the real deal. Your taste buds will thank you. Coconut oil could also work for a dairy-free option, but the flavor will be different.
- Flour: Gluten-free? You *can* use a 1:1 gluten-free baking blend, but the texture might vary slightly. No guarantees it’ll be exactly the same kind of thick magic, but worth a shot if you need it!
- Extracts: Don’t have vanilla? Almond extract can be a fun twist, but use half the amount as it’s stronger.
FAQ (Frequently Asked Questions)
- Can I skip chilling the dough?
No, just no. Read the common mistakes section, friend. **This is non-negotiable for thickness.** Seriously, the colder the dough, the less it spreads, and the thicker your cookies will be. Patience is a virtue here!
- My cookies are flat! What happened?
Ah, a classic tale! Likely culprits: warm butter, not chilling the dough long enough (or at all, gasp!), or possibly old baking soda. Make sure your butter is truly cold when you start creaming it!
- Can I make these ahead?
**Absolutely!** You can scoop the dough balls and freeze them solid on a baking sheet. Once firm, transfer them to a freezer bag for up to 2-3 months. Pop them straight from the freezer into the oven, just add an extra 2-4 minutes to the baking time. Future you will thank past you for this brilliant planning.
- How do I store them?
In an airtight container at room temperature for up to 3-4 days. If they last that long, you’re a stronger person than I am. For longer storage, freeze baked cookies (again, airtight) for a quick treat anytime.
- What if I don’t have a stand mixer?
No worries! A hand mixer works great, or even good old elbow grease with a sturdy wooden spoon and some serious arm power. Just make sure to really cream that butter and sugar until light and fluffy.
- Can I use salted butter?
You can, but I recommend unsalted so you can control the salt content precisely. If using salted, just omit the 1/2 teaspoon of added salt in the recipe.
Final Thoughts
So there you have it, your new go-to recipe for cookies that defy gravity and satisfy every chocolate craving known to humankind. Go forth and bake, my friend! You’ve officially leveled up your cookie game and unlocked the secrets to perfectly thick, chewy deliciousness. Now go impress someone—or just yourself—with your new culinary skills. You’ve earned it! **Especially if you didn’t skip the chill time.**


