So you’re craving something warm, gooey, and utterly delicious but the thought of a complicated recipe makes you want to curl up and cry into a bag of stale chips, huh? Been there, done that, got the crumb-stained t-shirt. Good news: today we’re making chocolate chip cookies, and it’s so easy, your cat could probably do it (if it had opposable thumbs, that is).
Why This Recipe is Awesome
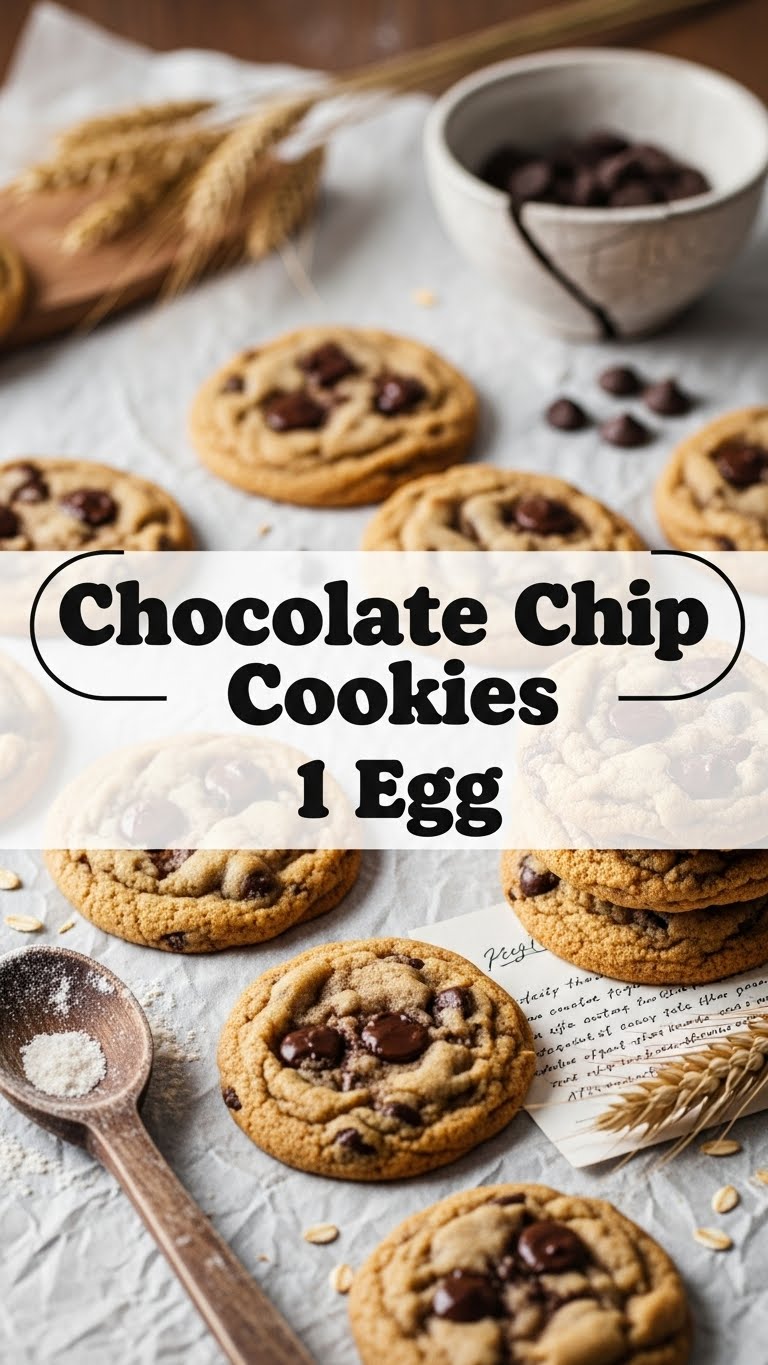
Okay, first off, it uses just ONE egg. No more awkward half-egg situations or wondering what to do with the leftover yolk/white. This recipe is streamlined for maximum deliciousness and minimal fuss. It’s also practically foolproof; I’m talking “even I didn’t mess it up” levels of easy. Plus, it makes a respectable batch, perfect for sharing… or, let’s be real, for hoarding all to yourself. No judgment here.
Ingredients You’ll Need
- Butter (unsalted, please!): 1/2 cup (1 stick). Room temp is key, unless you enjoy an arm workout trying to cream cold butter.
- Granulated Sugar: 1/4 cup. The basic sweet stuff.
- Brown Sugar (packed): 1/2 cup. The secret sauce for chewiness and depth. Don’t skip this, seriously.
- Egg: 1 large. Our star, the lone ranger.
- Vanilla Extract: 1 teaspoon. Don’t skimp on the good stuff; it makes all the difference.
- All-Purpose Flour: 1 1/4 cups. Just regular flour, nothing fancy.
- Baking Soda: 1/2 teaspoon. Gives them that perfect lift.
- Salt: 1/4 teaspoon. Balances the sweetness, trust me.
- Chocolate Chips: 1 cup. Semi-sweet, milk, dark – whatever makes your heart sing. Or a mix!
Step-by-Step Instructions
Preheat & Prep: Get your oven cranked up to 375°F (190°C). Line a baking sheet (or two!) with parchment paper. This prevents sticking and makes cleanup a breeze.
Cream the Goods: In a large bowl, cream together your room temperature butter, granulated sugar, and brown sugar until light and fluffy. This usually takes about 2-3 minutes with an electric mixer, or a good arm workout if you’re going old-school.
Egg-cellent Addition: Beat in that single egg and the vanilla extract until just combined. Don’t overmix here; we’re not making a soufflé.
Dry Mix Fun: In a separate medium bowl, whisk together the flour, baking soda, and salt. Make sure it’s all evenly distributed.
Combine Forces: Gradually add the dry ingredients to the wet ingredients, mixing on low speed (or by hand) until just combined. Stop mixing as soon as you see no more dry streaks. Overmixing is the enemy of tender cookies!
Chocolate Time! Stir in your beloved chocolate chips. Be gentle, we don’t want crushed dreams (or chips).
Scoop & Bake: Drop rounded tablespoons of dough onto your prepared baking sheets, leaving a couple of inches between each cookie. They like their personal space, you know.
Golden Glory: Bake for 9-12 minutes, or until the edges are golden brown and the centers still look slightly soft. Don’t overbake! A slightly underbaked cookie is a chewy cookie.
Cool Down: Let them cool on the baking sheet for 5 minutes (they’ll firm up beautifully) before transferring them to a wire rack to cool completely. Or, you know, eat one hot. I won’t tell.
Common Mistakes to Avoid
Using cold butter: Ever tried creaming a brick? Yeah, don’t do that. Room temp butter is non-negotiable for fluffy cookies.
Overmixing the dough: This develops gluten, leading to tough, cake-like cookies. Mix until just combined, then back off.
Not preheating the oven: Rookie mistake! A cold oven means uneven baking and sad, flat cookies.
Baking directly on an unlined sheet: Hello, stuck cookies and scrubbing! Parchment paper is your BFF.
Overbaking: The cardinal sin of cookie-making. Pull them out when they look slightly underdone in the center. They continue to cook on the hot sheet.
Alternatives & Substitutions
Butter: Can you use margarine? Well, technically yes, but why hurt your soul like that? For the best flavor and texture, butter is king, IMO. If you must, use a stick margarine, but expect a slightly different result.
Chocolate Chips: Go wild! White chocolate chips, butterscotch chips, chopped nuts, M&M’s, pretzels (for that salty crunch!). This is where you get to personalize your cookie.
Flour: Don’t have all-purpose? Cake flour will make them super tender, bread flour will make them chewier. Stick to all-purpose if you want the classic.
Vanilla Extract: No vanilla? Maple syrup can work in a pinch for a different but delicious flavor profile. Or just omit it, but vanilla really elevates the taste.
FAQ (Frequently Asked Questions)
Q: My cookies are flat! What went wrong?
A: Oh no! Could be a few things: butter was too warm/melted, baking soda is old, or your oven temperature is off. Make sure your butter is room temperature, not melted.Q: Can I chill the dough?
A: Absolutely! In fact, chilling the dough for at least 30 minutes (or even overnight!) develops richer flavors and helps prevent spreading. It’s a pro move, trust me.Q: How long do these keep?
A: If they last that long, you’re doing better than me! Stored in an airtight container at room temp, they’re typically good for 3-5 days.Q: Can I freeze the dough?
A: Heck yeah! Scoop dough balls onto a baking sheet and freeze until solid, then transfer to a freezer bag. Bake from frozen, adding a few extra minutes to the baking time. Future you will thank present you.Q: Why only one egg? Does it make a difference?
A: It absolutely does! One egg makes for a denser, chewier cookie with a lovely “puddle” effect (where the cookie spreads perfectly). Two eggs typically lead to a more cake-like texture. This is our preferred chewy cookie method!Q: My cookies are too crumbly!
A: Sounds like you might have too much flour, or perhaps not enough fat/liquid. Make sure you’re spooning and leveling your flour, not scooping directly from the bag (which can compact it).
Final Thoughts
And there you have it, folks! Your very own batch of perfectly chewy, chocolatey, one-egg wonders. See? I told you it was easy. Now go impress someone—or yourself—with your new culinary skills. You’ve earned those warm, gooey delights. Seriously, what are you waiting for? Get baking!


