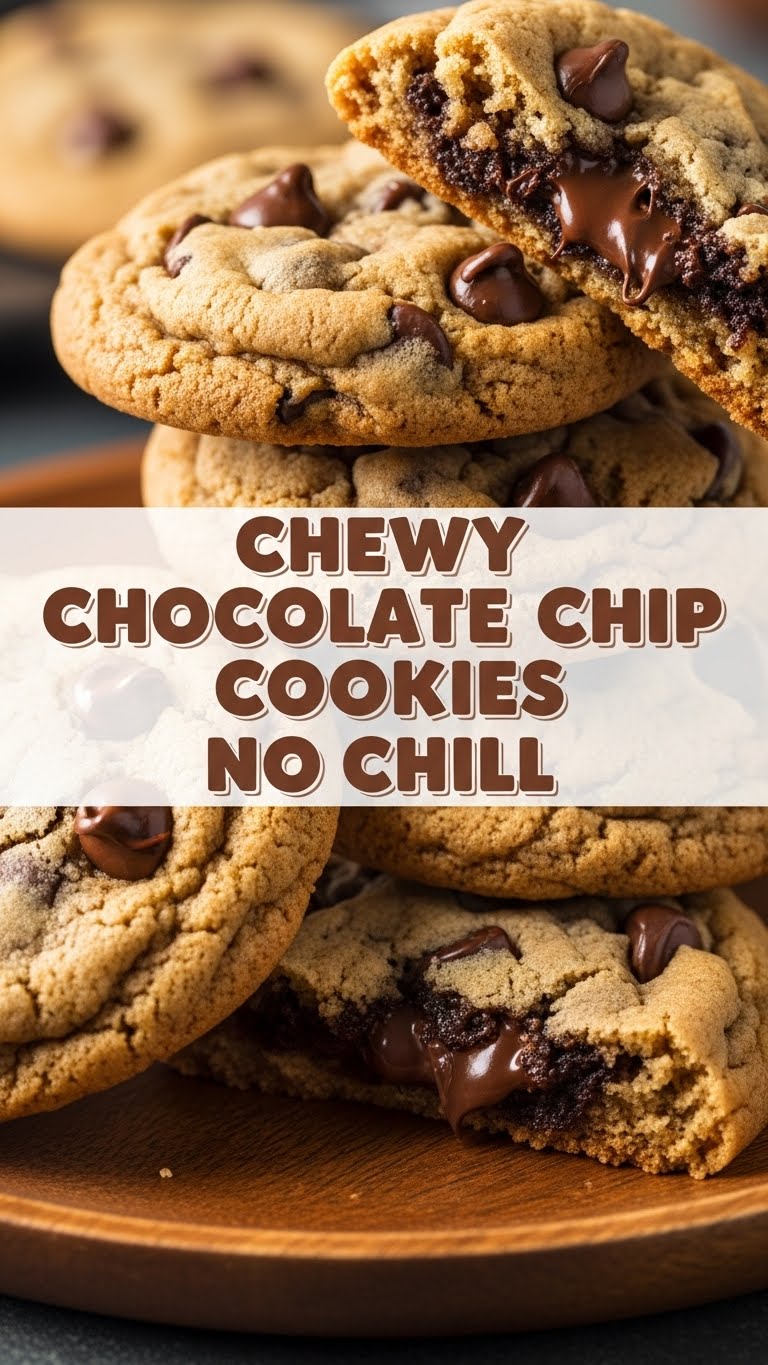
So you’ve just binged three episodes of your favorite show, and now your sweet tooth is screaming at you, but the idea of ‘waiting’ for anything (especially cookie dough) feels like cruel and unusual punishment, huh? Same, friend. Same. Well, dust off your mixing bowl, because today we’re making **chewy chocolate chip cookies** that are so good, so easy, and so gloriously *no chill*, you’ll wonder why you ever bothered with patience in the first place.
Why This Recipe is Awesome
Let’s be real, life is too short for unnecessary steps. This isn’t just a cookie recipe; it’s a declaration of independence from the tyranny of chilling dough. **It’s idiot-proof**, even I didn’t mess it up (and my track record with baked goods can be… questionable). We’re talking about warm, gooey, chewy cookies with those perfectly crisp edges hitting your mouth in under 30 minutes. That’s faster than most takeout deliveries, people! You won’t have to practice the patience of a saint waiting for dough to chill. Because who has time for that, honestly?
Ingredients You’ll Need
Gather your troops! Here’s what you need for this culinary quickie:
- 1/2 cup (113g) Unsalted Butter: The good stuff. Melted, ’cause we’re rebels and don’t care about creaming.
- 1/2 cup (100g) Granulated Sugar: For that crisp edge and happy sweetness.
- 1/4 cup (50g) Packed Light Brown Sugar: Our secret weapon for chewiness. Don’t skimp!
- 1 Large Egg: One glorious egg. Room temp if you’re feeling fancy, straight from the fridge if you’re living life on the edge (like me).
- 1 tsp Vanilla Extract: Because life’s too short for bland cookies. **Seriously, don’t skip this.**
- 1 1/4 cups (150g) All-Purpose Flour: The backbone of our operation. Don’t overthink it, just scoop and level.
- 1/2 tsp Baking Soda: The magical puff-er-upper.
- 1/4 tsp Salt: Balances everything, makes the chocolate sing. It’s a flavor enhancer!
- 1 cup (170g) Chocolate Chips: The star of the show! Use good quality ones, **IMO**, semi-sweet are classic. Or go wild with milk or dark.
Step-by-Step Instructions
- First things first: Preheat your oven to **350°F (175°C)**. Line a couple of baking sheets with parchment paper or silicone mats. Don’t skip this, cleanup is a breeze!
- In a medium-sized mixing bowl, melt your butter (microwave or stovetop, your call). Add the granulated sugar and brown sugar to the melted butter. Whisk ’em together until it’s all smooth and cohesive.
- Now, crack in that egg and pour in the vanilla extract. Whisk vigorously for about a minute. **This step is key for creating those tiny air bubbles that lead to a super chewy cookie!** Your arm will thank you.
- In a separate, smaller bowl, whisk together your flour, baking soda, and salt. Give it a good mix to distribute everything evenly.
- Gradually add your dry ingredients to your wet ingredients. Mix until they are *just* combined. And I mean just! **Stop mixing as soon as the last streaks of flour disappear.** Overmixing is the enemy of chewiness and will give you tough cookies.
- It’s chocolate time! Stir in your chocolate chips. Be generous. I won’t judge if a few sneak into your mouth.
- Scoop out rounded tablespoons of dough onto your prepared baking sheets. Leave a couple of inches between each cookie, as they will spread a bit. No need to flatten them; they’ll do their thing.
- Bake for **9-12 minutes**, or until the edges are golden brown and the centers look set but still slightly soft. They might look a little underdone, but trust me, they’ll firm up as they cool.
- Let them cool on the baking sheets for about 5 minutes (this helps them finish baking and prevents them from falling apart). Then, transfer them to a wire rack to cool completely. Or, you know, eat them warm. No judgment here.
Common Mistakes to Avoid
- Overmixing the Dough: Seriously, I cannot stress this enough. Once the flour is gone, your mixer needs to chill. Unless you’re aiming for hockey pucks, stop mixing.
- Not Preheating the Oven: It’s not a suggestion, it’s a command. A properly preheated oven ensures even baking and prevents sad, flat cookies. Rookie mistake, trust me.
- Using Cold Butter: This recipe calls for melted butter for a reason. Don’t try to substitute with room temperature butter and expect the same results. Read carefully, butter matters!
- Eating All the Dough Before Baking: Self-control is hard, but future-you wants baked cookies. (Though, a little taste test is fine, we’re friends here.)
- Baking Until Completely Firm: You want gooey centers, so pull them out when they look *almost* done. They continue to cook on the hot sheet pan.
Alternatives & Substitutions
Feeling adventurous? This recipe is super flexible!
- Chocolate: Try milk chocolate, dark chocolate, a mix, or even white chocolate chips! Feeling wild? Add some chopped nuts (walnuts or pecans) or M&Ms for extra pizzazz.
- Butter: Could you use margarine? Sure, but your cookies won’t be as rich and the texture might be slightly different. For a dairy-free option, coconut oil can work, but adjust your expectations on flavor.
- Flour: A 1:1 gluten-free all-purpose blend *might* work, but results vary. Proceed with caution and don’t blame me if they come out weird.
- Spices: A pinch of cinnamon or a tiny dash of espresso powder (just 1/4 tsp!) can really elevate the flavor and make the chocolate pop!
FAQ (Frequently Asked Questions)
Q: Do I really not need to chill the dough? A: Nope! That’s the whole point of this magical recipe. Go forth and bake immediately! No more staring longingly at dough in the fridge.
Q: Why is beating the egg and sugar mixture so important? A: It creates tiny air bubbles, which gives you that glorious chewy texture we’re all after. Plus, it makes the cookie lighter!
Q: Can I make the dough ahead of time? A: You *can*, but then it becomes a ‘chill’ recipe, defeating the purpose! If you do, it’ll last a few days in the fridge. Just let it come to room temp a bit before baking.
Q: My cookies spread too much! What happened? A: Could be your butter was too warm, or you didn’t measure your flour correctly. **FYI**, too little flour = flat cookies. Make sure your oven temp is accurate too!
Q: How do I store these masterpieces? A: In an airtight container at room temperature for up to 3-4 days. If they last that long, which, let’s be real, they won’t.
Q: Can I freeze the baked cookies? A: Absolutely! Once cooled, place them in a freezer-safe bag or container. Thaw at room temp or give them a quick zap in the microwave for a ‘fresh from the oven’ vibe.
Final Thoughts
So there you have it, my friend! A recipe so simple, so quick, and so utterly delicious, it might just become your new go-to. No more agonizing waits, no more complex steps. Just pure, unadulterated cookie joy, ready in a flash. Go ahead, treat yourself! You deserve it.
Now go impress someone – or, let’s be honest, just yourself – with your new lightning-fast baking skills. You’ve earned those warm, chewy bites. Seriously, go make them now. What are you waiting for?


