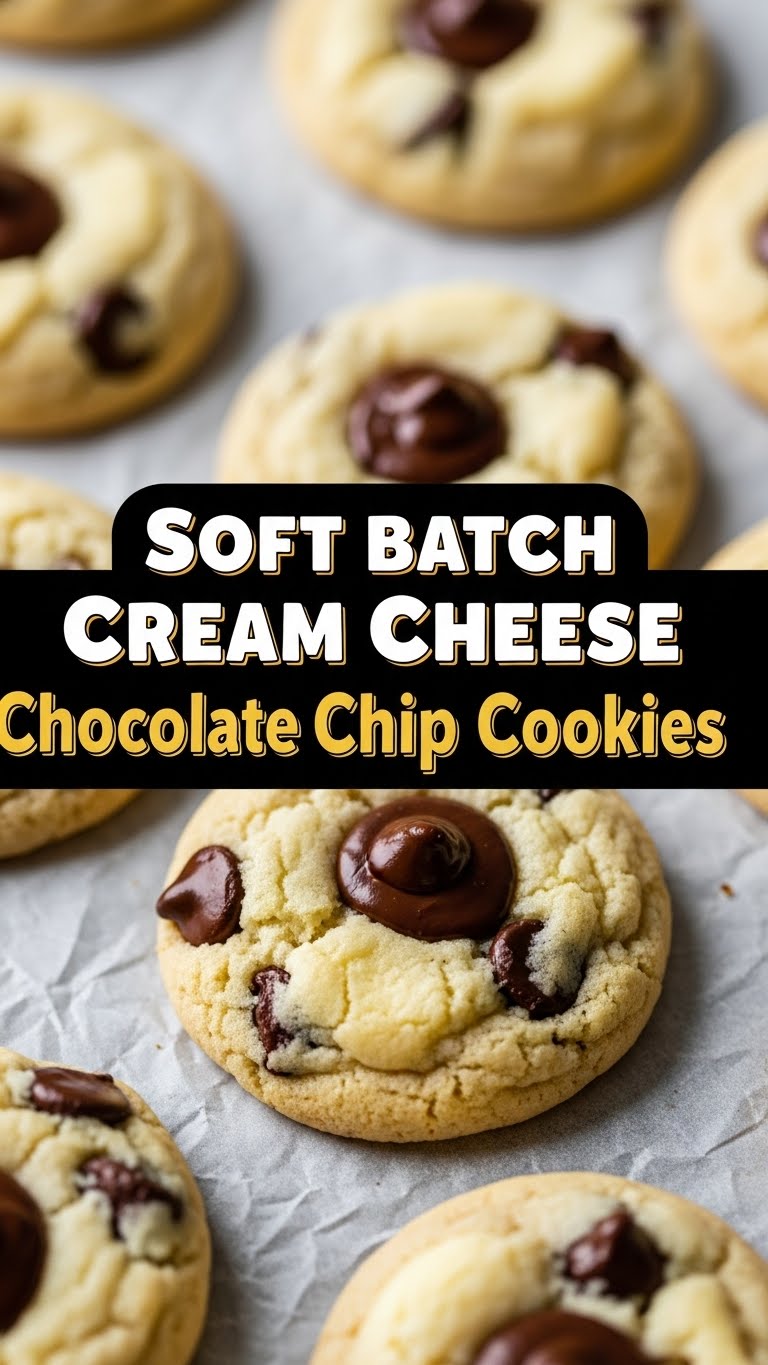
So, you’re looking for that perfect, gooey, “I-can’t-believe-I-made-these” cookie that screams comfort but doesn’t require a culinary degree or a full day’s commitment, huh? My friend, you’ve come to the right place. We’re talking about Soft Batch Cream Cheese Chocolate Chip Cookies. Yeah, you heard that right: cream cheese. It’s the secret ingredient that makes these bad boys impossibly soft, delightfully chewy, and just a tiny bit tangy to cut through all that sweet goodness. Prepare for your life to change (at least, your snack-life).
Why This Recipe is Awesome
Okay, let’s be real. There are a bazillion chocolate chip cookie recipes out there. But this one? This one is special. Why? Because it’s essentially **idiot-proof**. Seriously, if I can make these without setting off a fire alarm or questioning my life choices, you can too. The cream cheese doesn’t just add a heavenly texture; it also makes the dough super forgiving. Plus, the soft batch texture means no more sad, crunchy, hockey-puck cookies. We’re aiming for pillowy clouds of chocolatey bliss here, folks. It’s a hug in cookie form, and IMO, we all need more of those.
Ingredients You’ll Need
Get ready to raid your pantry (and maybe make a quick run to the store, no judgment!). Here’s your shopping list for cookie nirvana:
- 115g (1/2 cup) unsalted butter, softened: Not melted, not rock hard. Think “spreadable on toast” consistency.
- 55g (2 oz) cream cheese, softened: Full-fat, please. This is not the time for diet decisions.
- 150g (3/4 cup) granulated sugar: For that classic sweet kiss.
- 160g (3/4 cup) packed light brown sugar: The MVP for chewiness and depth of flavor. Don’t skip it!
- 1 large egg: Your binder, your glue, your little miracle worker.
- 1 teaspoon vanilla extract: A good quality one, because vanilla makes everything better.
- 225g (1 and 3/4 cups) all-purpose flour: The backbone of our cookie empire.
- 1 teaspoon baking soda: For lift and chewiness.
- 1/2 teaspoon salt: Balances the sweetness and makes all the flavors pop. Crucial!
- 300g (about 1.5 cups) chocolate chips: Your choice! Milk, semi-sweet, dark, a mix… live your best life.
Step-by-Step Instructions
- Cream it good: In a large bowl, beat together the softened butter and cream cheese until they’re light and fluffy. This usually takes about 2-3 minutes with an electric mixer. Get those arm muscles ready, or just let the machine do the work!
- Sweeten the deal: Add both the granulated sugar and brown sugar to the butter mixture. Beat for another 2-3 minutes until everything is well combined, light in color, and even fluffier. Scrape down the sides of the bowl—no sugar left behind!
- Egg-cellent addition: Crack in your egg, then pour in the vanilla extract. Beat until just combined. Don’t overmix here; we’re just making friends with the ingredients.
- Dry run: In a separate bowl, whisk together the flour, baking soda, and salt. Give it a good mix so these dry ingredients are evenly distributed.
- Combine forces: Gradually add the dry ingredients to the wet ingredients, mixing on low speed until just combined. **Stop mixing as soon as no dry streaks remain.** Overmixing is the enemy of tender cookies!
- Chocolate shower: Fold in your chocolate chips. You can use a spoon or your (clean) hands. Just make sure they’re evenly distributed throughout the dough.
- Chill out (optional, but recommended): For the best results, cover the dough and chill it in the fridge for at least 30 minutes. An hour is even better! This helps prevent spreading and deepens the flavor. If you’re in a hurry, you can skip it, but consider yourself warned.
- Preheat & prep: While your dough is chilling (or if you skipped it, shame on you!), preheat your oven to 175°C (350°F). Line a baking sheet with parchment paper or a silicone baking mat.
- Scoop ’em up: Scoop about 1.5-2 tablespoon-sized balls of dough onto your prepared baking sheet, leaving about 2 inches between them. They’ll spread a bit.
- Bake to perfection: Bake for 9-11 minutes, or until the edges are lightly golden and the centers still look slightly underdone and puffy. **This is key for soft-batch!**
- Cool down: Let the cookies cool on the baking sheet for 5-10 minutes before transferring them to a wire rack to cool completely. This helps them firm up without losing their glorious softness. Try not to eat them all straight off the pan. (Okay, maybe just one.)
Common Mistakes to Avoid
- Overmixing: I can’t stress this enough! Once you add the flour, mix until just combined. Overmixing develops gluten, leading to tough, chewy (and not in a good way) cookies. Don’t be that person.
- Not softening ingredients: Using cold butter or cream cheese will result in a lumpy, uneven dough. Who wants lumpy cookies? Nobody.
- Skipping the chill: While you can bake without chilling, the dough spreads more, and the flavors aren’t as developed. Think of chilling as a spa day for your dough – it comes out refreshed and better looking.
- Overbaking: This is the biggest sin for soft batch cookies. If they look perfectly golden and set in the oven, you’ve gone too far. Pull them out when the edges are just set and the centers still look a little gooey. They’ll continue to bake on the hot sheet.
- Not using parchment paper: Cookies will stick, and your beautiful creations will be ruined. Save yourself the heartbreak (and the scrubbing).
Alternatives & Substitutions
Feeling adventurous? Or just out of something? Here are a few ideas:
- Chocolate Variety: Not a fan of semi-sweet? Go all dark chocolate! Or a mix of milk and white chocolate chips? Maybe throw in some chopped caramel bits. Get wild!
- Add-ins: Walnuts, pecans, chopped pretzels (for a sweet and salty kick, FYi), or even a sprinkle of sea salt on top before baking can elevate these.
- Butter Substitute: While butter is king here for flavor and texture, if you’re truly desperate, you could try an equal amount of solid vegetable shortening. Just know that the flavor might not be as rich. But really, **use butter.** You deserve it.
- Flour Power: Want to make them gluten-free? A 1:1 gluten-free all-purpose flour blend usually works great in cookie recipes.
FAQ (Frequently Asked Questions)
Got questions? I’ve got (casual) answers!
Can I use low-fat cream cheese?
Well, technically you could, but why would you want to? The full-fat cream cheese is what gives these cookies their unparalleled richness and texture. Don’t cheap out on the good stuff!
Do I *really* need to chill the dough?
Like I said, it’s optional but highly recommended. Chilling helps the flavors meld, makes the dough less sticky, and prevents the cookies from spreading too much. Think of it as a brief timeout for your dough to get its act together. If you’re in a hurry, go for it, but expect slightly flatter cookies.
How long do these cookies last?
If you can keep your hands off them, they’ll stay deliciously soft and fresh in an airtight container at room temperature for up to 3-4 days. After that, they might start questioning their life choices.
Can I freeze the dough?
Absolutely! Scoop the dough onto a baking sheet, freeze until solid, then transfer the frozen dough balls to a freezer-safe bag. When a craving hits, bake from frozen, adding a minute or two to the baking time. Future you will thank past you!
My cookies spread too much! What happened?
A few culprits: your butter or cream cheese might have been too soft (or melted), your oven might not be at the correct temperature (get an oven thermometer!), or you might have skipped chilling the dough. Next time, try chilling longer!
Can I add nuts or other mix-ins?
Totally! Walnuts, pecans, even a handful of dried cranberries for a festive twist. Just don’t overload them, or the cookie might fall apart. About 1/2 to 3/4 cup of extra mix-ins is a good starting point.
Final Thoughts
Alright, my friend, you’re armed with all the knowledge (and probably a newfound craving) to create the most divine Soft Batch Cream Cheese Chocolate Chip Cookies known to humankind. Go forth and conquer that kitchen! These cookies are perfect for sharing (if you’re feeling generous), for a quiet night in with a cuppa, or for simply reminding yourself that you’re capable of making incredibly delicious things. Now go impress someone—or yourself—with your new culinary skills. You’ve earned it!


