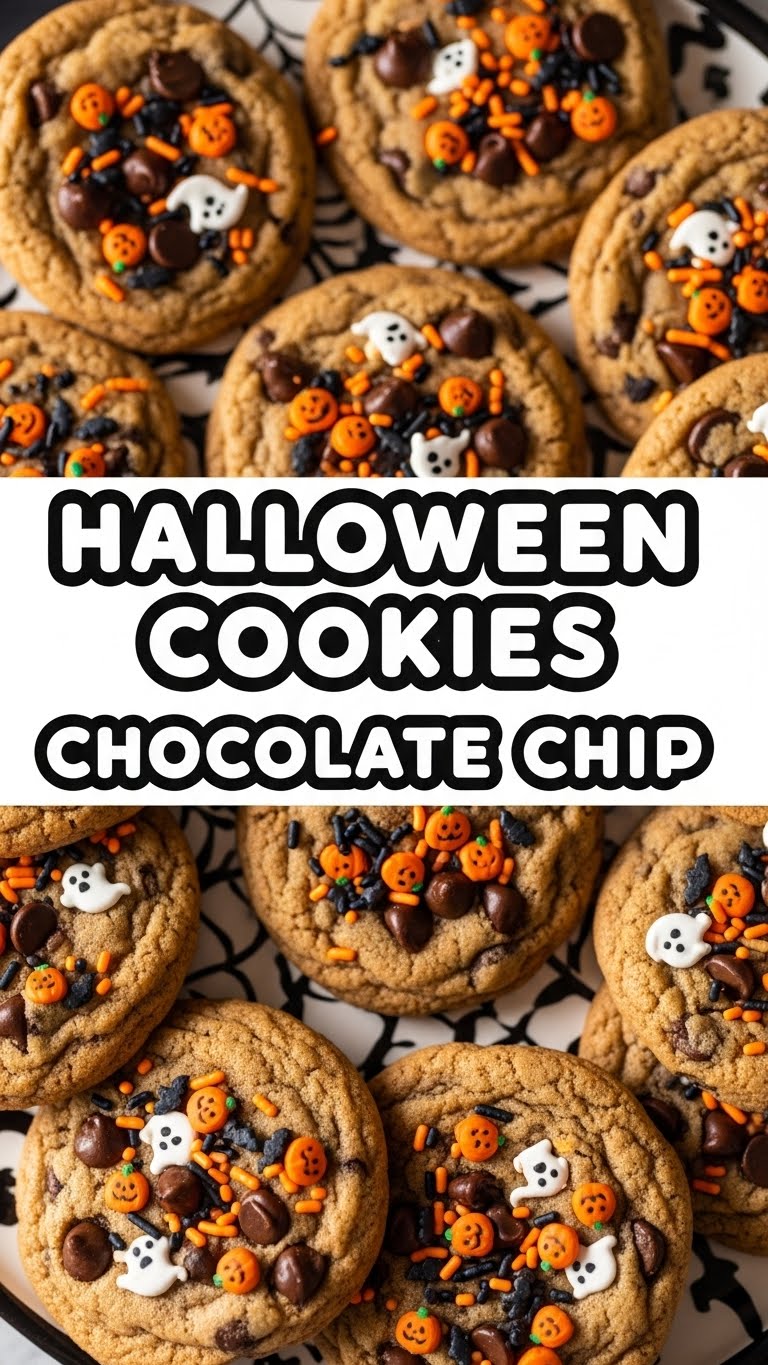
Halloween’s just around the corner, and let’s be real, you want to eat something spooky *and* delicious without turning your kitchen into a science experiment, right? Me too, pal. So, grab your comfiest PJs, because we’re about to whip up some legendary Halloween Chocolate Chip Cookies that are more treat than trick. Get ready to impress everyone with minimal effort!
Why This Recipe is Awesome
Okay, so why this recipe? Because it’s practically magic. It’s gooey, chocolatey, and spooky-cute without demanding a culinary degree. Seriously, if I can make these without burning the house down, you’re golden. Plus, they disappear faster than a ghost in a haunted house. Consider it an achievement!
Ingredients You’ll Need
- 1 cup (2 sticks) unsalted butter: The good stuff, not that weird spread. Room temp, obvi!
- ¾ cup granulated sugar: For that classic sweet kick.
- ¾ cup packed light brown sugar: Dark or light, your call. Adds chewiness and depth to our cookies.
- 2 large eggs: They’re the glue that holds our spooky dreams together.
- 2 teaspoons vanilla extract: Pure, please. Don’t cheap out here; it makes a huge difference!
- 2 ¼ cups all-purpose flour: The backbone of any good cookie.
- 1 teaspoon baking soda: Our little leavening friend, making them puffy and soft.
- ½ teaspoon salt: Balances the sweetness, trust me on this one.
- 1 ½ cups chocolate chips: Milk, semi-sweet, dark—mix ’em up! Go wild.
- ½ cup Halloween sprinkles: The mandatory festive touch. Think orange, black, purple, ghost shapes!
- Optional fun stuff: Candy corn, mini M&Ms, or chopped up Oreos for extra pizzazz.
Step-by-Step Instructions
- **Preheat your oven to 375°F (190°C).** Line your baking sheets with parchment paper. This is key for no-stick, easy cleanup, and perfectly baked bottoms.
- In a large bowl, cream together the softened butter, granulated sugar, and brown sugar until light and fluffy. This usually takes about 2-3 minutes with an electric mixer. Don’t skimp on this step—it adds air for a soft texture!
- Beat in the eggs one at a time, making sure each is fully incorporated before adding the next. Stir in the vanilla extract. Your kitchen should start smelling divine already!
- In a separate bowl, whisk together the flour, baking soda, and salt. Gradually add the dry ingredients to the wet ingredients, mixing until just combined. **Do not overmix!** That’s how you get tough cookies, and nobody wants that.
- Fold in the chocolate chips and Halloween sprinkles. If you’re adding other candies, now’s the time. Be gentle so you don’t crush everything.
- Drop rounded tablespoons of dough onto your prepared baking sheets, about 2 inches apart. They need space to spread out and become glorious. Don’t crowd them!
- Bake for 9-11 minutes, or until the edges are golden brown and the centers are still slightly soft. **Keep an eye on them!** Ovens vary, so your first batch is your test run.
- Let the cookies cool on the baking sheets for a few minutes before transferring them to a wire rack to cool completely. Or just eat them warm; no judgment here.
Common Mistakes to Avoid
- **Cold butter:** Trying to cream cold butter is like trying to convince a cat to fetch—it just won’t work right. **Room temperature butter is a non-negotiable** for that fluffy, light texture.
- **Overmixing the dough:** This is a cardinal sin in cookie-making. Mix until *just* combined, otherwise, you’ll end up with hockey pucks instead of soft, chewy cookies.
- **Not preheating the oven:** Just do it. **A properly preheated oven ensures even baking** and helps your cookies spread properly. Rookie mistake, people!
- **Baking too long:** Pull them out when the edges are golden and the centers look slightly underdone. They’ll continue to bake on the hot sheet. This is the secret to soft cookies!
- **Skipping parchment paper:** Unless you enjoy chiseling cookies off a pan, use parchment. Trust me, it makes life so much easier.
Alternatives & Substitutions
- **Chocolate type:** Don’t have semi-sweet? Use milk chocolate! Only have dark? Go for it, you rebel. You can also chop up a chocolate bar for chunky bits, which is super satisfying.
- **Sprinkles:** No Halloween sprinkles? Any sprinkles will do, or skip them entirely. The chocolate chips are the real stars, after all. Or just use a drizzle of white chocolate dyed orange or purple after baking for that extra flair.
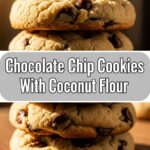
- **Flour:** All-purpose is generally best, but some people like to swap a bit for oat flour for a chewier texture. (But for a first-timer, stick to AP, IMO, it’s foolproof.)
- **Butter:** *Technically* you can use margarine, but honestly, butter tastes way better and yields a superior texture. **Don’t compromise on flavor if you can help it!**
FAQ (Frequently Asked Questions)
- **”Can I make the dough ahead of time?”** Absolutely! Cover it tightly and chill it in the fridge for up to 2-3 days. Chilled dough often results in thicker, chewier cookies—a definite win for some!
- **”My cookies are spreading too much, what gives?”** Could be a few things: your butter was too soft, your oven wasn’t preheated enough, or you might need a tiny bit more flour next time. Also, chilling the dough definitely helps control spread!
- **”Do I *really* need both granulated and brown sugar?”** Yes, my friend, you do. Granulated sugar adds crispness, while brown sugar adds chewiness and moisture. It’s a classic cookie team effort for perfection!
- **”What if I don’t have baking soda?”** Uh oh. Baking soda is pretty essential for the rise and texture of these cookies. You can try a pinch of baking powder, but results won’t be quite the same. It’s a baking pantry staple for a reason!
- **”Can I freeze these cookies?”** Yep! Freeze baked cookies in an airtight container or freezer bag for up to 3 months. You can also freeze portions of raw dough, which is awesome for impromptu cookie cravings!
- **”Why are my cookies hard after cooling?”** You probably baked them a little too long. Remember, pull them out when the edges are set and the centers still look slightly soft. They firm up as they cool!
Final Thoughts
See? That wasn’t so scary, was it? You just conquered Halloween cookies like a champ. Now go forth and share your delicious, spooky creations with friends, family, or just hoard them all for yourself (I won’t tell). You’ve earned every single bite. Happy haunting… and baking!

