So you’re craving something tasty but too lazy to spend forever in the kitchen, huh? Same. And honestly, who needs a complex, multi-step recipe when your soul is screaming for warm, gooey chocolate chip cookies *right now*? Exactly. Forget fancy. We’re going for maximum deliciousness with minimal effort. Let’s get baking!
Why This Recipe is Awesome
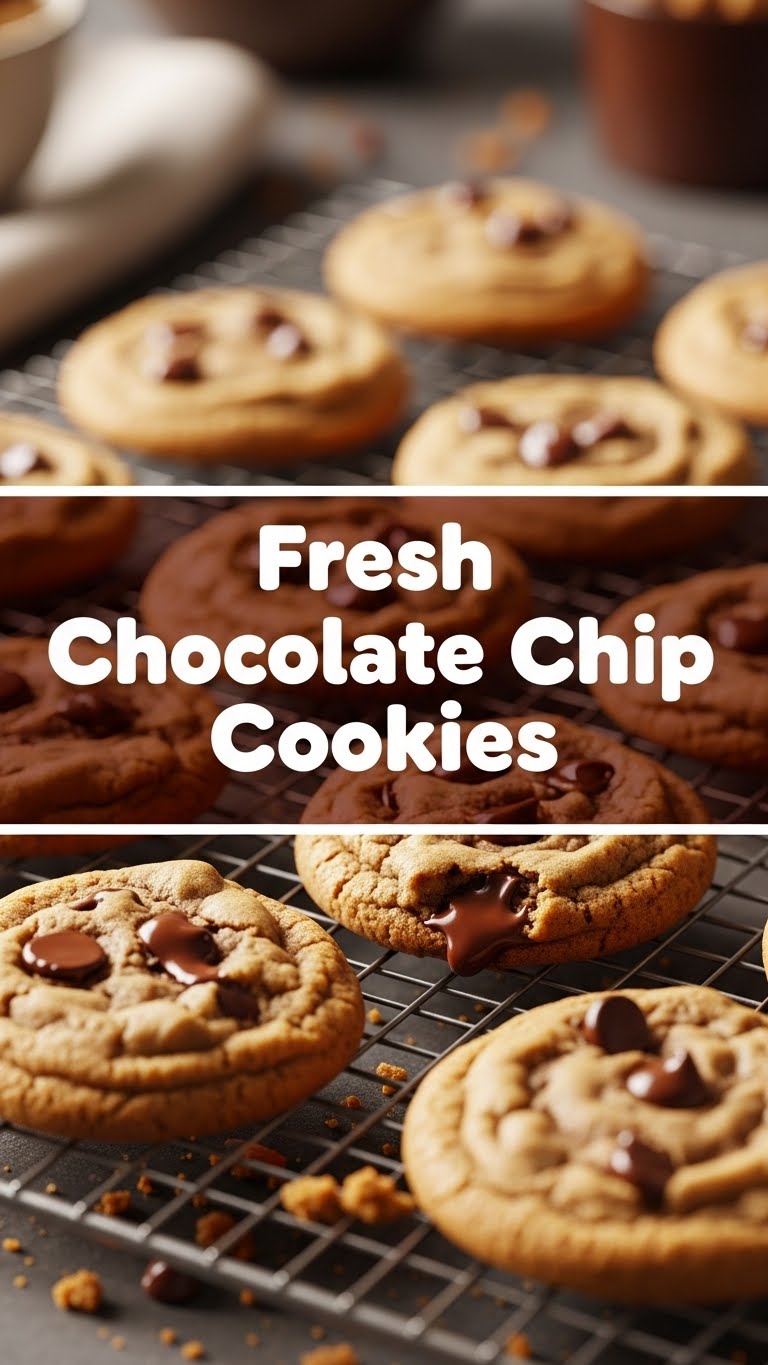
Okay, real talk. This isn’t just *another* cookie recipe. This is *the* cookie recipe for when you want to feel like a baking wizard without actually doing any wizardry. It’s practically **idiot-proof**; even I’ve managed to nail it, which, trust me, is saying something. We’re talking minimal fuss, maximum chewy, chocolatey deliciousness. Plus, the smell alone will make your house feel like a warm hug. Who doesn’t want that?
Ingredients You’ll Need
Gather your troops! Here’s what you’ll need to create some cookie magic:
- 1 cup (2 sticks) unsalted butter, softened: The good stuff. Don’t cheap out here; your taste buds will thank you. Make sure it’s soft enough to indent with your finger, but not melted!
- ¾ cup granulated sugar: The classic white sugar, for that crisp-chewy balance.
- ¾ cup packed light brown sugar: The secret to that deep, molasses-y chew. Life’s about balance, right?
- 2 large eggs: Happy eggs make happy cookies. Or something.
- 1 teaspoon pure vanilla extract: Pure, please! No fake stuff allowed in this culinary masterpiece.
- 2 ¼ cups all-purpose flour: No fancy business here. Just your everyday flour.
- 1 teaspoon baking soda: The unsung hero that gives your cookies lift and spread.
- ½ teaspoon salt: Balances the sweetness and makes those chocolate chips pop!
- 2 cups (12 oz bag) chocolate chips: Semi-sweet, milk, dark – whatever makes your heart sing. Or mix ’em up, rebel!
Step-by-Step Instructions
Ready? Let’s turn these simple ingredients into pure joy!
- Preheat & Prep: First things first, get that oven to 375°F (190°C). Line a baking sheet with parchment paper. Trust me, it makes cleanup a total breeze.
- Cream the Good Stuff: In a large bowl, beat the softened butter with both the granulated and brown sugars until the mixture is light and fluffy. We’re talking cloud-like, but tastier. Use an electric mixer if you’re feeling fancy, or just your strong arm!
- Eggs & Vanilla Time: Mix in the eggs, one at a time, until just combined. Then stir in that glorious vanilla extract. Don’t overmix here; we’re not making a soufflé.
- Combine Dry Ingredients: In a separate, medium-sized bowl, whisk together the flour, baking soda, and salt. Give it a good swirl to ensure everything is evenly distributed.
- Mix Wet and Dry: Gradually add the dry ingredients to the wet mixture, mixing until *just* combined. **Seriously, do NOT overmix!** That’s the secret to tender, soft cookies. Stop as soon as you see no more streaks of flour.
- Fold in the Chips: Stir in those lovely chocolate chips. Be generous; it’s a cookie, not a diet plan.
- Scoop & Bake: Drop rounded spoonfuls of dough (about 1.5-2 tablespoons each) onto your prepared baking sheet. Leave a little space between them; they like to spread out. Bake for 9-12 minutes, or until the edges are golden brown and the centers still look a *tiny* bit soft and gooey.
- Cool Down (if you can!): Let them cool on the baking sheet for about 5 minutes before transferring them to a wire rack to cool completely. If you can wait that long, you’re a stronger person than I am.
Common Mistakes to Avoid
Nobody’s perfect, but we can avoid these common cookie blunders:
- Overmixing the Dough: We talked about this! Overmixing develops gluten, which leads to tough, chewy cookies. No one wants tough cookies unless they’re planning a snowball fight. Mix until *just* combined.
- Too Much Flour: Scooping flour directly from the bag can compact it, giving you way too much. **Always spoon flour into your measuring cup and then level it off!** Or use a kitchen scale if you’re feeling precise.
- Cold Butter: Trying to cream cold butter is like trying to convince a cat to take a bath—pointless and messy. Softened butter is key for that perfect airy, fluffy texture when creamed with sugar.
- Not Preheating the Oven: Thinking you don’t need to preheat the oven? Rookie mistake! An evenly hot oven ensures even baking and that gorgeous golden-brown edge. Patience, young padawan.
Alternatives & Substitutions
Feeling adventurous? Here are some simple swaps:
- Butter Swaps: Technically, you *could* use margarine, but IMO, butter is king for flavor and texture. For a dairy-free twist, coconut oil (solid) can work, but the flavor profile will change slightly.
- Chocolate Chips: Go wild! White chocolate, peanut butter chips, chopped nuts (pecans or walnuts are great!), M&Ms, toffee bits, whatever your heart desires. Or a mix of a few – why choose just one?
- Flour Power: For a gluten-free version, use a 1:1 gluten-free baking blend. Just be aware the texture might be slightly different, but still absolutely delicious.
- A Pinch of Salt: A sprinkle of flaky sea salt on top of the dough balls before baking? Game changer, my friend. It really enhances the chocolate flavor. Don’t knock it ’til you try it!
FAQ (Frequently Asked Questions)
Got questions? I’ve got (casual) answers!
- Can I chill the dough? Absolutely! Chilling dough for at least 30 minutes (or even overnight!) actually deepens the flavor and reduces spread, giving you thicker, chewier cookies. More patience, better cookies!
- My cookies are flat! What happened? Usually, this means your butter was too soft (or melted), you used too much butter, or your baking soda has expired. Make sure your baking soda is fresh; it’s like a cookie’s superpower!
- Can I use brown sugar only? You can, but the combination of brown and white sugar gives that perfect balance of chewiness and crispy edges. Brown sugar alone tends to make them softer and chewier, with less crisp.
- How do I store them? Pop them into an airtight container at room temperature for up to 3-5 days. If they last that long, you either have incredible willpower or a very small appetite.
- Can I freeze the dough? OMG, yes! Scoop balls of dough onto a baking sheet, freeze until solid, then transfer them to a freezer bag. When a craving hits, bake from frozen, adding a minute or two to the baking time. Fresh cookies anytime? Sign me up!
Final Thoughts
See? That wasn’t so scary, was it? You just whipped up a batch of glorious, fresh chocolate chip cookies. Give yourself a pat on the back – you earned it! Now go impress someone—or more importantly, yourself—with your new culinary skills. Grab a warm cookie (or five) and a glass of milk. You deserve this moment of pure, unadulterated joy. Happy baking, superstar!


