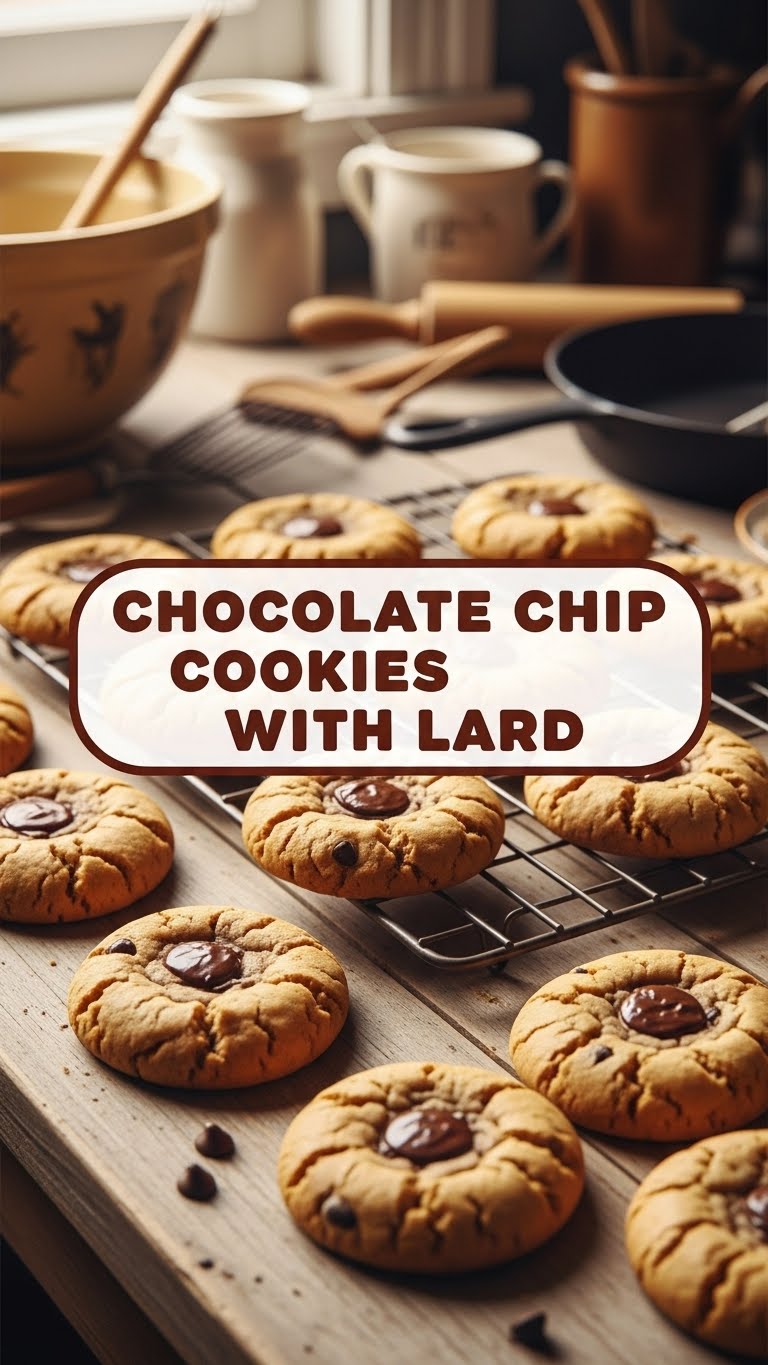
Okay, cookie monster, you’re in the mood for some serious chocolate chip magic, but maybe also a little… *controversial* ingredient? My kind of person! Forget those bland, one-note cookies. We’re diving headfirst into the glorious, often misunderstood world of baking with lard. And before you clutch your pearls, trust me on this one. These aren’t your grandma’s dry, sad cookies (unless your grandma was a secret baking genius, then maybe they are!). We’re talking crispy edges, chewy centers, and a tenderness that’ll make you wonder where lard has been all your life. So grab your apron, a sense of adventure, and let’s get baking!
Why This Recipe is Awesome
First off, it’s idiot-proof. Seriously, even I didn’t mess it up, and my track record with anything more complex than toast is… spotty. But beyond the sheer ease, this recipe gives you a chocolate chip cookie experience like no other. Thanks to our star ingredient, lard, these cookies have an unbelievably delicate, almost flaky tenderness that butter just can’t quite achieve. Plus, it gives them a certain *je ne sais quoi* – a richness that’s not heavy, just incredibly satisfying. It’s like your favorite classic cookie went to an exclusive spa and came back utterly transformed. And don’t worry, there’s no “porky” taste; just pure, unadulterated cookie bliss. It’s basically a secret weapon for next-level texture!
Ingredients You’ll Need
Gather your troops, folks! Here’s what you’ll need for these culinary masterpieces:
- 1 cup (2 sticks) unsalted lard, softened: Yes, lard! Opt for good quality, unhydrogenated lard if you can find it (leaf lard is the gold standard, FYI). Make sure it’s room temperature.
- ¾ cup granulated sugar: For that perfect crisp-chew balance.
- ¾ cup packed light brown sugar: Adds moisture and a lovely caramel note.
- 2 large eggs: Room temperature, please! They emulsify better and lead to a smoother dough.
- 2 teaspoons pure vanilla extract: Don’t skimp! It makes all the difference.
- 2¼ cups all-purpose flour: The base of our cookie empire.
- 1 teaspoon baking soda: Our little leavening agent for that perfect puff.
- ½ teaspoon salt: Crucial for balancing the sweetness and making the chocolate pop.
- 1½ cups chocolate chips: Semi-sweet is classic, but hey, your cookie, your rules! Dark chocolate chunks are also divine.
Step-by-Step Instructions
- Cream it up: In a large bowl, using an electric mixer, cream together the softened lard, granulated sugar, and brown sugar until light and fluffy. This should take about 2-3 minutes. Don’t rush this step, it’s key for a tender cookie!
- Egg-cellent addition: Beat in the eggs, one at a time, until fully incorporated. Then stir in the vanilla extract. Scrape down the sides of the bowl to make sure everything gets mixed in properly.
- Dry run: In a separate medium bowl, whisk together the flour, baking soda, and salt. Make sure it’s well combined so you don’t get a random pocket of salt in one cookie (been there, done that, not fun).
- Combine forces: Gradually add the dry ingredients to the wet ingredients, mixing on low speed until *just* combined. Stop as soon as you see no more dry streaks of flour. **Overmixing is the enemy of tender cookies!**
- Chocolate shower: Fold in the chocolate chips with a spatula. Be gentle, we’re not trying to break them up.
- Chill out: Cover the dough tightly with plastic wrap and refrigerate for at least 30 minutes, or up to 2 hours. This step is super important for the lard to firm up, preventing your cookies from spreading too much and ensuring that amazing texture. **Do not skip this!**
- Bake ’em up: Preheat your oven to 375°F (190°C). Line baking sheets with parchment paper. Scoop rounded tablespoons of dough onto the prepared baking sheets, leaving about 2 inches between each cookie.
- Golden deliciousness: Bake for 9-11 minutes, or until the edges are golden brown and the centers are still slightly soft. They might look a little underdone, but they’ll continue to cook as they cool.
- Cool down: Let the cookies cool on the baking sheet for 5 minutes before transferring them to a wire rack to cool completely. Try not to eat them all immediately (I know, it’s hard).
Common Mistakes to Avoid
- Skipping the Chill Time: I know, patience is a virtue, and sometimes a pain. But seriously, **don’t skip chilling the dough**! Warm dough with lard will spread like crazy, giving you flat, greasy cookie puddles instead of glorious, chewy discs. You’ve been warned!
- Overmixing the Dough: Once you add the flour, mix *just* until combined. Overmixing develops the gluten in the flour, leading to tough, chewy cookies. We want tender, folks, not a jaw workout.
- Using Cold Eggs: Room temperature eggs mix much better into the creamed fats and sugars, creating a smoother, more emulsified batter. This translates to a better texture in your final cookie. Plan ahead, okay?
- Crowding the Baking Sheet: Give those cookies some space! If they’re too close, they’ll merge into one giant, misshapen cookie. Tasty, but not ideal for serving (or bragging rights).
- Baking on a Warm Baking Sheet: If you’re doing multiple batches, let your baking sheet cool down between rounds, or use a fresh, cool one. A warm sheet will make the cookies spread too quickly.
Alternatives & Substitutions
While this recipe is built around the magic of lard, and honestly, you should try it as-is for the full experience, here are a few ideas if you want to play around a bit:
- Lard Alternatives?: Look, I’m going to be straight with you: this recipe is *about* the lard. You *can* use butter, but then it’s just a regular chocolate chip cookie recipe, and we’re aiming for extraordinary here. The texture and tenderness that lard provides are unique. So, for this particular adventure, **stick with the lard**!
- Chocolate Choices: Feeling adventurous? Swap out the semi-sweet chips for dark chocolate chunks, milk chocolate chips, white chocolate chips, or even a mix! You could also add some chopped nuts (walnuts or pecans are great), a sprinkle of sea salt on top before baking, or even a handful of crushed pretzels for a salty-sweet crunch.
- Sugar Ratio: If you like a slightly chewier cookie, you can increase the brown sugar slightly and decrease the granulated sugar (keeping the total sugar amount the same). For a crisper cookie, do the opposite. But honestly, the given ratio is pretty perfect.
FAQ (Frequently Asked Questions)
Got questions? I’ve got (casual, humorous) answers!
- “Lard? Seriously? Is it healthy?”
Oh, honey, we’re making chocolate chip cookies, not a health smoothie! “Healthy” is subjective here. But for real, good quality lard is a natural fat, and in moderation, it’s just delicious. It’s not the villain some make it out to be. Your taste buds will thank you!
- “Do I *really* have to chill the dough? I’m impatient!”
Unless you enjoy flat, greasy cookie puddles that spread to oblivion, then **yes, you really, really do**. It’s not a suggestion, it’s a command! The lard needs to firm up to give you that glorious texture. Think of it as forced meditation for your dough.
- “What kind of lard should I use?”
Aim for high-quality, unrendered lard, ideally from pastured pigs. Leaf lard (from around the kidneys) is considered the best for baking because of its neutral flavor and flaky results. You can often find it at farmers’ markets or specialty butchers. Store-bought rendered lard is fine too, just make sure it’s not hydrogenated or labeled as “shortening.”
- “My cookies spread too much! What did I do wrong?”
Probably one of these: your dough wasn’t chilled enough, your oven temperature might be off (get an oven thermometer!), or you baked them on a warm baking sheet. Or maybe you’re just too popular and your cookies are trying to spread the love! 😉
- “Can I freeze the cookie dough?”
Absolutely! This is a genius move for future cravings. Scoop the dough into balls, place them on a baking sheet, and freeze until solid. Then transfer them to a freezer-safe bag or container. When you want a fresh cookie, just pop a few onto a baking sheet and bake from frozen, adding a minute or two to the baking time. You’re basically a cookie magician now.
- “How long do these cookies last?”
Last? My friend, that’s an existential question. In theory, in an airtight container at room temperature, they’ll last 3-5 days. In reality, they’re usually gone before the cooling rack is even put away. So, maybe make a double batch?
Final Thoughts
So there you have it, your new favorite (and slightly edgy) chocolate chip cookie recipe! You’ve successfully ventured into the wonderful world of lard baking, and your taste buds are about to be eternally grateful. These aren’t just cookies; they’re a statement. They’re proof that sometimes, the most unexpected ingredients lead to the most delicious results.
Now go forth and impress someone—or yourself—with your new culinary skills. You’ve earned it! And don’t be surprised if these become your new go-to. Just be prepared to share the secret (or not, your call). Happy baking, you magnificent human!


