So, you’ve decided to be a culinary Cupid and gift someone some homemade deliciousness, huh? Or maybe you just want to bribe your boss/neighbor/significant other with the universal language of love: chocolate chip cookies. Either way, you’re in the right place! We’re not just making cookies; we’re crafting edible hugs, little circles of joy designed to make anyone’s day infinitely better. And guess what? It’s gonna be super easy. Promise!
Why This Recipe is Awesome
Okay, let’s be real. There are approximately 7 bajillion chocolate chip cookie recipes out there. So why *this* one? Because it’s the MVP, the GOAT, the one that consistently delivers chewy centers, slightly crispy edges, and melty chocolate goodness. It’s practically **idiot-proof** (even I didn’t mess it up, and that’s saying something). You’ll look like a baking guru, but your effort-to-deliciousness ratio will be wildly in your favor. Plus, these beauties travel well, making them the ultimate gift that screams, “I care about you… and I also have good taste.”
Ingredients You’ll Need
Gather your troops! Here’s what you’ll need to transform into a cookie wizard:
- 1 cup (2 sticks) unsalted butter, softened. Not melted, folks! Think room temperature, soft-serve ice cream consistency. This is key!
- 3/4 cup granulated sugar. The white stuff. Don’t skimp, it’s not a diet cookie.
- 3/4 cup packed light brown sugar. This is where the chewiness comes from. Embrace the brown sugar!
- 2 large eggs. Happy eggs make happy cookies.
- 1 teaspoon vanilla extract. Use the good stuff if you have it. It makes a difference!
- 2 1/4 cups all-purpose flour. No need to get fancy here.
- 1 teaspoon baking soda. Your cookies’ lift ticket.
- 1/2 teaspoon salt. Balances everything out. Don’t skip it, even if you’re a sweet tooth!
- 2 cups (12 oz) chocolate chips. Semisweet, milk, dark, a mix – your cookie, your rules! Go wild!
Step-by-Step Instructions
Alright, apron on, game face on. Let’s get baking!
- Preheat & Prep: First things first, preheat your oven to **375°F (190°C)**. Line a couple of baking sheets with parchment paper or silicone mats. Trust me, it makes cleanup a breeze!
- Cream the Goods: In a large bowl (or stand mixer if you’re fancy), cream together the softened butter, granulated sugar, and brown sugar until it’s light and fluffy. This should take about 2-3 minutes. Scrape down the sides of the bowl to make sure everything’s getting mixed evenly.
- Egg-cellent Addition: Beat in the eggs one at a time, mixing well after each addition. Then stir in that lovely vanilla extract. It’s starting to smell good already, right?
- Dry Mix: In a separate, medium bowl, whisk together the flour, baking soda, and salt. Make sure it’s all combined so you don’t get a salty patch here and a bland patch there.
- Combine Forces: Gradually add the dry ingredients to the wet ingredients, mixing on low speed until *just* combined. And I mean just! **Do not overmix**, unless you’re aiming for hockey pucks (which we are NOT).
- Chip In: Fold in the chocolate chips with a spatula. Don’t be shy! Make sure they’re evenly distributed throughout the dough.
- Scoop & Bake: Drop rounded tablespoons of dough onto your prepared baking sheets, leaving about 2 inches between them. These babies need their space! Bake for **9-11 minutes**, or until the edges are golden brown and the centers are still looking a little soft.
- Cool Down: Let the cookies cool on the baking sheets for 5 minutes before transferring them to a wire rack to cool completely. This helps them set up and prevents them from breaking. Try not to eat them all immediately!
Common Mistakes to Avoid
Even the best of us stumble. Here are some pitfalls to dodge on your path to cookie glory:
- Overmixing the Dough: Seriously, this is the number one culprit for tough cookies. Mix until *just* combined, then stop. Walk away from the mixer!
- Using Cold Butter: If your butter is straight from the fridge, it won’t cream properly, and your cookies will suffer. Give it time to soften! **Room temperature butter is non-negotiable.**
- Ignoring the Baking Soda/Salt: Each ingredient has a job. Baking soda gives lift, salt balances the sweetness. Don’t be a rebel here.
- Crowding the Baking Sheet: Cookies spread, friends. Give them space, or they’ll meld into one giant, sad cookie monster.
- Baking Too Long: The centers should look *slightly* underdone when you pull them out. They continue to cook on the hot sheet. Overbake, and you’ll lose that glorious chewiness.
Alternatives & Substitutions
Feeling adventurous? Or maybe you’re just out of one ingredient? Here are some ideas:
- Chocolate Chip Varieties: Not a fan of semisweet? Go for milk chocolate, dark chocolate, white chocolate, or even those fancy chocolate chunks. A mix of two types? Even better! Embrace your inner chocolate connoisseur.
- Add-ins Galore: Want to level up? Toss in a handful of chopped walnuts or pecans for a nutty crunch. A sprinkle of sea salt on top before baking really brings out the chocolate flavor (try it!). Dried cranberries or toffee bits could also make a fun appearance. Just don’t get *too* crazy, we still want a cookie, not a kitchen sink.
- Gluten-Free? No Problem! You can absolutely use a 1:1 gluten-free flour blend instead of all-purpose flour. The texture might be slightly different, but the deliciousness will remain.
- Vegan-ish? While this recipe uses butter and eggs, many bakers have success substituting plant-based butter and flax eggs (1 tbsp ground flaxseed + 2.5 tbsp water per egg, let sit for 5 mins). Just know it might not be *exactly* the same, but it’ll still be pretty darn good.
FAQ (Frequently Asked Questions)
Got questions? I’ve got (casual) answers!
- Do I *really* need to chill the dough? For gifting, especially? YES. Chilling the dough (for at least 30 minutes, or even overnight) helps the flavors meld, prevents spreading, and gives you a thicker, chewier cookie. It’s a small wait for a big reward.
- My cookies spread too much! What gives? Could be a few things: your butter was too warm, your oven wasn’t hot enough, or you didn’t chill the dough. Or maybe your flour was too light. Try adding a tablespoon or two more flour next time, or definitely chill that dough!
- Can I use margarine instead of butter? Well, technically yes, but why hurt your soul like that? Butter provides superior flavor and texture. Margarine will work, but the cookies won’t be as rich or tender. **IMO, stick with butter.**
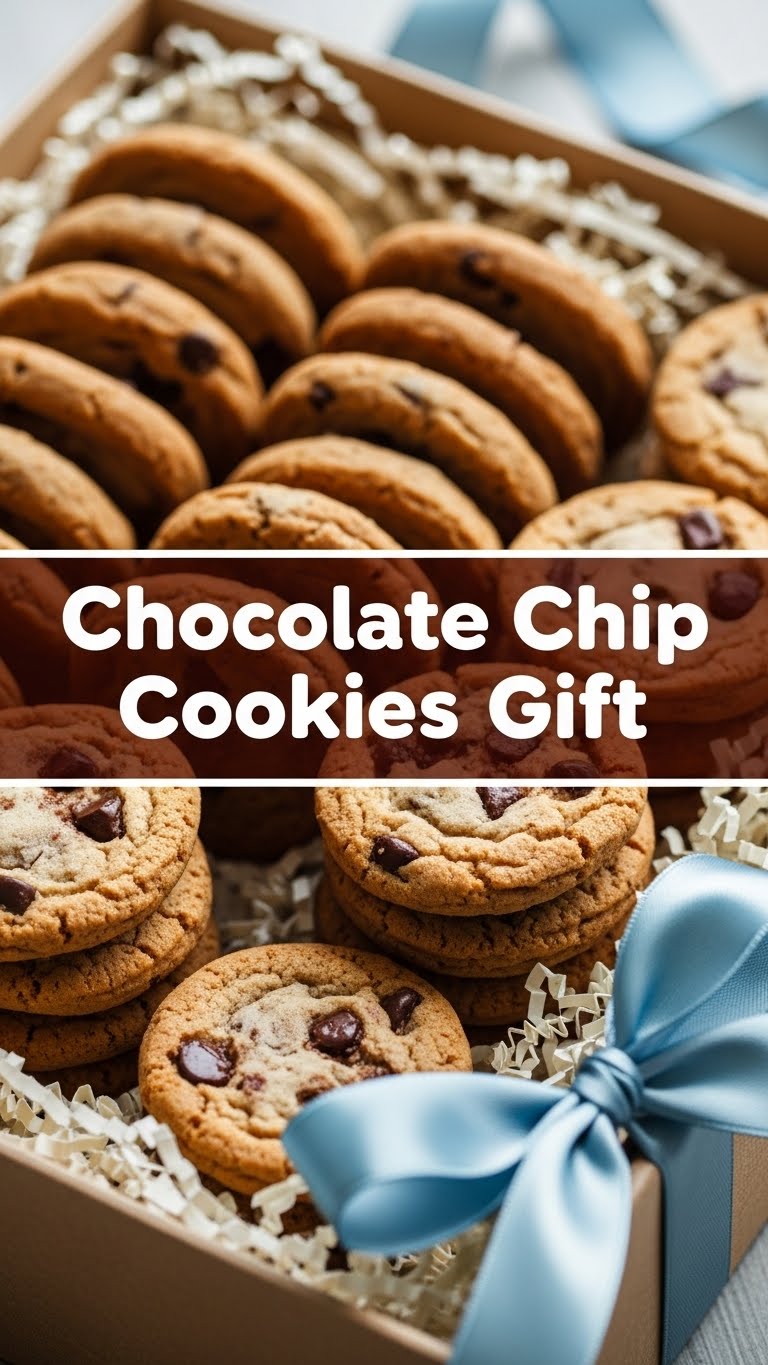
- How do I store these cookies for gifting? Once completely cool, stack them gently in an airtight container. You can layer them with parchment paper if you want to be extra fancy. They’ll stay fresh and chewy for 3-4 days.
- Can I freeze the dough? Absolutely! Roll the dough into balls, place them on a baking sheet, and freeze until solid. Then transfer to a freezer-safe bag. Bake from frozen, adding a minute or two to the baking time. Future you will thank present you for this genius move!
- What kind of chocolate chips are best? This is purely personal preference! A mix of semi-sweet and milk chocolate is a classic for a reason. Dark chocolate chips are fantastic if you love a richer, less sweet cookie. Experiment!
Final Thoughts
And there you have it, folks! Your very own guide to crafting the most irresistible chocolate chip cookies for gifting (or, let’s be honest, for yourself). You’ve tackled the dough, mastered the bake, and now you’re ready to spread some serious cookie joy. Whether these are for a birthday, a thank-you, or just a “hey, you’re awesome” gesture, they’re guaranteed to be a hit.
Now go impress someone—or yourself—with your new culinary skills. You’ve earned it! Happy baking, superstar!


