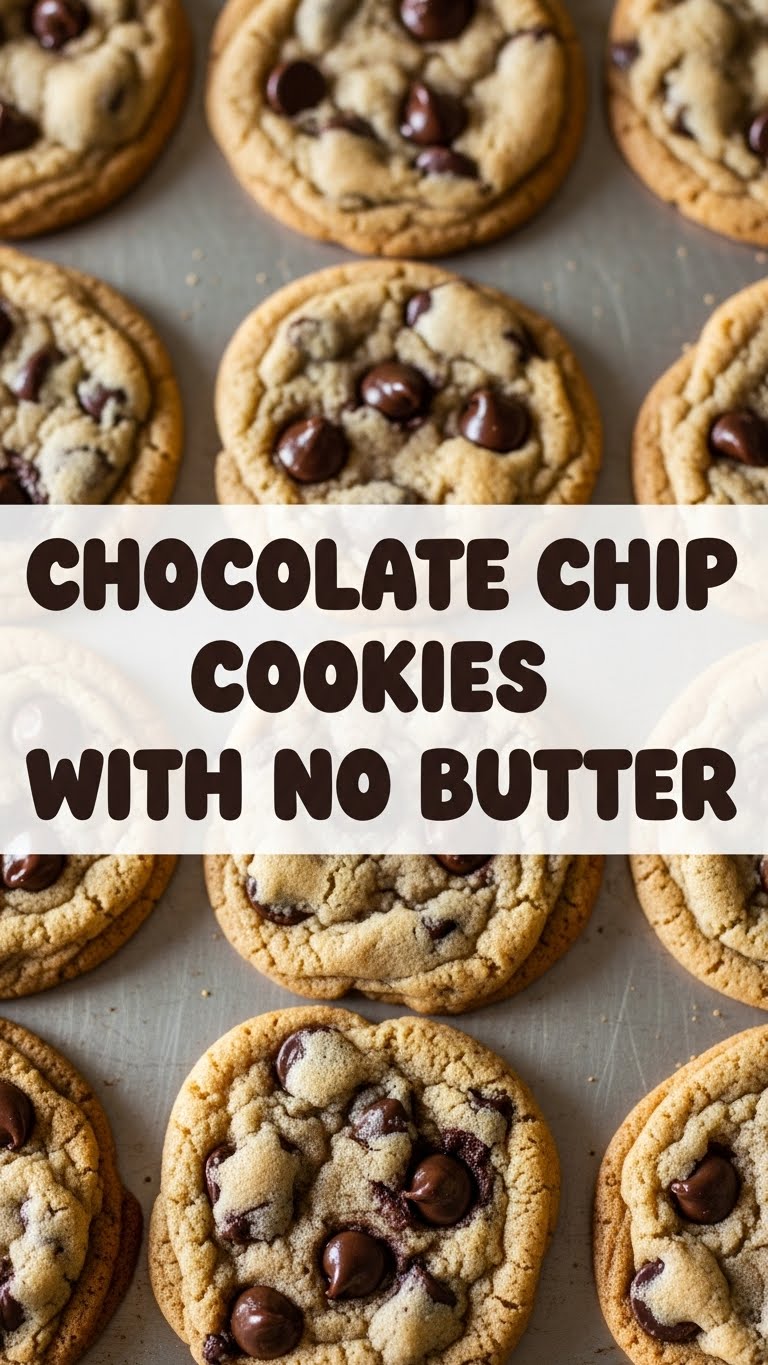
So you’re craving something warm, gooey, and chocolatey but your butter dish is emptier than your fridge after a late-night snack attack? Or maybe you just prefer your cookies to be less…buttery? I got you, friend. We’re diving into the magical world of butter-free chocolate chip cookies, and trust me, your taste buds are about to throw a party.
Why This Recipe is Awesome
Okay, let’s be real. This isn’t just *any* recipe. This is ‘I forgot to thaw the butter’ recipe, or ‘my diet requires less butter but I still want cookies’ recipe. It’s fast, surprisingly easy, and you won’t even miss the butter, pinky promise. Plus, it’s a great way to impress your friends without them knowing you secretly just used up all your oil. It’s practically fool-proof, and if I can make them without setting off the smoke detector, you totally can too.
Ingredients You’ll Need
- All-purpose flour: About 1 ½ cups. The backbone of our cookie dreams.
- Baking soda: ½ teaspoon. Our little lift-off specialist.
- Salt: ½ teaspoon. Because even sweet things need a little edge.
- Granulated sugar: ½ cup. The classic sweet stuff.
- Brown sugar: ½ cup (packed). For that chewy, caramelized goodness.
- Vegetable oil (or similar neutral oil): ½ cup. Our butter stand-in hero! Canola, sunflower, grapeseed – whatever’s chilling in your pantry.
- Egg: 1 large. Binder extraordinaire.
- Vanilla extract: 1 teaspoon. Don’t skip this! It’s like the soul of the cookie.
- Chocolate chips: 1 cup. Semi-sweet, milk, dark… your cookie, your rules. More is always an option, IMO.
Step-by-Step Instructions
- Get Ready, Set, Preheat! Preheat your oven to 375°F (190°C). Line a couple of baking sheets with parchment paper. Trust me, less mess, more cookie enjoyment.
- Dry Mix Fun: In a medium bowl, whisk together your flour, baking soda, and salt. Set it aside for a sec.
- Wet Mix Magic: In a larger bowl, combine the granulated sugar, brown sugar, and oil. Whisk them until they’re nice and smooth. Add the egg and vanilla extract, then whisk again until everything is well incorporated.
- Combine Forces: Gradually add the dry ingredients to the wet ingredients, mixing until just combined. Don’t overmix! A few streaks of flour are fine; we’re making cookies, not cake.
- Chocolate Time! Fold in those glorious chocolate chips. Be generous!
- Scoop ‘n Drop: Drop spoonfuls of dough (about 1.5-2 tablespoons each) onto your prepared baking sheets, leaving some space between them. They like their personal bubble.
- Bake ’em Up: Bake for 9-11 minutes, or until the edges are golden brown and the centers look set but still slightly soft.
- Cool Down (If You Can Wait): Let them cool on the baking sheet for a few minutes before transferring them to a wire rack to cool completely. Or, you know, eat them warm with a scoop of ice cream. No judgment here.
Common Mistakes to Avoid
- Overmixing the Dough: This is the arch-nemesis of soft, chewy cookies. You’ll end up with tough, cake-like cookies. Mix until just combined, then stop. Seriously, put the whisk down.
- Not Chilling Your Dough (Optional but Recommended): While not strictly necessary for this recipe, a quick 30-minute chill can help prevent spreading, especially if your kitchen is warm. Rookies just dive straight in!
- Baking Too Long: Remember those golden edges and slightly soft centers? Pull ’em out! They’ll continue to bake on the hot sheet. Overbaked = dry cookies. Nobody wants that.
- Forgetting Parchment Paper: Unless you enjoy chiseling cookies off your pan, parchment paper is your friend. A real lifesaver, FYI.
Alternatives & Substitutions
Oil Swap: Not a fan of vegetable oil? You can use melted coconut oil (just make sure it’s liquid when you measure it), or even a light olive oil if you’re feeling adventurous – though that might add a slight flavor. I stick to neutral oils myself, but you do you!
Sugar Play: Want less sweet? Reduce the sugar by a quarter cup. More sweet? Add a tablespoon or two more. Just remember it might affect the texture slightly.
Mix-ins Galore: Chocolate chips are classic, but why stop there? Walnuts, pecans, sprinkles, white chocolate chunks, M&Ms… this recipe is a blank canvas for your cookie artistry. Be bold!
Flour Power: All-purpose is king here, but some folks have had success with a 1:1 gluten-free flour blend. No promises on the exact texture, but worth a shot if you’re GF!
FAQ (Frequently Asked Questions)
- Q: Can I use olive oil? A: Technically, yes, but make sure it’s a very light, neutral-tasting one. Extra virgin might give your cookies a… Mediterranean flair, which isn’t always what you’re going for in a chocolate chip cookie, right?
- Q: Will these cookies taste different without butter? A: A little, sure! They’ll have a slightly lighter, less rich mouthfeel than a butter-laden cookie, but they’ll still be incredibly delicious, chewy, and satisfying. The oil provides the necessary fat for tenderness.
- Q: How do I store these cookies? A: Pop them in an airtight container at room temperature for up to 3-4 days. If they last that long, you’re a stronger person than I am.
- Q: Can I freeze the cookie dough? A: Absolutely! Scoop the dough onto a baking sheet, freeze until solid, then transfer to a freezer-safe bag or container. Bake from frozen, adding a couple of extra minutes to the baking time. Future you will thank past you.
- Q: My cookies are spreading too much! Help! A: Make sure your oven temperature is accurate (an oven thermometer is a good investment!). Also, ensure your baking soda is fresh, and if all else fails, a quick chill of the dough (30 mins in the fridge) before baking works wonders.
Final Thoughts
And there you have it, folks! Your very own batch of scrumptious, butter-free chocolate chip cookies. See? No butter, no problem! Who knew skipping an ingredient could be so liberating (and tasty)? Now go forth and conquer that cookie craving. Share them with friends, hoard them for yourself, or just marvel at your own baking prowess. You totally nailed it! Happy baking!


