Ever have one of those days where you just *need* a cookie, but like, a BIG cookie? Not some wimpy little disc, but a glorious, gooey, chocolate-laden masterpiece that says, “I love myself, and I deserve this”? Yeah, me too. And honestly, who has the time (or patience) to bake a whole batch of cookies, only to eat them all in one sitting and then feel… well, slightly guilty? Nah, let’s embrace the single-serve (or highly shareable, if you’re feeling generous) deep-dish delight. Today, my friend, we’re making a Deep Dish Chocolate Chip Cookie that’s so easy, it practically bakes itself.
Why This Recipe is Awesome
Okay, let’s be real. This isn’t just a recipe; it’s a life hack for immediate cookie gratification. Why is it awesome? First off, it’s **stupidly simple**. Like, if you can stir and press a button on an oven, you’re basically a Michelin-star chef with this one. Secondly, it delivers maximum gooey, melty, deep-dish goodness with minimal effort. Think crispy edges, a perfectly soft center, and those glorious pockets of melted chocolate. It’s the kind of cookie that makes you close your eyes and nod slowly in pure bliss. Plus, it bakes in one pan, which means fewer dishes. You’re welcome.
Ingredients You’ll Need
Get ready for a shocker—you probably have all this stuff already! No obscure ingredients or trips to a specialty store required. We like to keep things chill here.
- Unsalted Butter: 2 tablespoons, softened. The good stuff. Unsalted, because we’re fancy and control our own salt destiny.
- Granulated Sugar: 2 tablespoons. Sweetness!
- Light Brown Sugar: 2 tablespoons, packed. This is where some of that chewiness comes from. Don’t skip it!
- Large Egg Yolk: 1. Just the yolk, folks! The secret to that super rich, chewy texture without making a full egg cookie.
- Vanilla Extract: 1/2 teaspoon. A little hug for your taste buds.
- All-Purpose Flour: 1/4 cup + 2 tablespoons. The structure of our edible masterpiece.
- Baking Soda: 1/4 teaspoon. Our trusty leavening agent.
- Salt: A tiny pinch (1/8 teaspoon). Because good cookies need a little salt to balance the sweetness.
- Chocolate Chips: 1/4 cup (or more, let’s be honest). Semisweet is classic, but use whatever floats your boat. Mini, dark, milk—all are welcome!
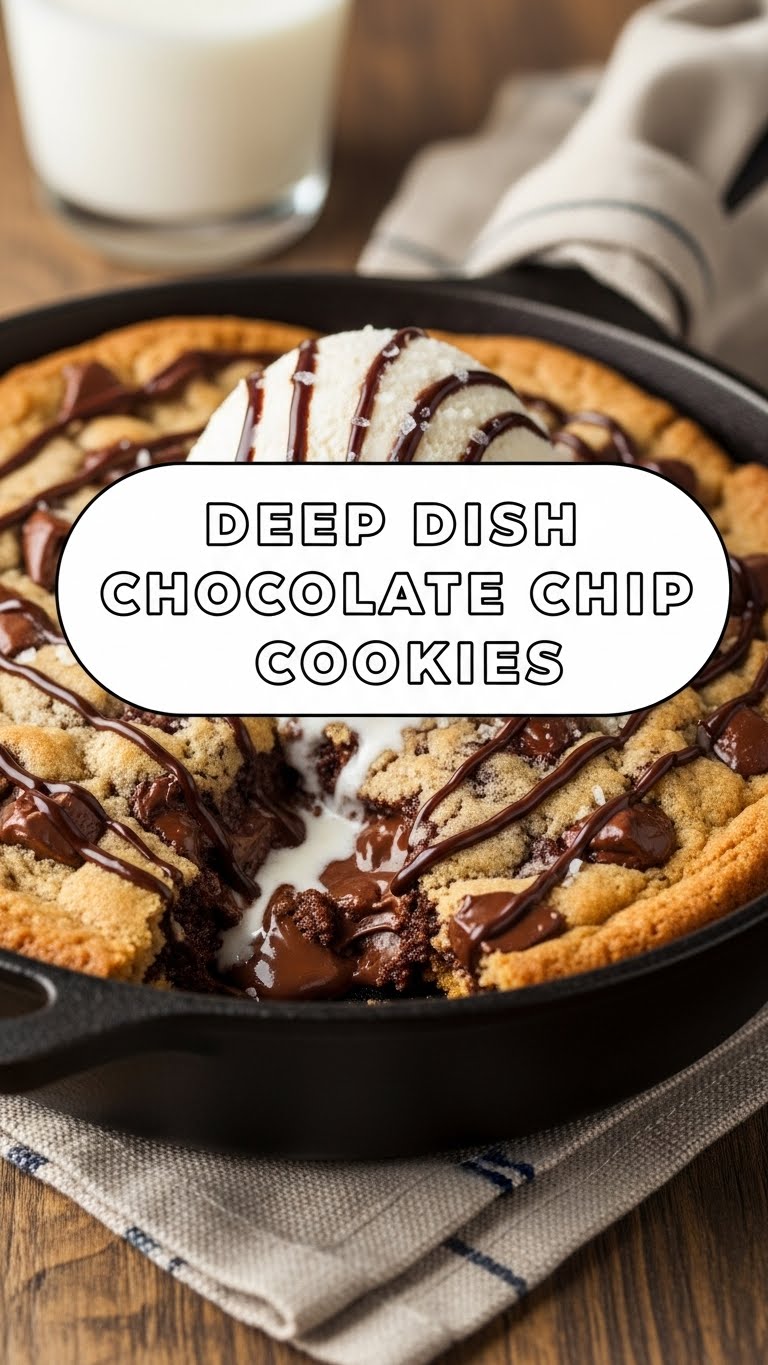
- Optional (but highly recommended): A scoop of vanilla ice cream for serving. Just saying.
Step-by-Step Instructions
Ready? This is going to be quick. Seriously, try not to blink.
- Preheat & Prep: Preheat your oven to a cozy 350°F (175°C). Grab a 5-inch cast iron skillet or an oven-safe ramekin. Give it a light spritz with non-stick spray or a quick butter rub.
- Cream the Goodness: In a small bowl, combine your softened butter, granulated sugar, and brown sugar. Beat them together with a fork or a mini whisk until they’re light, fluffy, and look like a pale, happy cloud. This takes about a minute.
- Wet Ingredients Unite: Add the egg yolk and vanilla extract to your creamy butter-sugar mix. Stir until everything is well combined and gloriously golden.
- Dry Stuff In: Now, add the flour, baking soda, and salt. Stir gently until just combined. **Don’t overmix!** Overmixing makes tough cookies, and we want soft, chewy perfection.
- Chocolate Time: Fold in those beautiful chocolate chips. Or aggressively stir them in—it’s your cookie, live your truth. Save a few for the top if you want it to look extra Instagrammable.
- Into the Pan: Press the cookie dough evenly into your prepared skillet or ramekin. If you saved some chips, sprinkle them on top now.
- Bake It ‘Til Golden: Bake for 15-20 minutes, or until the edges are golden brown and the center looks set but still slightly soft. Remember, it’ll firm up a bit as it cools.
- Cool (If You Can Wait): Let it cool in the pan for a few minutes before diving in. Trust me, it’s lava hot straight out of the oven.
Common Mistakes to Avoid
Even though this recipe is practically foolproof, there are a few rookie errors that could stand between you and your cookie destiny. Let’s make sure you avoid them:
- **Overmixing the Dough:** I said it once, I’ll say it again: **overmixing makes tough cookies**. Once you add the flour, stir *just* until everything comes together. A few streaks of flour are fine; they’ll disappear during baking.
- **Skipping the Softened Butter:** Trying to cream cold butter is like trying to convince a cat to take a bath—pointless and messy. Use softened butter for that perfect light and fluffy texture.
- **Forgetting to Preheat:** Thinking you don’t need to preheat the oven? Rookie mistake. A properly preheated oven ensures even baking from the start.
- **Underbaking/Overbaking:** Keep an eye on your cookie! Every oven is different. You want those golden edges and a slightly gooey center. When in doubt, err on the side of slightly underbaked for maximum chewiness.
Alternatives & Substitutions
Feeling adventurous? Or maybe you’re just out of one particular ingredient? No worries, we’ve got options!
- Chocolate Chip Varieties: Don’t have semisweet? Use milk chocolate, dark chocolate, white chocolate, or even a mix! Peanut butter chips are also a game-changer if you’re a fan.
- Add-Ins Galore: Want to level up? Throw in a pinch of sea salt on top before baking, some chopped nuts (walnuts, pecans), a sprinkle of shredded coconut, or even mini marshmallows for a s’mores vibe. **FYI**, this is where the fun really begins!
- Flour Power: While all-purpose is standard, you *could* try a 1:1 gluten-free baking flour if you’re avoiding gluten. Results might vary slightly, but it’s worth a shot!
- No Cast Iron? No Problem!: If you don’t have a 5-inch cast iron skillet, any small, oven-safe ramekin (around 8-10 oz capacity) will work. Just make sure it’s safe for high heat.
FAQ (Frequently Asked Questions)
- Can I make a bigger batch? Well, yes, but then it wouldn’t be a *single* deep-dish cookie, would it? For a bigger one, just double or triple the recipe and use a larger skillet or baking dish, adjusting bake time as needed.
- Do I *have* to use an egg yolk? Can’t I just use a whole egg? You *can* use a whole egg, but the yolk is truly the secret sauce here for that ultra-chewy, rich texture. A whole egg might make it a bit cakier, which isn’t the vibe we’re going for, IMO.
- My cookie spread too much! What happened? Likely culprits: your butter was too warm (melted, even) or your oven wasn’t hot enough. Make sure that butter is just softened, not liquid!
- Can I prep the dough ahead of time? Absolutely! Make the dough, press it into your skillet, cover it tightly with plastic wrap, and pop it in the fridge for up to 24 hours. You might need to add a minute or two to the baking time if baking from cold.
- How do I store leftovers? Leftovers? What are those? Kidding! (Mostly.) If by some miracle you have some, cover it tightly with plastic wrap at room temperature for a day, or in the fridge for up to 3 days. Reheat gently in the microwave for a few seconds for that fresh-baked gooeyness.
Final Thoughts
And there you have it! Your very own deep-dish chocolate chip cookie, ready to solve all your immediate dessert dilemmas. This isn’t just a recipe; it’s a testament to the fact that deliciousness doesn’t need to be complicated or take hours. So go ahead, grab that spoon, maybe a scoop of ice cream, and enjoy every single gooey, chocolatey bite. You’ve earned this. Now go impress someone—or yourself—with your new culinary skills. Happy baking (and eating)!


