So, your sweet tooth is doing a little jig and your brain is screaming “CHOCOLATE!” but also “PEANUT BUTTER!” at the same time, huh? And you kinda want something that’s ridiculously delicious but won’t make you feel like you just ran a marathon in the kitchen? My friend, you’ve come to the right place. Grab your apron (or just a clean shirt, no judgment here), because we’re about to dive into the glorious world of Chocolate Peanut Butter Chip Cookies!
Why This Recipe is Awesome
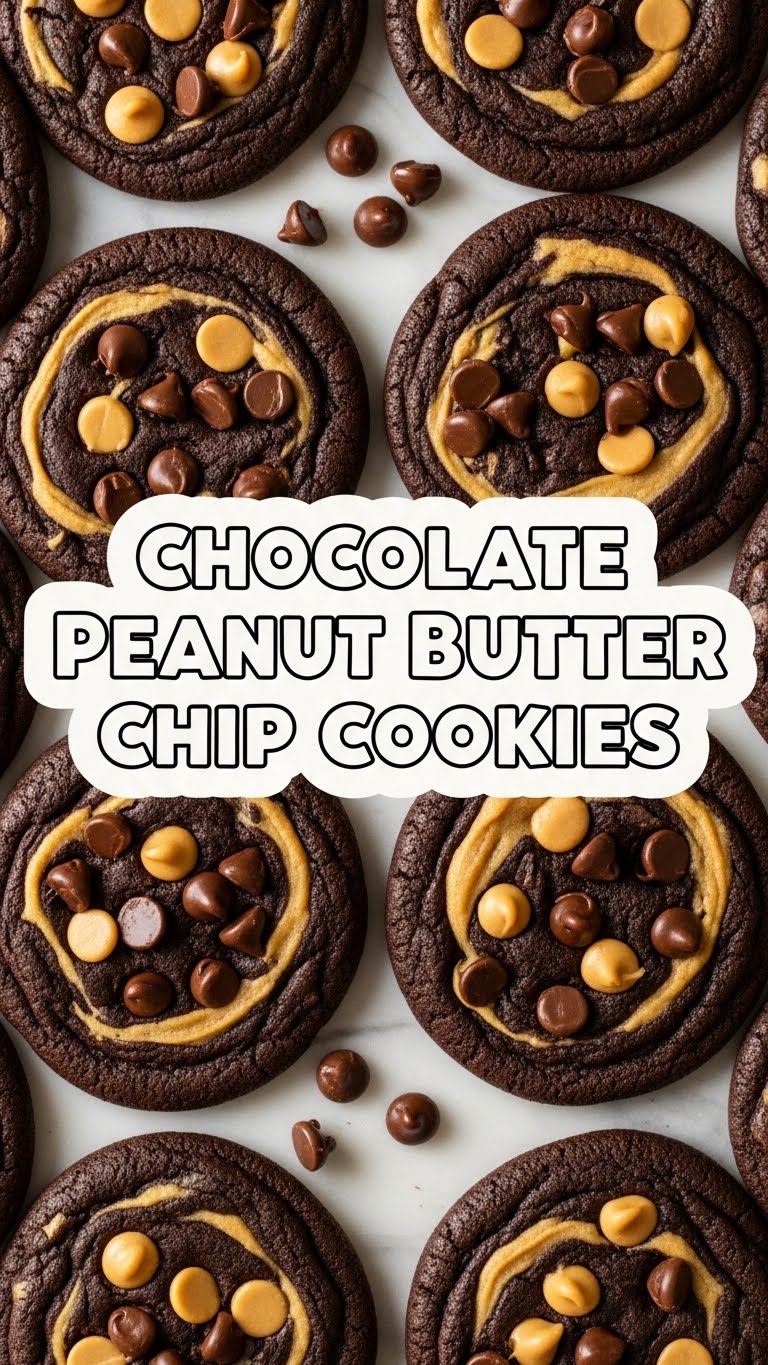
Look, I’m not gonna lie, I’ve had my share of kitchen catastrophes. But this recipe? It’s practically foolproof. Seriously, it’s so easy even my cat *almost* understands the concept (she just wants to lick the spoon, which, fair). You get that perfect chewy-gooey texture, a double hit of chocolate (cocoa *and* chocolate chips, baby!), and those glorious little explosions of peanut butter in every bite. Plus, it comes together faster than you can say “I regret not making a double batch.” And trust me, you *will* regret not making a double batch.
Ingredients You’ll Need
Alright, assemble your culinary arsenal! Here’s what you’ll need to conjure up these magical morsels:
- All-Purpose Flour: The backbone of all cookie dreams. Don’t swap this for almond flour unless you want a science experiment.
- Unsweetened Cocoa Powder: Dark, delicious, and absolutely essential for that deep chocolatey soul.
- Baking Soda: Our little lift-off agent. Makes ’em soft, not flat.
- Salt: Don’t skip it! It actually makes everything taste *more* chocolatey. Mind blown, right?
- Unsalted Butter: Room temp, please! This is non-negotiable for a smooth creaming process. Like, seriously, *room temp*.
- Granulated Sugar: For sweetness and a little crispness on the edges.
- Light Brown Sugar: This is where the chewiness comes from. Packed, please!
- Large Egg: One single, beautiful egg, also at room temp if you’re feeling fancy.
- Vanilla Extract: A splash of magic that enhances all the other flavors. Don’t be shy.
- Semi-Sweet Chocolate Chips: Or dark, or milk! Your cookie, your rules. More is always better.
- Peanut Butter Chips: The star of the show! Get ready for those pockets of salty-sweet goodness.
Step-by-Step Instructions
- Get Your Oven Ready: First things first, preheat your oven to 350°F (175°C). Line a couple of baking sheets with parchment paper. Trust me, parchment paper is your friend; it prevents sticking and makes cleanup a breeze.
- Whisk the Dry Stuff: In a medium bowl, whisk together your flour, cocoa powder, baking soda, and salt. Give it a good whisk until everything is combined. Set it aside for a moment.
- Cream the Wet Stuff (Mostly): In a large bowl (or stand mixer if you’re fancy), beat the softened butter with both the granulated sugar and brown sugar until it’s light and fluffy. This usually takes about 2-3 minutes. Scrape down the sides of the bowl to make sure everything gets mixed.
- Egg-cellent Addition: Crack in your egg and add the vanilla extract to the butter and sugar mixture. Beat again until just combined, being careful not to overmix.
- Combine Dry and Wet: Gradually add your dry ingredients to the wet ingredients, mixing on low speed until *just* combined. Don’t overmix! Overmixing develops gluten, which can lead to tough cookies. Nobody wants tough cookies.
- Fold in the Chips: Now for the good part! Gently fold in your chocolate chips and peanut butter chips. Use a spatula for this to ensure even distribution without crushing them.
- Scoop and Bake: Scoop dough using a cookie scoop (or just a spoon, again, no judgment) onto your prepared baking sheets, about 2 inches apart. Bake for 9-11 minutes. The edges should be set, but the centers will still look a *little* soft. That’s good!
- Cool Down (if you can wait): Let the cookies cool on the baking sheet for a few minutes before transferring them to a wire rack to cool completely. Or, you know, eat one hot. I won’t tell.
Common Mistakes to Avoid
We’ve all been there, staring at a sad, flat cookie that barely resembles what we envisioned. Here are a few pitfalls to dodge:
- Ignoring “Room Temperature” Butter: I mentioned it before, but it bears repeating. Cold butter won’t cream properly, and melted butter will make your cookies spread into oblivion. Patience, young Padawan.
- Overmixing the Dough: This is a classic rookie move. Once the flour goes in, mix only until just combined. Think of it like a gentle hug, not a wrestling match.
- Not Preheating Your Oven: Pop cold dough into a cold oven, and you’re asking for uneven baking. Give your oven a good 15-20 minutes to get up to temp. It’s not a suggestion, it’s a command!
- Baking Too Long: Remember, they’ll continue to cook a bit on the baking sheet after you pull them out. If they look perfectly done in the oven, they’ll be overdone once cooled. Aim for slightly soft centers.
- Eating All the Dough: Okay, this isn’t a “mistake” in the traditional sense because, let’s be real, cookie dough is heavenly. But if you want actual cookies, you gotta leave some for baking!
Alternatives & Substitutions
Feeling adventurous? Or maybe you’re just out of one thing and too lazy to go to the store (been there, done that). Here are some easy tweaks:
- Chocolate Chips: Don’t have semi-sweet? Use milk chocolate for a sweeter cookie, or dark chocolate for a more intense cocoa hit. White chocolate chips could be fun too!
- Peanut Butter Chips: No chips? You can try adding a tablespoon or two of creamy peanut butter directly into the dough with the egg and vanilla for a more subtle peanut butter flavor, or swap them for chopped Reese’s peanut butter cups if you’re feeling extra indulgent.
- Butter: Okay, this one’s tough to substitute without changing the texture significantly. Margarine can work in a pinch, but the flavor won’t be quite as rich. For a dairy-free option, a good quality vegan butter substitute should do the trick, but expect a slight texture difference.
- Flour: While I cautioned against it earlier for general experimentation, for those with gluten sensitivities, a 1:1 gluten-free baking flour blend *might* work, but results can vary. I haven’t personally tried it with this specific recipe, so proceed with caution!
FAQ (Frequently Asked Questions)
Got questions? I’ve got (mostly sarcastic) answers!
- Can I use natural peanut butter instead of chips? Well, you *can*, but the chips give you those distinct pockets of peanut butter flavor and texture. Swapping them for natural peanut butter directly into the dough might make your cookies a bit greasier and spread more. Stick to chips for the best results, IMO.
- Why are my cookies flat? Oh, the horror! Usually, this means your butter was too soft (or melted!), you didn’t chill your dough (if the recipe calls for it, this one doesn’t strictly *need* it but it helps), or your oven wasn’t hot enough. Also, check your baking soda—is it expired?
- How long do these cookies last? Ha! The real question is, how long can *you* make them last? Kidding! Stored in an airtight container at room temperature, they’re typically good for 3-5 days. But I bet they’ll be gone way before then.
- Can I freeze the dough? Absolutely! Roll the dough into balls, place them on a parchment-lined baking sheet, and freeze until solid. Then transfer them to a freezer-safe bag for up to 3 months. When ready to bake, just pop them on a baking sheet and add an extra minute or two to the baking time. Fresh cookies anytime, baby!
- Is it okay to eat the raw dough? While utterly delicious, raw eggs and raw flour technically carry risks. But let’s be real, who among us hasn’t “tested” the dough? Just try not to eat *too* much, for safety and for the sake of having actual baked cookies.
Final Thoughts
Phew! You made it. You’re now armed with the knowledge and the sheer gumption to create a batch of Chocolate Peanut Butter Chip Cookies that will make angels sing and probably make your neighbors wonder what glorious scent is wafting from your kitchen. These aren’t just cookies; they’re a hug in edible form, a little bit of joy in every bite. So go forth, my friend, conquer that craving, and maybe, just maybe, share a few. Or don’t. I totally get it. Now go impress someone—or yourself—with your new culinary skills. You’ve earned it!


