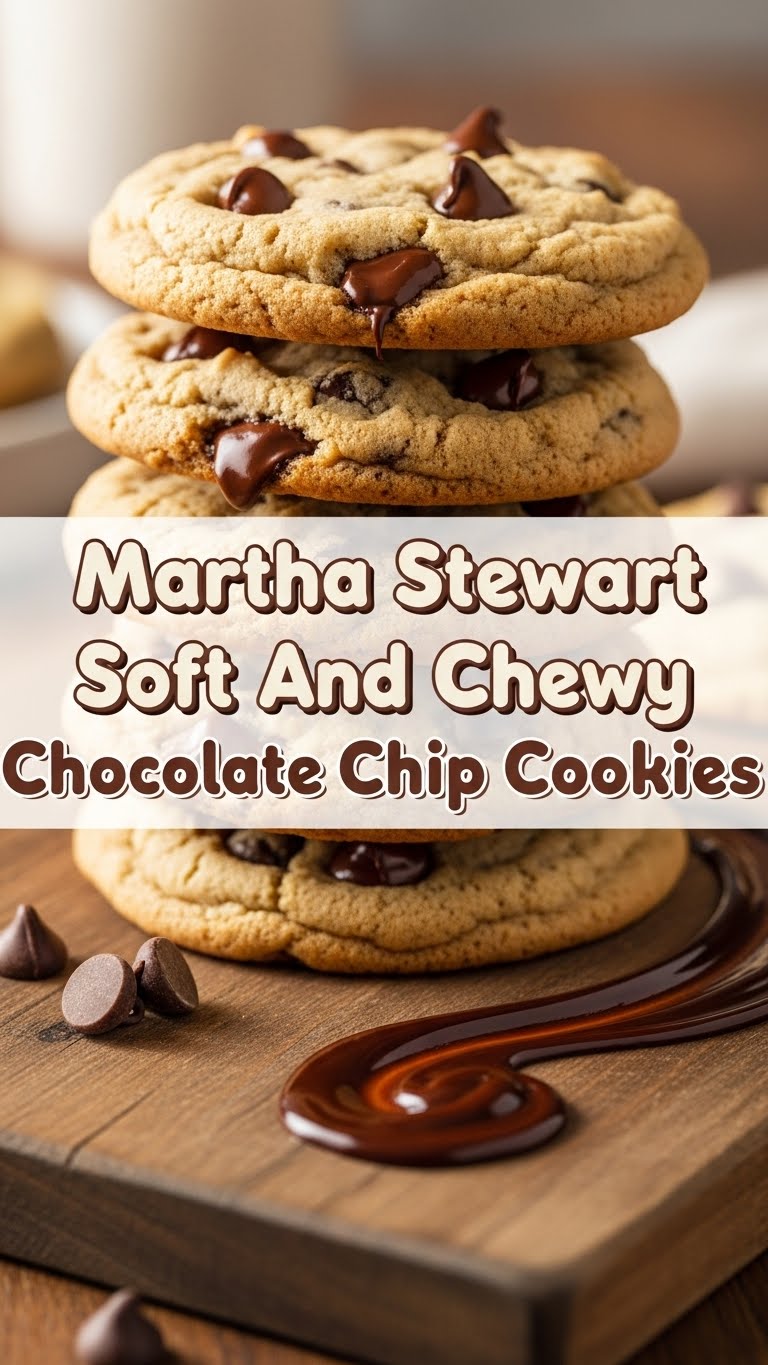
So, you’re scrolling through your phone, maybe saw a glorious close-up of a perfectly gooey chocolate chip cookie, and now your brain is screaming “MUST HAVE!” but your energy levels are whispering “please don’t make me work too hard.” Sound familiar? Because, same. That’s why we’re diving headfirst into the legendary Martha Stewart Soft and Chewy Chocolate Chip Cookie recipe. It’s the kind of recipe that makes you feel like a domestic god(dess) without actually having to, you know, *be* Martha Stewart. Phew!
Why This Recipe is Awesome
Okay, let’s be real. There are approximately a bazillion chocolate chip cookie recipes out there. But this one? This one is special. Why? Because it’s Martha’s, for starters, and the woman knows her way around a kitchen. But more importantly for us mere mortals, it delivers on the promise of soft AND chewy without being overly complicated. Seriously, it’s pretty much idiot-proof. Even I, someone who once mistook baking soda for baking powder (don’t ask), managed to pull these off beautifully. They’re like a warm, comforting hug in cookie form, perfect for bribing friends, impressing a date, or just eating all by yourself in your pajamas. No judgment here.
Ingredients You’ll Need
Get ready for a lineup of deliciousness! Nothing too wild or exotic, just good ol’ staples with a dash of “treat yourself” attitude.
- 1¾ cups all-purpose flour: The foundation of your cookie empire. Don’t eyeball it; level it!
- 1 teaspoon baking soda: This is what gives your cookies that lovely lift and chew.
- 1 teaspoon salt: Crucial! Balances the sweetness and makes everything taste *more*. Don’t skip it, even if you think it’s weird.
- ½ pound (2 sticks) unsalted butter, softened: Yes, half a pound. Don’t skimp. This is where the magic (and flavor) happens. Make sure it’s soft, not melted.
- ¾ cup granulated sugar: The classic sweetness.
- ¾ cup packed light-brown sugar: Hello, chewiness! Brown sugar is your best friend for soft, moist cookies.
- 1 teaspoon vanilla extract: Use the good stuff! It makes a difference, trust me.
- 2 large eggs: Room temperature, please. They mix in better.
- 12 ounces semisweet chocolate chips (or chunks!): This is non-negotiable. Go for good quality chocolate. You deserve it. Or chop up a bar, even better!
Step-by-Step Instructions
- Preheat & Prep: Crank up your oven to 375°F (190°C). Line a couple of baking sheets with parchment paper. Trust me, parchment paper is your friend; it prevents sticking and makes cleanup a breeze.
- Whisk the Dry Stuff: In a medium bowl, whisk together your flour, baking soda, and salt. Set it aside. This ensures everything is evenly distributed.
- Cream the Wet Stuff: In a large bowl (or stand mixer if you’re fancy), beat the softened butter with both sugars until it’s light and fluffy. This usually takes about 2-3 minutes. Scrape down the sides of the bowl often!
- Add Vanilla & Eggs: Beat in the vanilla extract. Then, add the eggs one at a time, mixing well after each addition until just combined. Don’t overmix here!
- Combine Dry & Wet: Gradually add your dry flour mixture to the wet ingredients, mixing on low speed until just incorporated. As soon as you see no more dry streaks, stop! Overmixing develops gluten, which leads to tough cookies, and nobody wants that.
- Stir in Chocolate: Gently fold in your chocolate chips (or chunks!) with a spatula. Make sure they’re evenly distributed throughout the dough.
- Scoop & Bake: Drop rounded tablespoons of dough onto your prepared baking sheets, leaving about 2 inches between each cookie. Bake for 10-12 minutes, or until the edges are golden brown and the centers still look slightly soft.
- Cool Down: Let the cookies cool on the baking sheets for a few minutes before transferring them to a wire rack to cool completely. Or, you know, eat one straight off the tray. I won’t tell.
Common Mistakes to Avoid
Baking is a science, but it doesn’t have to be intimidating! Just dodge these common pitfalls:
- Ignoring the Oven Temp: Thinking you don’t need to preheat the oven? Rookie mistake! An underheated oven means cookies that spread too much and don’t bake evenly.
- Overmixing the Dough: We just talked about this, but it bears repeating. Once the flour goes in, mix only until *just* combined. Unleash your inner gentle giant!
- Using Cold Butter/Eggs: If your butter is too hard, it won’t cream properly, and your cookies won’t be as tender. Same for eggs – room temp helps everything emulsify better.
- Baking Too Long: Remember, you want soft and chewy! Pull them out when the edges are set and golden, but the centers still look a little underdone. They’ll continue to cook slightly on the hot baking sheet.
- Skipping the Salt: I know, it sounds counter-intuitive for a sweet treat, but salt is essential for balancing flavors and making the chocolate taste even chocolatier. Don’t be a hero, add the salt!
Alternatives & Substitutions
Life’s about choices, and so is baking! Feel free to mix things up a bit, but just know some swaps might change the final texture. IMO, sticking close to the original for your first batch is always a good idea.
- Chocolate Choices: Not a fan of semisweet? Go for milk chocolate, dark chocolate, or a mix of all three! White chocolate chips with some dried cranberries or nuts would also be divine. Mini chocolate chips are cute, but chunks give you those glorious melty pools.
- Butter Swap: Can you use margarine? Technically yes, but… why hurt your soul like that? Margarine often has more water and less fat, which can result in flatter, less flavorful cookies. If you must go dairy-free, look for a good quality vegan butter alternative.
- Flour Power: Want to try whole wheat? You can swap out a quarter of the all-purpose flour for whole wheat to add some nuttiness, but don’t go overboard, or your cookies might become too dense.
- Add-Ins: Feel free to toss in a handful of chopped walnuts, pecans, or even a sprinkle of sea salt on top before baking for an extra gourmet touch.
FAQ (Frequently Asked Questions)
Got questions? I’ve got (casual, possibly sassy) answers!
- Do I really need to chill the dough? Martha’s recipe doesn’t explicitly *require* chilling, which is great for instant gratification! However, if you have the time (even 30 minutes in the fridge), chilling the dough can help prevent spreading and intensify the flavors. It’s like a tiny flavor spa for your cookies.
- My cookies spread too much! What happened? A few culprits: your butter might have been too soft (melted!), your oven wasn’t hot enough, or your flour measurement was off (too little). Make sure your butter is *softened*, not greasy and oily.
- How do I store these beauties? Keep them in an airtight container at room temperature for up to 3-4 days. If they last that long, you have superhuman self-control.
- Can I freeze the dough? Absolutely! Scoop balls of dough onto a parchment-lined tray and freeze until solid. Then transfer them to a freezer-safe bag. Bake from frozen, adding a few extra minutes to the baking time. Fresh-baked cookies on demand? Yes, please!
- Why are my cookies cakey instead of chewy? This often happens from overmixing the flour, using too much baking powder (if you accidentally swapped it for soda!), or baking them for too long. Remember, less mixing, proper leavening, and slightly underbaked centers for that perfect chew.
- Can I use a different kind of sugar? You really want both granulated and brown sugar for the best results. Granulated helps with spread and crisp edges, while brown sugar brings the moisture and chewiness. Messing with this balance can dramatically change the texture.
Final Thoughts
So there you have it! Martha Stewart’s soft and chewy chocolate chip cookies, made easy and with a side of zero judgment. This isn’t just a recipe; it’s an invitation to treat yourself, to impress your loved ones, or simply to fill your home with that intoxicating scent of freshly baked goods. Go on, get baking! You’ve got this. And if you mess up, hey, at least you tried, and probably still ended up with something delicious. Now go impress someone—or yourself—with your new culinary skills. You’ve earned it!


