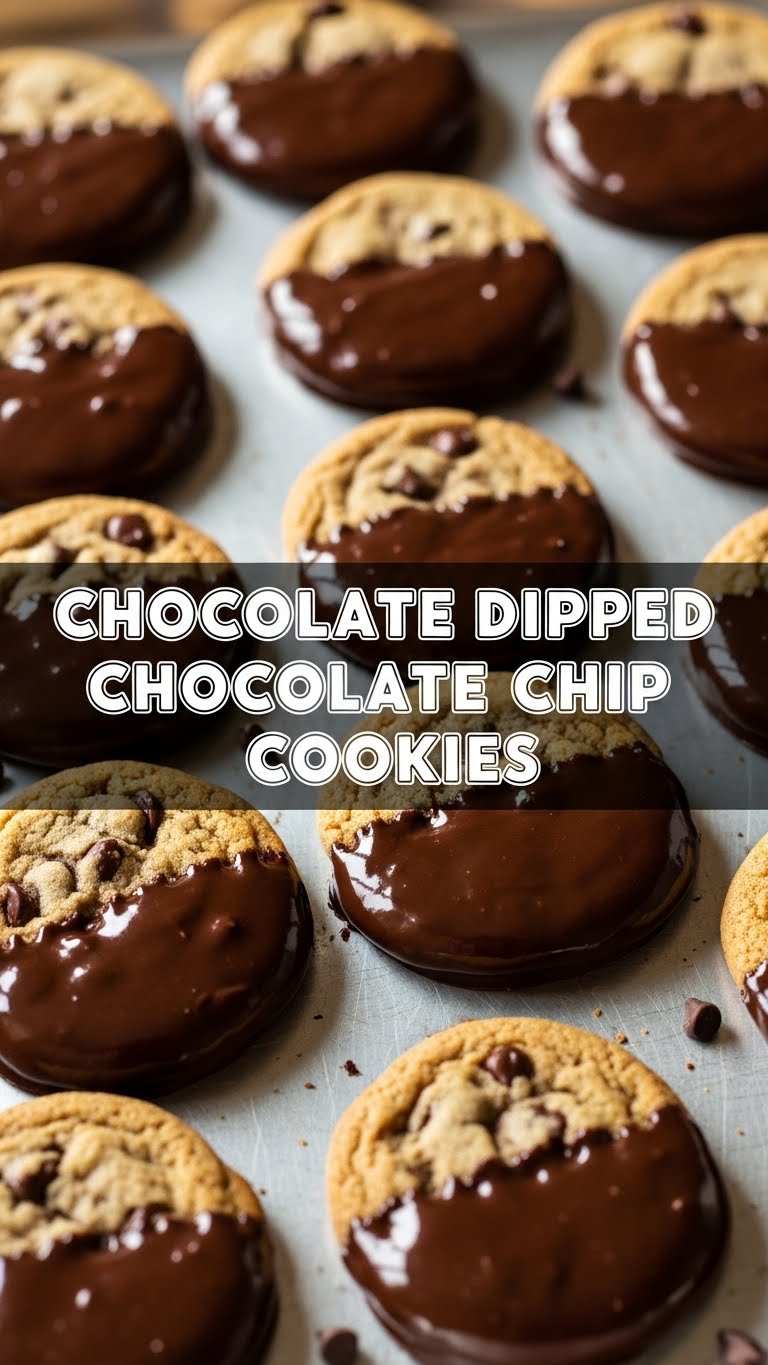
Okay, friend, let’s get real for a sec. Ever have one of those days where your sweet tooth is screaming louder than a toddler denied a toy, but your motivation is just… not there? You’re craving something beyond a plain ol’ cookie, something that says, “Yeah, I made an effort,” but actually whispers, “I took a classic and gave it a glow-up with minimal fuss.” Well, buckle up, buttercup, because we’re about to dive into the glorious world of Chocolate Dipped Chocolate Chip Cookies. It’s exactly what it sounds like, and trust me, it’s even better than it sounds. Get ready for some serious cookie magic!
Why This Recipe is Awesome
Because it takes an already perfect thing (chocolate chip cookies, duh) and makes it, like, chef’s kiss. This isn’t just baking; it’s an elevation, an upgrade, a transformation! It’s basically a fancy dessert without the fancy effort. It’s idiot-proof, honestly – even I didn’t mess it up, and my kitchen adventures often involve smoke detectors. Plus, it looks super impressive, so you can totally humble-brag when you serve these up. Your friends will think you slaved away, but we’ll both know the truth. 😉
Ingredients You’ll Need
No need for a grocery run to a specialty store, promise. Just the good stuff:
- For the Cookies (or grab a pack of store-bought!):
- 1/2 cup (1 stick) unsalted butter, softened
- 1/2 cup granulated sugar
- 1/4 cup packed light brown sugar
- 1 large egg
- 1 teaspoon vanilla extract (the real stuff, please!)
- 1 1/4 cups all-purpose flour
- 1/2 teaspoon baking soda
- 1/4 teaspoon salt
- 1 cup chocolate chips (your favorite kind, obvi)
- For the Dipping Magic:
- 1 cup good quality chocolate chips or melting wafers (milk, dark, white – your call!)
- 1 teaspoon coconut oil or shortening (optional, but helps with smoothness!)
- Optional fun stuff: Sprinkles, sea salt flakes, chopped nuts, or crushed candy for topping!
Step-by-Step Instructions
Okay, let’s get this party started. Assume your cookies are either freshly baked and cooled, or you bravely bought some from the store. No judgment here!
- Preheat & Prep (if baking from scratch): First things first, get your oven to 375°F (190°C). Line a baking sheet with parchment paper. Trust me, it makes life easier.
- Cream the Wet Stuff: In a large bowl, cream together the softened butter, granulated sugar, and brown sugar until light and fluffy. This usually takes a couple of minutes with an electric mixer, or a good arm workout with a spoon!
- Add the Essentials: Beat in the egg and vanilla extract until well combined. Don’t overdo it, just mix until everything looks happy together.
- Combine the Dry: In a separate bowl, whisk together the flour, baking soda, and salt. Make sure there are no lumpy bits.
- Mix ‘Em Up: Gradually add the dry ingredients to the wet ingredients, mixing on low speed (or by hand) just until combined. Don’t overmix! That’s how you get tough cookies, and nobody wants that.
- Fold in the Chips: Stir in your chocolate chips with a spoon. You want them distributed evenly for maximum chocolatey goodness in every bite.
- Scoop & Bake: Drop rounded tablespoons of dough onto your prepared baking sheet. Leave a little space between them; they need room to spread their wings. Bake for 9-11 minutes, or until the edges are golden brown and the centers are still slightly soft.
- Cool Down: Let the cookies cool on the baking sheet for a few minutes before transferring them to a wire rack to cool completely. Patience is a virtue, especially when it comes to dipping!
- Melt the Dipping Chocolate: In a microwave-safe bowl, combine your dipping chocolate chips/wafers with the optional coconut oil/shortening. Microwave in 30-second intervals, stirring well after each, until smooth and fully melted. This takes a bit of finesse, so go slow!
- Dip ‘Em Good: Take a cooled cookie and dip half of it into the melted chocolate. Let any excess drip off back into the bowl. If you’re using sprinkles or toppings, sprinkle them on immediately before the chocolate sets.
- Chill Out: Place the dipped cookies back on the parchment-lined baking sheet. Pop them in the fridge for about 10-15 minutes, or until the chocolate is completely set. And then… dig in!
Common Mistakes to Avoid
Even though this recipe is pretty foolproof, there are a few rookie errors you might want to sidestep:
- Overmixing the Dough: Seriously, I can’t stress this enough. Overmixing develops the gluten too much, giving you tough, cakey cookies instead of soft, chewy ones. Mix until just combined, then stop!
- Dipping Cookies While Warm: Unless you want a melty, messy catastrophe, let those cookies cool down completely. Warm cookies will just make your dipping chocolate run everywhere.
- Overheating the Dipping Chocolate: Burnt chocolate is a sad, sad thing. Microwave in short bursts and stir often. If it looks chunky or seized, it might be too hot or a tiny bit of water got in.
- Skipping the Coconut Oil (or shortening): While optional, a little fat addition makes the melted chocolate smoother and easier to work with, giving you that glossy, professional finish.
- Impatience: Waiting for the chocolate to set is the hardest part, I know. But diving in too soon means sticky fingers and an uneven coating. Give them their fridge time!
Alternatives & Substitutions
Feeling creative? Or maybe your pantry is looking a little sparse? No worries, we’ve got options!
- Cookie Base: No time to bake? Grab store-bought chocolate chip cookies! Seriously, zero shame in that game. Pre-made cookie dough from the refrigerated section works beautifully too.
- Chocolate Variety: Mix it up! Use dark chocolate for a sophisticated vibe, milk chocolate for extra sweetness, or white chocolate for a pretty contrast. You could even use a mix!
- Toppings Galore: Beyond sprinkles, think crushed pretzels for salty-sweet, mini M&Ms, chopped nuts (pecans, walnuts), a sprinkle of flaky sea salt, or even a drizzle of caramel. The world is your oyster!
- Butter Swaps: While butter is king, you can use a high-quality margarine if you absolutely must. Just be aware of the moisture content.
- Vanilla Extract: If you’re out, a tiny splash of almond extract can work, but the flavor profile will be different. It’s still tasty, just not classic.
FAQ (Frequently Asked Questions)
Got questions? I probably do too, but here are some common ones that might pop up:
- Can I use margarine instead of butter for the cookies? Well, technically yes, but why hurt your soul like that? Butter just tastes better and gives better texture. If you must, use a high-fat margarine for baking.
- What’s the best chocolate for dipping? For the smoothest, easiest melt, I swear by good quality melting wafers (like Ghirardelli or Wilton candy melts). Otherwise, a chopped good quality chocolate bar works better than standard chocolate chips.
- How long do these divine creations last? LOL, as if they’ll last that long! Kidding… mostly. Store them in an airtight container at room temperature for up to 3-4 days, or in the fridge for a week. The chocolate dip actually helps keep them fresher!
- My chocolate seized! What now? Oh no! This usually happens if it gets too hot or if a tiny bit of water gets into it. Sometimes you can rescue it by stirring in a teaspoon of vegetable oil or shortening at a time until it smooths out. If it’s really chunky, it might be a lost cause, unfortunately.
- Can I skip the chilling step for the dipped cookies? You *can*, but the chocolate won’t set as quickly or as firmly. It’s totally worth the 10-15 minutes in the fridge to avoid a sticky mess and get that satisfying “snap” when you bite in.
- Can I freeze these? Absolutely! You can freeze the baked (and dipped!) cookies for up to 2-3 months in an airtight container. Just thaw at room temperature. The dough itself also freezes well!
Final Thoughts
So there you have it, folks! Your new go-to recipe for when you want to impress without the stress. These Chocolate Dipped Chocolate Chip Cookies are the ultimate crowd-pleaser, a guaranteed mood booster, and frankly, just plain delicious. Now go forth and conquer your sweet cravings! You’re basically a gourmet chef now, so own it and enjoy every single bite. Don’t forget to save one for me!


