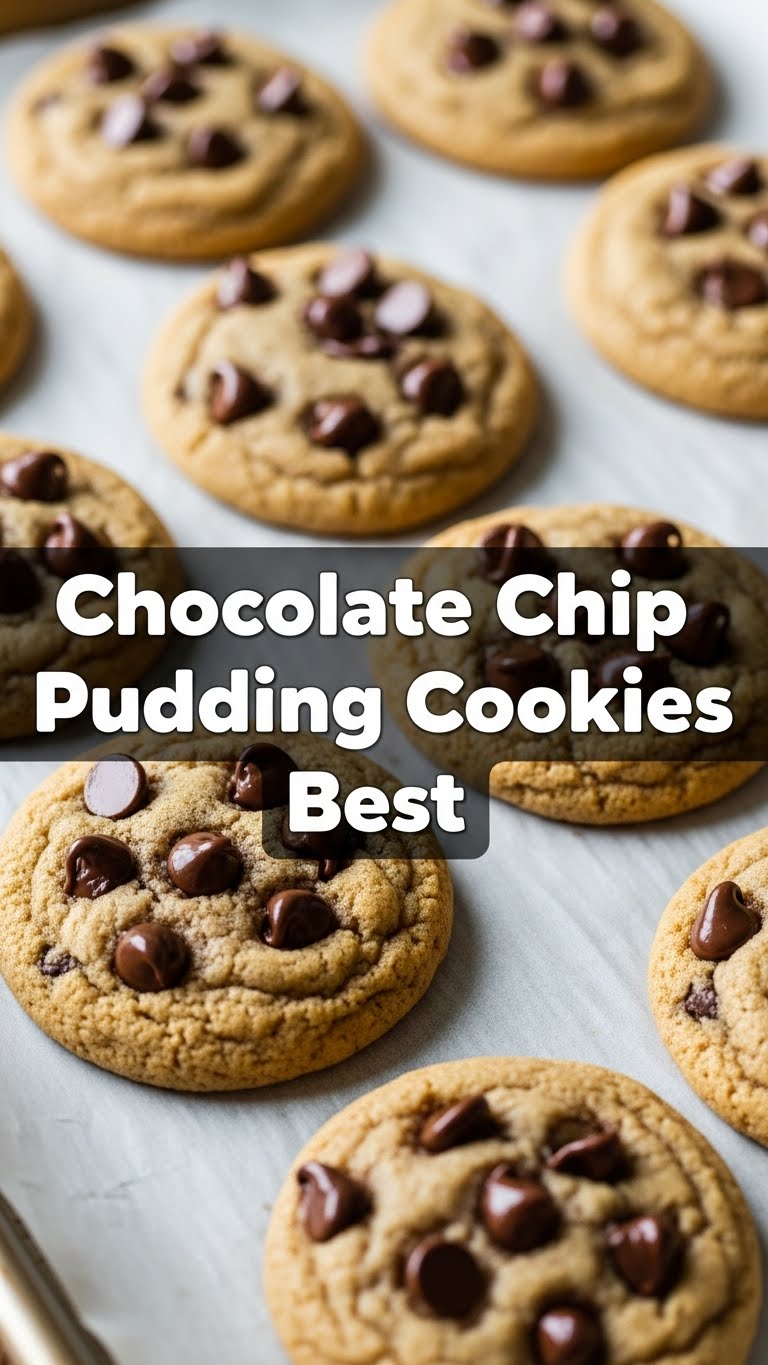
So you’re craving something tasty but too lazy to spend forever in the kitchen, huh? Same. Honestly, who has the time (or the patience) for elaborate baking projects when a sudden cookie craving hits? Not me, and probably not you either. That’s where these ridiculously easy, unbelievably soft, and perfectly chewy Chocolate Chip Pudding Cookies come into play. Get ready to have your mind blown and your taste buds sing, all with minimal effort. You’re welcome.
Why This Recipe is Awesome
Let’s be real, this isn’t just *a* recipe; it’s *the* recipe. Why? Because it’s practically idiot-proof. Seriously, even I haven’t managed to mess this one up, and my kitchen has seen some things. The secret weapon here? Instant pudding mix. It makes these cookies incredibly soft, chewy, and gives them a slight “melt-in-your-mouth” quality that traditional chocolate chip cookies can only dream of. Plus, it keeps them soft for days (if they even last that long). It’s quick, requires no fancy equipment, and delivers maximum deliciousness with minimal fuss. Your future self (and anyone you deign to share these with) will thank you.
Ingredients You’ll Need
Gather ’round, my fellow lazy bakers! Here’s what you’ll need to whip up a batch of these glorious morsels:
- 1 cup (2 sticks) Unsalted Butter: Softened to room temp. Unsalted, because we’re fancy and control our salt, thank you very much.
- ¾ cup Granulated Sugar: The classic sweet stuff.
- ¾ cup Packed Light Brown Sugar: For that extra chewiness and a hint of molasses goodness – it’s science!
- 2 Large Eggs: Also at room temperature. They just mix better, trust me.
- 1 teaspoon Vanilla Extract: Don’t skimp here, it’s the soul of the cookie.
- 2 ¼ cups All-Purpose Flour: The base of our cookie dreams.
- 1 teaspoon Baking Soda: For that perfect lift, no flat cookies allowed.
- ½ teaspoon Salt: Just a pinch, to balance the sweet and make the flavors pop.
- 1 (3.4 oz) box Instant Vanilla Pudding Mix: THE secret weapon! Make sure it’s *instant* and *dry*, not prepared. This isn’t Jell-O time, folks!
- 1 ½ cups Chocolate Chips: Whatever kind makes your heart sing – milk, semi-sweet, dark, a mix! More is always better, IMO.
Step-by-Step Instructions
- Get Ready to Bake: First things first, preheat your oven to 375°F (190°C). Line those baking sheets with parchment paper or silicone mats – nobody likes stuck cookies, and clean-up is a breeze.
- Cream the Wet Wonders: In a large bowl, beat the softened butter with both granulated and brown sugars until light and fluffy. This usually takes about 2-3 minutes. Next, beat in the eggs one at a time, then stir in the vanilla extract until everything is well combined.
- Whisk the Dry Delights: In a separate medium bowl, whisk together the flour, baking soda, salt, and the magical dry instant vanilla pudding mix. Make sure there are no lumps of pudding powder.
- Combine Forces: Gradually add the dry ingredients to the wet ingredients, mixing on low speed until just combined. Crucial tip: Don’t overmix! Overmixing makes tough cookies, and we’re going for soft and chewy.
- Fold in the Chocolatey Goodness: Gently fold in your chosen chocolate chips until evenly distributed. We’re delicate, remember?
- Scoop and Bake: Drop rounded tablespoons (about 1.5-2 tbsp) of dough onto your prepared baking sheets, leaving a couple of inches between each cookie. These beauties will spread!
- The Big Moment: Bake for 8-10 minutes. They might look slightly underdone in the center, but that’s the secret to their irresistible softness! The edges should be lightly golden, but the middle should still look a bit gooey.
- Cool Down (If You Can Wait): Let the cookies cool on the baking sheets for about 5 minutes before transferring them to a wire rack to cool completely. This helps them set up and prevents crumbling. Try not to eat them all immediately – it’s a challenge, I know.
Common Mistakes to Avoid
Look, we all make mistakes. But with these cookies, let’s try to avoid the common pitfalls, shall we?
- Not Preheating the Oven: Rookie mistake! An un-preheated oven leads to uneven spreading and inconsistent baking. Give it time to get to temp.
- Using Prepared Pudding: I cannot stress this enough. You need the *dry* instant pudding mix. Not the stuff you’ve already made into Jell-O. Trust me on this.
- Overmixing the Dough: Remember those tough cookies I warned you about? That’s from overmixing. Mix until just combined, then stop!
- Baking Too Long: This is absolutely crucial! Overbaked = dry, crumbly cookies. Pull them out when the edges are set but the centers still look soft and slightly undone. They will continue to cook slightly on the hot baking sheet.
- Impatience: While not a “mistake” per se, trying to move them too soon off the baking sheet can lead to breakage. Let them chill for a few minutes!
Alternatives & Substitutions
Feeling adventurous? Or just working with what you’ve got? Here are some simple tweaks:
- Pudding Power: Vanilla is great, but don’t limit yourself! Try instant butterscotch, chocolate, cheesecake, or even lemon pudding mix for a different twist. Get wild!
- Mix-in Mania: Swap out or add other mix-ins like chopped nuts (pecans, walnuts), sprinkles (for a funfetti vibe), M&M’s, white chocolate chips, or even chopped caramels. Your cookie, your rules.
- Butter Dilemma: Can you use margarine instead of butter? Well, technically yes, but why hurt your soul (and the cookie’s flavor and texture) like that? Stick to real butter for the best results, FYI.
- Gluten-Free Version: You can typically swap out the all-purpose flour for a 1:1 gluten-free baking blend. Just keep an eye on the texture, as it might vary slightly.
FAQ (Frequently Asked Questions)
Got questions? I’ve got answers. Mostly.
- Can I use sugar-free pudding mix? Yep! You absolutely can. Just keep in mind it might slightly alter the sweetness, so you might want to do a little taste test of the dough (at your own risk, of course).
- Do I need to chill the dough? Nope! That’s the beauty of this speedy recipe. While chilling dough can sometimes prevent spreading, these cookies generally hold their shape perfectly without it. But if you’ve got a bit of extra time, 30 minutes in the fridge won’t hurt if you want extra thick cookies.
- My cookies spread too much! What happened? Ah, the dreaded pancake cookie! This could be due to a few things: **likely your butter was too soft**, your oven temperature might be off (an oven thermometer is your friend!), or your baking soda might be old and not active enough. Also, don’t flatten the dough balls too much before baking.
- How long do these magical cookies last? In *my* house? About an hour. Realistically, stored in an airtight container at room temperature, they’ll stay wonderfully soft for 3-5 days.
- Can I freeze the cookie dough? Absolutely! Scoop the dough into balls, place them on a baking sheet, and freeze until solid. Then transfer them to a freezer-safe bag. When you’re ready to bake, pop them directly from the freezer into the oven, adding a minute or two to the baking time. Instant fresh cookies whenever you want!
- Can I half or double the recipe? Go for it! Just make sure your measurements are accurate – math is hard, but worth it for more (or fewer) cookies.
Final Thoughts
So there you have it, your new go-to cookie recipe that’s almost too good to be true. These chocolate chip pudding cookies are a game-changer for anyone who loves that ultimate soft, chewy texture without the fuss. Whether you’re baking for a party, a potluck, or just a Tuesday night on the couch (my personal favorite), these cookies will not disappoint. Now go impress someone—or yourself—with your new culinary skills. You’ve earned it! Happy baking (or rather, easy-baking)!


