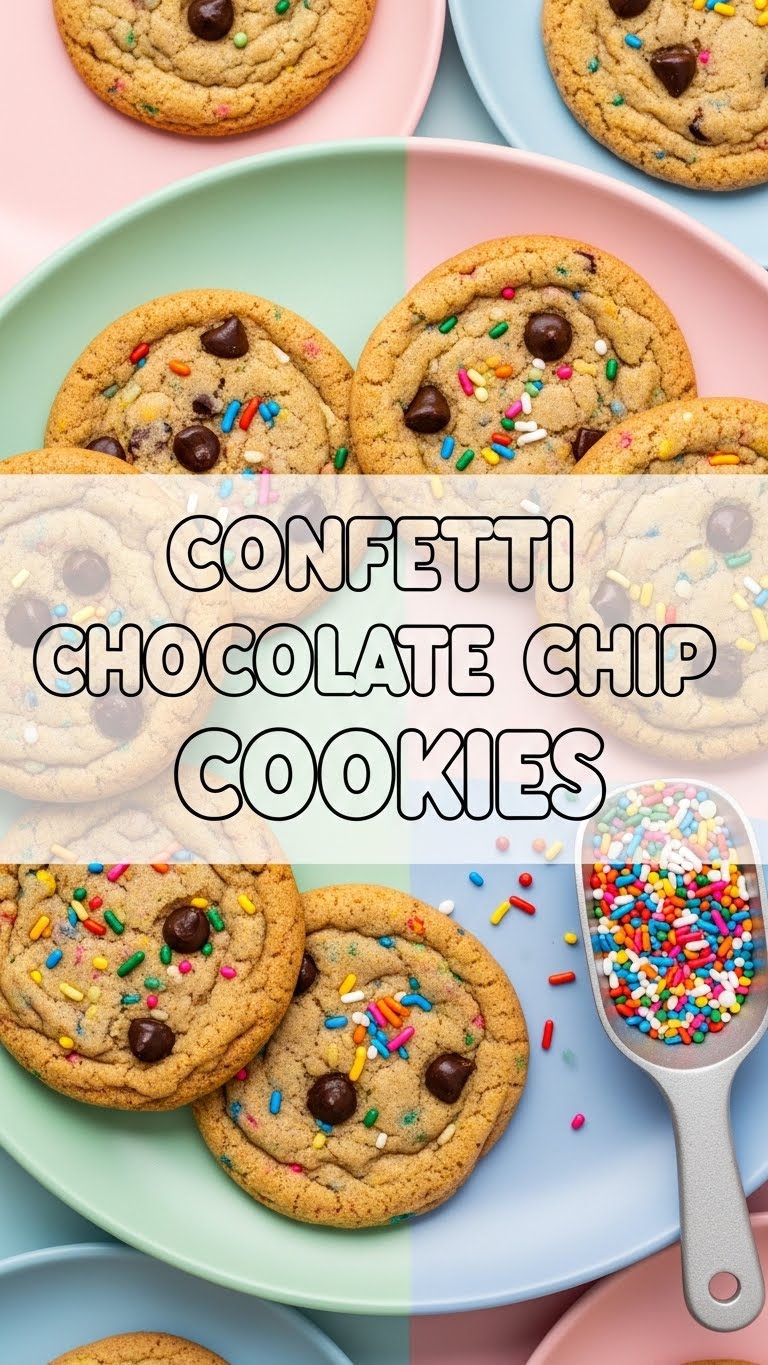
So you’re craving something tasty but too lazy to spend forever in the kitchen, huh? Same. Like, why spend hours when you can whip up pure joy in under an hour (plus chill time, don’t @ me)? Today, we’re not just making *any* cookies. Oh no, we’re making Confetti Chocolate Chip Cookies! Think your favorite chocolate chip cookie had a glow-up and went to a party. It’s vibrant, it’s fun, and honestly, it just makes you smile. Let’s do this!
Why This Recipe is Awesome
Okay, let’s be real. There are a gazillion chocolate chip cookie recipes out there. So why this one? Because it’s **idiot-proof**, even I didn’t mess it up! It takes a classic, elevates it with minimal effort, and delivers maximum cheer. Seriously, these cookies are like a party in your mouth, and who doesn’t need more parties right now? They’re chewy, they’re chocolatey, and they have sprinkles. Need I say more? Plus, they come together super fast, so your impatient self (and mine) won’t have to wait ages for that sweet reward. **Pro tip:** Make a double batch, future you will high-five present you.
Ingredients You’ll Need
Gather your troops! These are the heroes of our cookie saga:
- **Unsalted Butter** (1 cup / 2 sticks, softened) – The good stuff, not that sad margarine. Room temp is key!
- **Granulated Sugar** (¾ cup) – The sweet stuff, obviously.
- **Brown Sugar** (¾ cup, packed) – For chewiness and a deeper, cozier flavor. It’s like a warm hug for your taste buds.
- **Large Eggs** (2) – Nature’s glue, helping everything stick together.
- **Vanilla Extract** (2 teaspoons) – Don’t skimp! This is where the magic happens.
- **All-Purpose Flour** (2 ¼ cups) – The foundation of our delicious empire.
- **Baking Soda** (1 teaspoon) – For lift-off! Gives those cookies a nice puff.
- **Salt** (½ teaspoon) – To make everything *pop* and balance the sweetness. It’s important, trust me.
- **Chocolate Chips** (1 ½ cups) – Duh! Milk, semi-sweet, dark… whatever floats your boat. I’m a semi-sweet kinda gal, personally.
- **Rainbow Sprinkles** (½ cup, or more!) – The confetti part! Jimmies work best, but honestly, any colorful sprinkles will do. Go wild!
Step-by-Step Instructions
- **Preheat Power-Up:** Get that oven preheating to **375°F (190°C)** like your life depends on it. Line a couple of baking sheets with parchment paper or silicone mats. Trust me, it makes cleanup a breeze.
- **Cream Dream:** In a large bowl (or stand mixer if you’re fancy), cream together your softened butter, granulated sugar, and brown sugar until it’s light and fluffy. This usually takes about 2-3 minutes. Scrape down the sides of the bowl, you don’t want any lone butter bits.
- **Egg-cellent Addition:** Beat in the eggs, one at a time, mixing well after each. Then stir in that glorious vanilla extract. It should look smooth and luscious.
- **Dry Mix Magic:** In a separate medium bowl, whisk together your flour, baking soda, and salt. Whisk it good, so everything is evenly distributed.
- **Combine Forces:** Gradually add the dry ingredients to the wet ingredients, mixing on low speed until *just* combined. **Do not overmix!** We’re not trying to develop gluten here; we want tender cookies.
- **Chip & Sprinkle Party!** Gently fold in the chocolate chips and sprinkles by hand. Give it a few turns until they’re just incorporated. Don’t go crazy, we don’t want to crush our beautiful sprinkles!
- **Chill Out (Optional, but Recommended!):** For best results (read: less spreading, more chewiness), **chill the dough for at least 30 minutes**. Or, if you’re like me and have zero patience, skip this step and live on the edge. The cookies will still be delicious, just flatter.
- **Scoop & Bake:** Drop rounded tablespoons of dough onto your prepared baking sheets, leaving about 2 inches between them. Don’t crowd the pan!
- **Golden Goodness:** Bake for 9-11 minutes, or until the edges are lightly golden and the centers look set but still a little soft. Remember, every oven is different, so keep an eye on ’em!
- **Cool Down:** Let the cookies cool on the baking sheet for a few minutes before transferring them to a wire rack to cool completely (or, you know, eat them warm because life’s too short).
Common Mistakes to Avoid
Listen up, buttercup! Don’t make these rookie errors:
- **Using Cold Butter:** This is a big one. Softened butter creams properly and creates that fluffy texture. Cold butter will give you dense cookies.
- **Overmixing the Dough:** Once you add the flour, stop mixing as soon as everything is combined. Overmixing develops gluten, which makes tough cookies. And nobody wants a tough cookie (unless it’s a person, maybe).
- **Skipping the Chill Time:** While optional, chilling the dough really helps prevent spreading and deepens the flavor. If you want those thick, chewy cookies, **chill that dough!**
- **Baking on a Warm Pan:** Reusing a hot baking sheet without letting it cool down will make your cookies spread like crazy. Always let your sheets cool, or use multiple sheets.
- **Not Preheating the Oven:** Thinking you don’t need to preheat the oven—rookie mistake. A properly heated oven ensures even baking from the start.
- **Under or Over-Baking:** Pull them out when the edges are golden and the centers look slightly underdone. They’ll continue to bake on the hot sheet.
Alternatives & Substitutions
Feeling creative? Here are some ways to switch things up:
- **Chocolate Swap:** Not a semi-sweet fan? Use milk chocolate, dark chocolate, white chocolate, mini chips, or even chopped chocolate bars! A mix of a few is always a win.
- **Sprinkle Smorgasbord:** Experiment with different types of sprinkles! Holiday-themed ones, nonpareils, even edible glitter if you’re feeling extra. Jimmies tend to hold their color best, IMO.
- **Butter Alternative:** You *can* use shortening for a softer cookie, but honestly, the flavor won’t be as rich. Stick to butter if you can!
- **Add-Ins Galore:** Want more texture? Throw in ½ cup of chopped nuts (pecans or walnuts), dried cranberries, or even some M&M’s for extra candy goodness.
- **Gluten-Free:** Swap the all-purpose flour for a 1:1 gluten-free baking flour blend. The texture might be slightly different, but still delicious.
FAQ (Frequently Asked Questions)
- **Can I use margarine instead of butter?** Well, technically yes, but why hurt your soul like that? Butter just tastes better and gives a superior texture. For the best cookie experience, stick with real butter!
- **Do I *have* to chill the dough?** Not *have* to, but it helps. Chilling firms up the butter, which prevents spreading and makes for a chewier cookie. If you’re in a hurry, skip it, but expect flatter cookies.
- **My cookies spread too much! What gives?** A few culprits: butter was too soft, dough wasn’t chilled, oven wasn’t hot enough, or your baking soda might be old. Make sure your ingredients are fresh and follow the steps closely!
- **How long do these magical cookies last?** If you manage not to eat them all in one sitting, they’ll stay fresh in an airtight container at room temperature for 3-5 days. But let’s be honest, they rarely last that long.
- **Can I freeze the dough?** Absolutely! Roll the dough into balls, place them on a baking sheet, and freeze until solid. Then transfer them to a freezer-safe bag for up to 3 months. Bake from frozen, adding a couple extra minutes to the baking time. Future you will thank present you!
- **What kind of sprinkles are best for confetti cookies?** Jimmie sprinkles (the long, thin ones) tend to hold their shape and color best during baking. Nonpareils (the tiny balls) can sometimes melt and bleed color a bit more, but still taste great!
Final Thoughts
And there you have it! A batch of vibrant, delicious, and utterly joyful Confetti Chocolate Chip Cookies, ready to brighten your day (and anyone else lucky enough to be around). They’re the perfect combination of classic comfort and playful fun. So, go on, get baking! Now go impress someone—or yourself—with your new culinary skills. You’ve earned it! Don’t forget to snap a pic before they all disappear!


