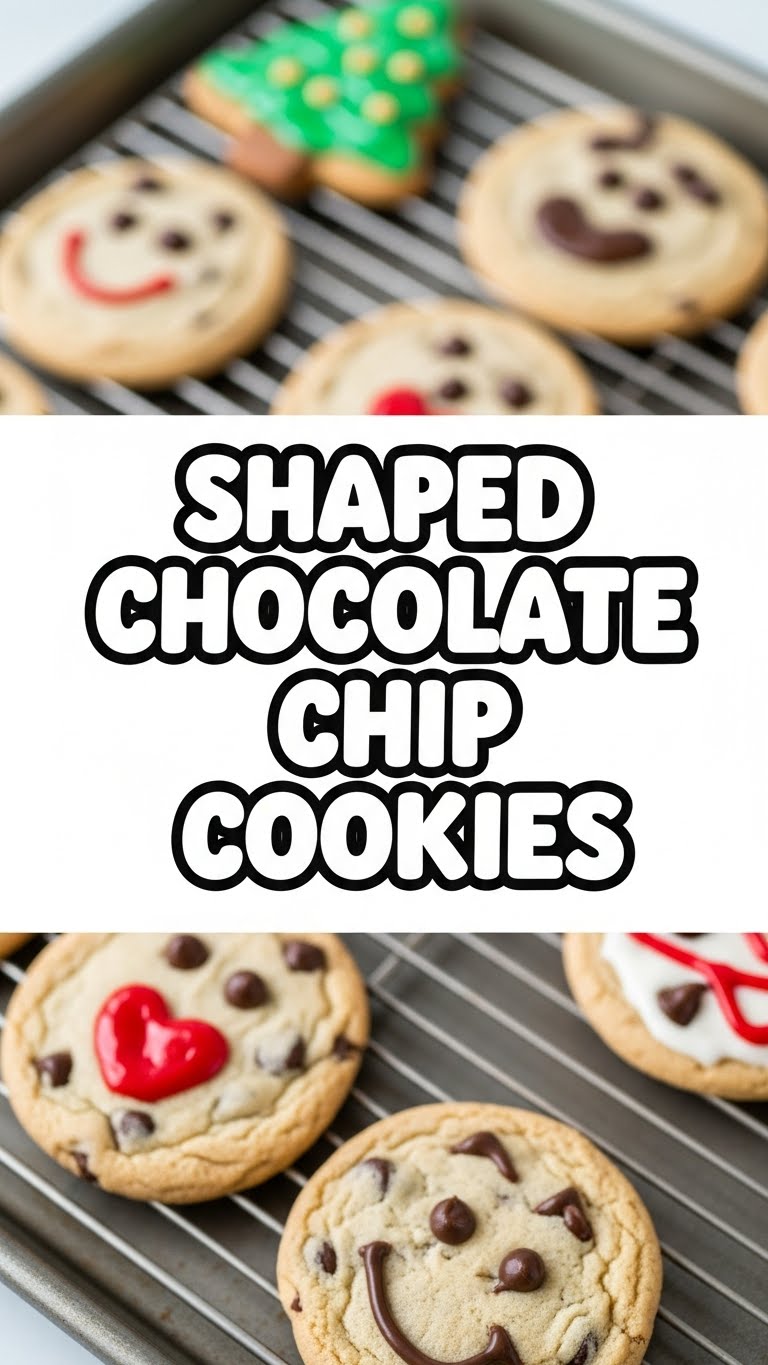
So you’re craving something tasty but *basic* round chocolate chip cookies feel… well, basic? And shaping them seems like too much work for your already-packed schedule of existing (or just looking at memes)? Honey, I get it. We’re about to fix that with minimal fuss and maximum deliciousness. Get ready for **Shaped Chocolate Chip Cookies** – because your cookies deserve to be as extra as you are!
Why This Recipe is Awesome
Okay, so why bother with *shaped* chocolate chip cookies when you could just blob them onto a tray? Because you’re awesome, and your cookies should reflect that! Kidding (mostly). This recipe is awesome because it lets you flex your creative muscles without actually needing artistic talent. It’s basically **chocolate chip cookie dough, but make it *fashion*.** Think of it as adult Play-Doh, but you get to eat the results! Plus, it’s so forgiving, even my cat could probably bake these… if she had opposable thumbs. It’s practically idiot-proof, and the “oohs” and “aahs” you’ll get? Totally worth the minimal effort.
Ingredients You’ll Need
Time to gather your edible art supplies! Here’s what’s on the menu:
- 1 ½ cups All-Purpose Flour: The foundational magic, the glue of our dreams.
- ½ teaspoon Baking Soda: Our little lift-off agent, giving those cookies some puff.
- ½ teaspoon Salt: The unsung hero, balancing all that sweet goodness. Don’t skip it!
- ¾ cup (1 ½ sticks) Unsalted Butter: **Real butter, please.** Softened, but not melted. No sad substitutes, unless you *want* sad cookies.
- ½ cup Granulated Sugar: For that crisp, sweet edge.
- ½ cup Packed Light Brown Sugar: For chewiness and a hint of caramel. The dynamic duo!
- 1 Large Egg: The binder of champions, holding it all together.
- 1 teaspoon Vanilla Extract: Don’t skimp on this one, it’s the soul of the cookie. Good quality makes a difference, FYI.
- 1 cup Semi-Sweet Chocolate Chips: The star, obviously. Go big or go home!
Step-by-Step Instructions
Let’s get this delicious show on the road! Don’t overthink it; just follow along!
- **Preheat Party & Tray Prep:** First things first, get that oven going! Preheat it to **375°F (190°C)**. Line a couple of baking sheets with parchment paper or silicone mats. This makes cleanup a breeze and prevents sticking.
- **Dry Mix Magic:** In a medium bowl, whisk together your flour, baking soda, and salt. Set this aside. This ensures everything is evenly distributed for consistent cookie deliciousness.
- **Wet Mix Whiz:** In a large bowl (or stand mixer if you’re fancy), cream together the softened butter, granulated sugar, and brown sugar until it’s light and fluffy. This usually takes about 2-3 minutes. Scrape down the sides of the bowl.
- **Egg & Vanilla Entrance:** Beat in the egg until just combined, then stir in the vanilla extract. Don’t overmix here; we’re looking for smooth, not overworked.
- **Combine Crew:** Gradually add your dry flour mixture to the wet ingredients, mixing on low speed until *just* combined. Stop as soon as you don’t see any streaks of flour. **Overmixing develops gluten, leading to tough cookies – and no one wants a tough cookie!**
- **Chocolate Chip Choreography:** Fold in those glorious chocolate chips. Use a spatula for this to ensure they’re evenly distributed without overworking the dough.
- **Chill Out (Crucial Step!):** This is where the “shaped” magic truly happens. Wrap your dough tightly in plastic wrap and chill it in the fridge for at least **30 minutes, or up to an hour.** This helps the shapes hold and prevents spreading. Don’t skip it, your future self will thank you!
- **Shape Shift:** Flour your work surface and rolling pin lightly. Roll out portions of the chilled dough to about ¼-inch thickness. Now for the fun part: grab your favorite cookie cutters and cut out your shapes! Gently transfer them to your prepared baking sheets, leaving about 2 inches between each cookie. Re-roll scraps as needed.
- **Bake Bake Baby:** Pop those trays into the preheated oven for **8-10 minutes,** or until the edges are golden brown and the centers look just set (they might still seem a little soft, that’s okay!).
- **Cool Down Crew:** Let the cookies cool on the baking sheets for 5 minutes before carefully transferring them to a wire rack to cool completely. Patience is a virtue, especially when hot chocolate is involved!
Common Mistakes to Avoid
Listen, we’ve all been there. Learning from mistakes is part of the fun, but let’s try to dodge these common cookie pitfalls, shall we?
- **Overmixing the Dough:** I mentioned it, but it bears repeating! Mixing too much after adding flour develops gluten, making your cookies tough instead of tender. Treat the dough gently, it’s not a wrestling match.
- **Not Chilling the Dough:** Thinking you can skip the chill time because you’re impatient? Rookie mistake! That dough will spread faster than gossip at a family reunion, turning your cute shapes into sad blobs. **Chilling helps them hold their form.**
- **Butter Too Soft (or Melted):** Your butter should be softened to room temp, meaning you can dent it easily with a finger, but it’s not greasy or melting. Melted butter will make your dough greasy and lead to flatter, spread-out cookies.
- **Not Preheating the Oven:** Thinking you don’t need to preheat? **Always preheat, my friend.** It’s not a suggestion, it’s a command! A cold oven messes with baking times and texture.
- **Crowding the Baking Sheet:** Give your cookies some personal space! If they’re too close, they’ll merge into one giant, misshapen cookie. Delicious, maybe, but not the goal here.
Alternatives & Substitutions
Feeling adventurous? Want to shake things up? Here are some ideas:
- **Chocolate Variety Show:** Don’t limit yourself to semi-sweet! Try milk chocolate, dark chocolate, white chocolate, or even a mix of chunks. Caramel bits or toffee pieces are also amazing additions!
- **Gluten-Free Fun:** You can totally use a 1:1 gluten-free all-purpose flour blend. Just know the texture might be slightly different, but still delicious!
- **Nutty Professor:** Add ½ cup of chopped nuts like walnuts or pecans for an extra crunch and flavor dimension. Toast them first for even more oomph!
- **Sprinkle Extravaganza:** Before baking, gently press some colorful sprinkles onto your shaped cookies for an instant party upgrade.
- **Shape Shifting Beyond Cutters:** No cookie cutters? No problem! Roll the dough into a log, chill, and then slice for simple round cookies. Or, if you’re feeling artistic, freehand some shapes with a knife.
FAQ (Frequently Asked Questions)
Got questions? I’ve got answers (and a little sass!).
- **Can I skip chilling the dough?** You *can*, but don’t come crying to me when your cute shapes melt into blobs. Chilling helps them hold their form, **trust the process!**
- **What kind of cookie cutters should I use?** Anything you like! Dinosaurs, stars, hearts, obscure literary figures – if it cuts, it works! Just remember **simpler shapes are easier to handle** and less likely to break when transferring.
- **Can I freeze the dough?** Absolutely! Make a big batch, shape ’em, freeze ’em raw on a parchment-lined tray. Once solid, transfer to a freezer bag. Then bake from frozen, adding a minute or two to the bake time. Future you will thank current you!
- **My cookies spread too much! Help!** A few culprits: butter too soft, oven not hot enough, or **not enough chilling time.** Make sure your butter is softened, not melted, and always preheat your oven properly.
- **How long do they last?** In *theory*, 3-5 days in an airtight container at room temperature. In *my house*, about 3-5 hours. You do the math.
- **Can I use margarine instead of butter?** Well, technically yes, but why hurt your soul like that? Butter just tastes better and gives a superior texture. IMO, it’s worth the splurge.
- **Can I add other mix-ins?** Heck yes! M&Ms, white chocolate chips, dried cranberries, chopped pretzels – the world is your cookie dough oyster! Just don’t go too crazy, about 1 cup total is usually good.
Final Thoughts
See? Told you it wasn’t rocket science! Now you’ve got a batch of impressive, delicious, and *shapely* cookies ready to dazzle your taste buds (or anyone you decide to share with). Go on, pat yourself on the back, you culinary genius! Share them (if you *really* want to), or hoard them all. No judgment here. You’ve earned every single bite of these beauties!
Now go forth and conquer that cookie craving!


