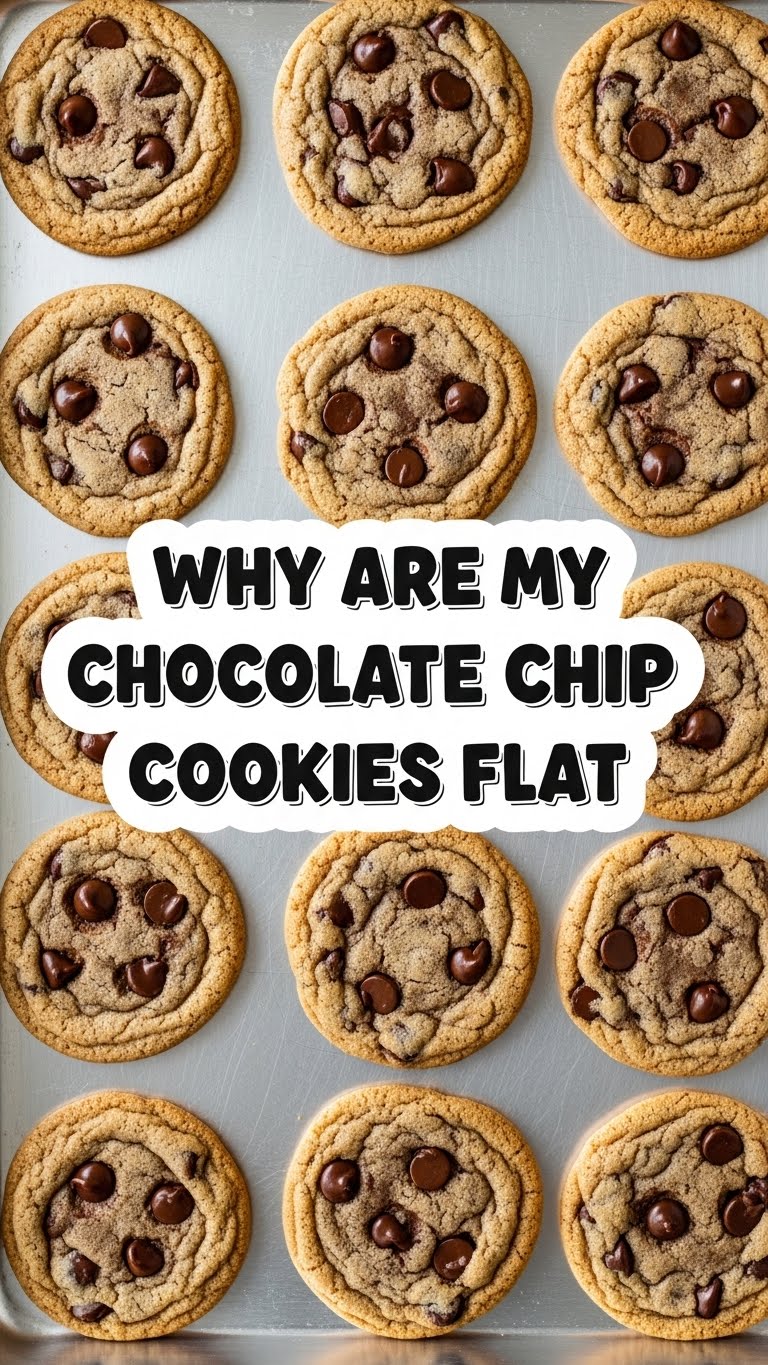
So you’re craving something tasty but too lazy to spend forever in the kitchen, huh? Same. Especially when it comes to chocolate chip cookies. But hold up, ever pulled a tray of what you hoped would be glorious, plump, chewy cookies out of the oven, only to find them flatter than your last attempt at a social life? Ugh, the worst! Don’t worry, you’re not alone. We’ve all been there, wondering if our oven has a personal vendetta against anything that isn’t a pancake. Well, grab a mug of something warm, because we’re about to crack the code on why your cookies are playing it so flat, and how to fix it like a total baking boss!
Why Finally Getting This Right Is Awesome
Okay, so this isn’t *just* about a recipe, it’s about understanding the dark magic (or, you know, basic science) behind cookie perfection. Why is understanding this awesome? Because once you know the culprits behind the dreaded “cookie puddle,” you’ll never have to suffer through sad, flat discs again! You’ll be the hero of every potluck, the undisputed champion of bake sales, and frankly, you’ll just be happier with your mouth full of perfectly chewy, slightly crisp, gloriously thick chocolate chip cookies. Think of it as your baking superpower origin story. No more guessing, no more praying—just pure, unadulterated cookie confidence. Trust me, it’s a game-changer.
Ingredients You’ll Need (The Non-Flat Cookie Edition)
These aren’t just ingredients; they’re your secret weapons against flatness. Choose wisely, young padawan.
- 1 cup (2 sticks) unsalted butter, COLD and cubed: This is crucial! Cold butter melts slower, giving your cookies structure before they spread. Don’t even think about room temp for this mission.
- ¾ cup granulated sugar: Adds crispness and helps with spread.
- ¾ cup packed light brown sugar: The MVP for chewiness and moisture. Brown sugar has molasses, which is your friend.
- 2 large eggs: Room temperature, please! They emulsify better and create a smoother batter.
- 1 teaspoon vanilla extract: Because, duh. Flavor!
- 2 ¼ cups all-purpose flour: Measure this properly! Too little, and hello flatness. Too much, and it’s a brick.
- 1 teaspoon baking soda: This helps them puff up. Make sure it’s fresh! Old baking soda is basically a culinary paperweight.
- ½ teaspoon salt: Balances sweetness and enhances flavor. Don’t skip it!
- 1 ½ cups chocolate chips (or chunks, because we’re fancy): Your choice, your adventure.
Step-by-Step Instructions (For Cookies That Stand Tall!)
Follow these steps, and prepare for glory!
- Chop that Butter, Get Chilling: Cut your *cold* butter into small cubes. This helps it get evenly creamed without warming up too much. No squishy butter allowed!
- Cream It Slow & Low: In a large bowl, beat the cold butter, granulated sugar, and brown sugar together with an electric mixer on medium-low speed. You want it light and fluffy, but don’t overdo it. This can take 3-5 minutes.
- Egg-cellent Addition: Beat in the eggs, one at a time, until just combined. Stir in the vanilla extract. Scrape down the sides of the bowl to ensure everything mixes.
- Whisk the Dry Stuff: In a separate bowl, whisk together the flour, baking soda, and salt. This ensures even distribution of your leavening agents.
- Combine with Care: Gradually add the dry ingredients to the wet ingredients, mixing on low speed until *just* combined. Stop as soon as you see no more dry streaks. Overmixing develops gluten, leading to tough, flat cookies.
- Fold in the Chocoholic’s Dream: Gently fold in your chocolate chips. No need to go crazy here.
- The Golden Rule: CHILL YOUR DOUGH! This is probably the most important step for preventing flat cookies. Cover the bowl and refrigerate the dough for at least 30 minutes, or even better, 2-24 hours. Chilling solidifies the fat, preventing premature spreading.
- Preheat & Prep: While your dough is chilling (or right before you bake), preheat your oven to 375°F (190°C). Line baking sheets with parchment paper or silicone mats. Never put dough on a warm baking sheet!
- Scoop & Bake: Scoop dough balls (about 1.5-2 tablespoons each) onto the prepared baking sheets, leaving about 2 inches between them. Bake for 9-12 minutes, or until the edges are golden brown and the centers are still slightly soft.
- Cool Down: Let the cookies cool on the baking sheet for 5 minutes before transferring them to a wire rack to cool completely. This helps them set up and prevents crumbling.
Common Mistakes to Avoid (Unless You *Like* Cookie Pancakes)
Seriously, these are the villains in your cookie saga. Banish them!
- Using Room Temperature (or Melted!) Butter: Rookie mistake! Warm butter equals instant spread. Always use cold butter for tall, proud cookies.
- Not Chilling Your Dough: This is like skipping leg day at the gym – you’ll regret it. Chilling is non-negotiable for structure.
- Overmixing the Dough: You’re making cookies, not a gluten-fortified bread brick. Mix until *just* combined, then back off.
- Old Baking Soda/Powder: These expire, people! If your leavening agents are older than your last phone, toss ’em. Freshness is key for lift.
- Wrong Oven Temperature: An oven that’s too hot will cook the outside too fast, but an oven that’s too cool won’t set the cookie structure before it melts and spreads. Use an oven thermometer if you’re unsure.
- Greased or Warm Baking Sheets: This is a one-way ticket to spread-ville. Use parchment paper or silicone mats, and ensure your baking sheets are cool before scooping.
- Too Much Sugar: Sugar encourages spreading. While delicious, stick to the recipe ratio if you want height.
Alternatives & Substitutions (Proceed with Caution, Cookie Alchemist!)
Feeling adventurous? Here are some tweaks, but be warned, they might affect your cookie’s vertical aspirations.
- Butter Alternatives: You *can* use shortening, which results in less spread and a softer cookie. Margarine? Well, technically yes, but why hurt your soul like that? IMO, butter is king. If you must use margarine, choose one with a high fat content and chill it well.
- Flour Power: All-purpose flour is usually best for classic chocolate chip cookies. If you use bread flour, they might be chewier but could spread less due to higher gluten. Cake flour would lead to a more delicate, possibly flatter cookie. Stick with AP unless you know what you’re doing, you mad scientist!
- Sugar Swap: Swapping more brown sugar for granulated will give you chewier, thicker cookies with less spread. More granulated sugar means crisper, flatter cookies. Adjust cautiously.
- Mix-ins: Go nuts! White chocolate, pretzels, nuts, dried fruit – whatever your heart desires. Just make sure they’re not *too* heavy, as that can also encourage spreading.
FAQ (Frequently Asked Questions)
Got more questions buzzing in your head? Let’s tackle ’em!
- Why do you insist on cold butter? Can’t I just use room temp like every other recipe?
Ah, the age-old question! While many recipes call for room temp butter, for a *thick* cookie, cold butter is your secret weapon. It melts slower in the oven, giving your cookie time to set its structure before it turns into a butter puddle. It’s the difference between a cookie skyscraper and a cookie pancake.
- My dough is too sticky to handle, what gives?
That usually means it’s either too warm or you’ve been a bit heavy-handed with the wet ingredients. Chill it, chill it, chill it! If it’s still super sticky after an hour in the fridge, try adding a tablespoon or two more flour, very gently, until it’s manageable.
- Does the type of chocolate chip really matter?
For flatness, not massively, but for overall deliciousness? Absolutely! Higher quality chocolate often has better flavor and texture when melted. Plus, using chocolate chunks can create lovely little pockets of melty goodness that look totally pro. So, yes, it matters to your taste buds!
- Can I freeze this cookie dough?
Heck yes, you can! Scoop the dough into balls, place them on a parchment-lined baking sheet, and freeze until solid. Then transfer to a freezer-safe bag for up to 3 months. When you’re ready to bake, pop them directly into the preheated oven, adding an extra minute or two to the baking time. Freshly baked cookies on demand? FYI, that’s genius.
- What if I don’t have parchment paper? Can I just grease the pan?
You *can*, but don’t say I didn’t warn you! Greasing a pan increases spread and can lead to crispier, flatter bottoms. Parchment paper (or silicone mats) prevents sticking and helps control spread. It’s a small investment for superior cookies!
- My cookies are still slightly flat, even after all this! What’s my last resort?
Okay, here’s a pro-tip for emergency cookie fluffing: when the cookies are about halfway through baking, gently tap the baking sheet on your counter a few times. This deflates them slightly and then they re-puff, creating crinkly, thicker cookies. It’s magic!
Final Thoughts
See? No need to mourn your flat cookie failures anymore! You’re now armed with the knowledge and the sass to tackle those chocolate chip challenges head-on. Baking should be fun, not a mystery, and definitely not a source of sadness (unless you run out of dough, then total sadness is acceptable). So go forth, experiment, bake with confidence, and enjoy those perfectly thick, chewy cookies you’ve totally earned. Now go impress someone—or yourself—with your new culinary skills. You’ve earned it!


