So, you’ve got that cookie craving hitting hard, but the thought of a “complicated” recipe makes you want to just order takeout, right? Been there, done that, bought the t-shirt. But what if I told you there’s a chocolate chip cookie recipe so legendary, so utterly *perfected*, that it’s practically idiot-proof? And it’s not some secret grandma passed down; it’s from the super-nerds at America’s Test Kitchen. Buckle up, buttercup, we’re diving into cookie nirvana.
Why This Recipe is Awesome
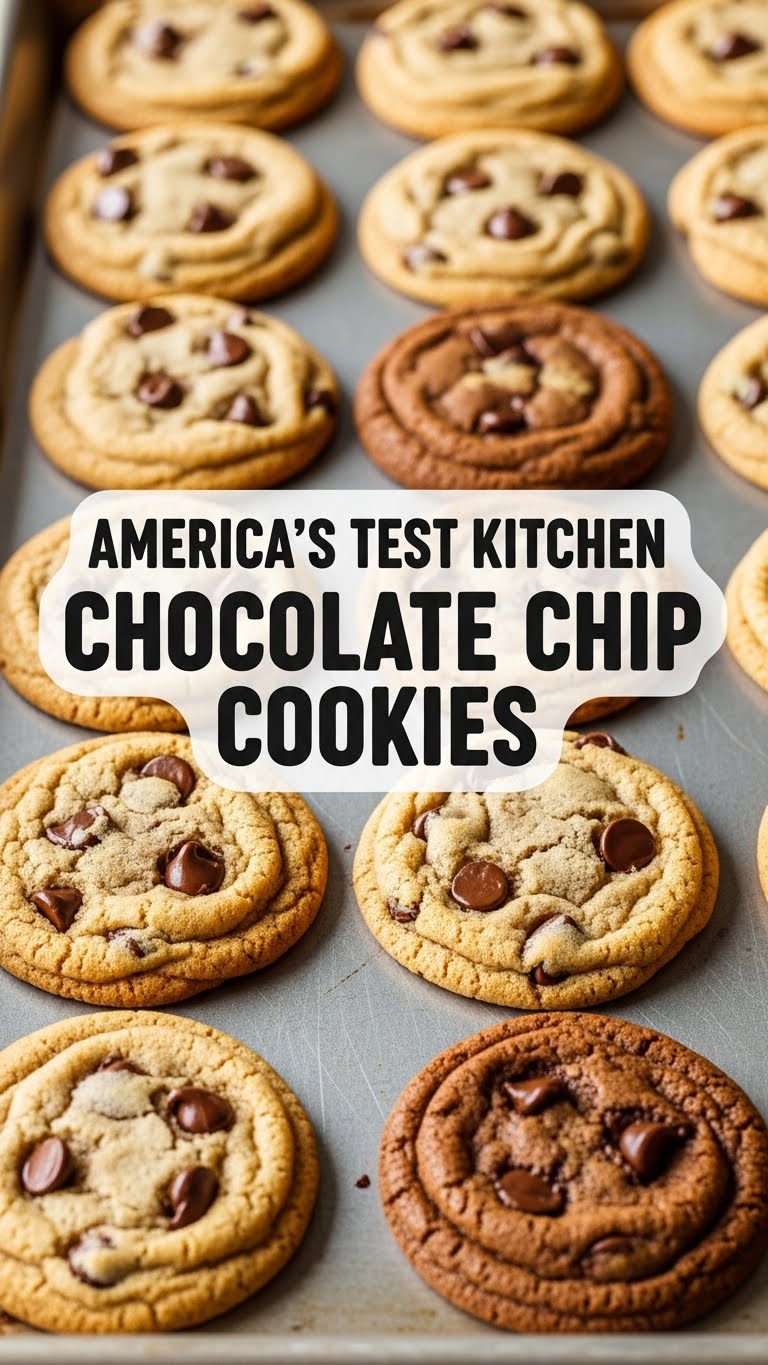
Okay, so America’s Test Kitchen. These folks are basically the MythBusters of the culinary world. They don’t just give you a recipe; they test every single variable until they nail down the *absolute best* way to do something. For their chocolate chip cookies, that means a perfect balance of chewy, crispy, and melt-in-your-mouth goodness. It’s like they designed a cookie to hit every happy button in your brain. It’s scientifically engineered deliciousness. Seriously, even I didn’t mess this up, and my kitchen is usually a zone of experimental chaos.
The secret sauce? Brown butter, specific sugar ratios, and a little thing called patience (which, TBH, I usually lack, but it’s worth it here). The result is a cookie with unparalleled depth of flavor and texture. No sad, flat discs here, folks. We’re talking golden-brown edges and gooey centers. Yum!
Ingredients You’ll Need
Gather ’round, my fellow snack enthusiasts. Here’s what you’ll need to conjure these magical morsels. Think of it as your shopping list for happiness:
- 1¾ cups (8¾ ounces) all-purpose flour: Your basic kitchen superhero.
- 1 teaspoon baking soda: The lift-off agent for your cookie rockets.
- ½ teaspoon salt: Balances everything out. Don’t skip it, it’s not just for seasoning.
- 12 tablespoons (1½ sticks) unsalted butter: The good stuff, please. No, seriously, it matters. This is getting browned!
- ¾ cup (5¼ ounces) granulated sugar: For that perfect crisp-chewy balance.
- ½ cup (3½ ounces) packed light brown sugar: The chewiness and moisture MVP.
- 1 large egg + 1 large egg yolk: Room temperature, if you’re feeling fancy. If not, whatever, they’ll still work.
- 2 teaspoons vanilla extract: A hug in a bottle. Use the real deal!
- 1¼ cups (7½ ounces) chocolate chips or chunks: The star of the show! Use good quality, because life’s too short for bad chocolate. Dark, semi-sweet, milk – your call, boss.
Step-by-Step Instructions
Alright, apron on, game face on. Let’s make some cookies!
- Brown that Butter: Grab a light-colored saucepan and melt your 12 tablespoons of butter over medium heat. Keep stirring! It’ll foam, then sizzle, then you’ll see little brown bits forming at the bottom, and it’ll smell nutty. This is good! Remove it from the heat once it’s a beautiful golden brown and smells like toasted caramel. Immediately pour it into a heatproof bowl to stop it cooking. Let it cool for about 15 minutes. Don’t skip this, it’s flavor town!
- Dry Mix: While your butter cools, whisk together the flour, baking soda, and salt in a medium bowl. Set it aside.
- Sugar Rush: In a separate large bowl, combine the cooled brown butter with both granulated and brown sugars. Whisk vigorously for about 30 seconds until totally combined.
- Egg-cellent Addition: Whisk in the whole egg, then the egg yolk, and finally the vanilla extract. Whisk for another 30 seconds until the mixture is lightened and super smooth.
- Combine Forces: Gradually add the dry ingredients to the wet ingredients, mixing with a rubber spatula until *just* combined. Stop mixing once you no longer see streaks of flour. Overmixing makes tough cookies, and nobody wants that.
- Chocolate Drop: Fold in those glorious chocolate chips or chunks. Make sure they’re evenly distributed throughout the dough.
- The Chill Factor: Cover the bowl with plastic wrap and refrigerate the dough for at least 30 minutes, or up to 24 hours. (Seriously, the longer the better for flavor, but 30 minutes is the minimum if you’re impatient like me!) This is a game-changer for texture and flavor. Trust the process!
- Preheat & Scoop: When you’re ready to bake, preheat your oven to 375°F (190°C). Line a baking sheet with parchment paper. Scoop out rounded tablespoons of dough (about 1.75 ounces each) and place them about 2 inches apart on the prepared baking sheet.
- Bake It ‘Til You Make It: Bake for 10-14 minutes, or until the edges are golden brown and the centers are still slightly soft. They’ll firm up as they cool.
- Cool Down: Let the cookies cool on the baking sheet for 5 minutes before transferring them to a wire rack to cool completely. Or, you know, eat one hot. No judgment here.
Common Mistakes to Avoid
Look, we all make mistakes. It’s part of the journey. But some mistakes are just…rookie. Let’s avoid those, shall we?
- Skipping the Brown Butter: “Oh, it’s just butter, who cares?” YOU will care when your cookies lack that deep, nutty complexity. It’s like going to a party without your best outfit. Don’t do it.
- Not Chilling the Dough: This is probably the biggest offender. If you bake immediately, your cookies will likely spread too much and be thin and greasy. Chilling allows the flavors to meld and the butter to firm up, resulting in a thicker, chewier cookie. Patience, grasshopper!
- Overmixing the Dough: Once the flour is in, mix until *just* combined. Too much mixing develops the gluten, leading to tough, not tender, cookies. Nobody likes a tough cookie (unless it’s you, being tough on life, in which case, go you!).
- Using Cold Eggs (or just one egg!): Room temperature eggs incorporate better into the batter, leading to a smoother, more even dough. And that extra yolk? It’s the secret to chewiness.
- Not Using Good Chocolate: You just did all this work, don’t skimp on the main event! Quality chocolate melts better and tastes, well, like good chocolate.
Alternatives & Substitutions
Feeling a little rebellious? Want to put your own spin on things? I get it. Here are some ideas, but remember: this ATK recipe is pretty dialed in, so some changes might alter the perfection. Just sayin’.
- Chocolate Swap: Feel free to mix up your chocolate! Go for a combination of dark, milk, and white chocolate chunks. Or try adding some chopped up candy bars for a “kitchen sink” vibe.
- Nutty Additions: Walnuts or pecans are classic additions. Toast them lightly before adding for extra flavor. About ½ to ¾ cup should do the trick.
- Spice It Up: A pinch of cinnamon or a tiny grating of fresh nutmeg could add a cozy twist, especially if you’re baking during the holidays.
- Dairy-Free Butter: If you’re avoiding dairy, you can try a plant-based butter alternative. However, be aware that browning it might be tricky, and the final flavor profile will definitely be different. You might lose some of that signature nutty goodness.
- Flour Power: For a gluten-free version, a 1:1 gluten-free baking blend *might* work, but results can vary wildly. FYI, I haven’t personally tested it with this specific recipe, so proceed with caution and maybe manage expectations.
FAQ (Frequently Asked Questions)
Got questions? I’ve got (casual, possibly sassy) answers!
- Q: Can I skip browning the butter?
A: Technically yes, but then you’re making a different cookie. Why rob yourself of that nutty, complex goodness? It’s like watching a movie but skipping the best scene. Don’t do it to yourself! - Q: Do I *really* need to chill the dough?
A: YES. Loudly and emphatically, YES. Unless you like flat, sad cookies that spread into oblivion. Chilling develops flavor and prevents over-spreading. It’s for the greater good, my friend. - Q: How long do these cookies last?
A: Honestly? Not long in my house. But officially, 3-5 days in an airtight container at room temperature. Pro tip: heat them for a few seconds in the microwave to get that “fresh baked” gooeyness back. - Q: Can I use a stand mixer instead of whisking by hand?
A: Absolutely! Go for it. Just be super careful not to overmix, especially when adding the flour. Low speed is your friend. - Q: My cookies spread too much! What happened?
A: A few culprits here: your dough might not have been chilled enough (or at all!), your butter might have been too warm when you started, or your baking soda might be old. Make sure your oven temp is accurate too! - Q: Can I freeze the cookie dough?
A: Heck yeah! Scoop balls of dough, place them on a parchment-lined tray, and freeze until solid. Then transfer them to a freezer-safe bag or container. Bake from frozen, adding a minute or two to the baking time. Future you will thank past you! - Q: What if I don’t have an egg yolk, just a whole egg?
A: While the extra yolk adds to the chewiness, using two whole eggs will still give you a delicious cookie. Don’t sweat it too much, but for *peak* ATK perfection, stick to the recipe!
Final Thoughts
See? You’re practically a pastry chef now. Or at least, you’re armed with the knowledge to make some seriously incredible chocolate chip cookies. This isn’t just a recipe; it’s a testament to the power of a little scientific rigor (and a lot of butter). So go forth and conquer your cookie cravings! Make a batch, share them with friends (if you can bear to), or hoard them all for yourself. No judgment here. You’ve earned these!


