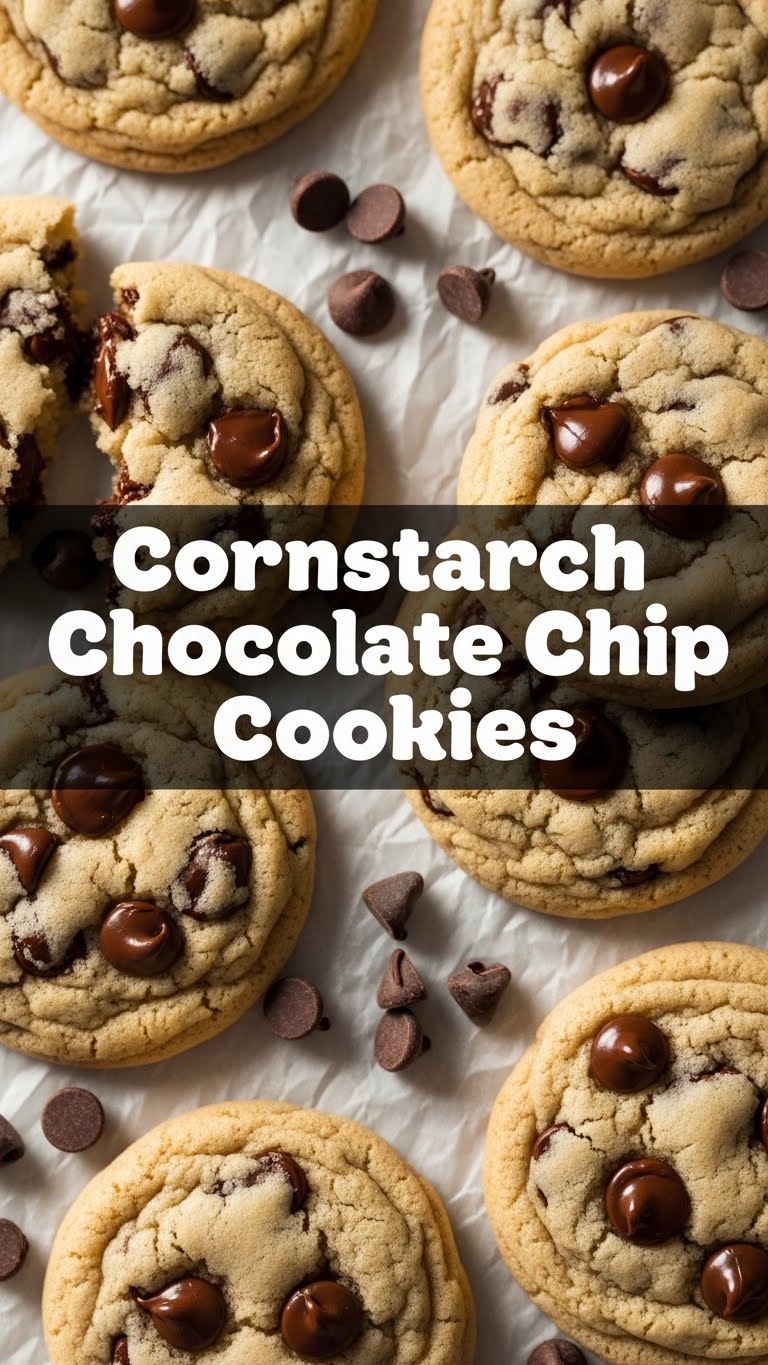
So you’re craving something warm, gooey, and utterly delicious but the thought of a complicated recipe makes you want to crawl back into bed? Been there, done that, got the crumb-stained t-shirt. Good news, my friend! We’re about to make some **Cornstarch Chocolate Chip Cookies** that are so mind-blowingly soft and chewy, you’ll wonder where this magic has been all your life. And guess what? It’s practically foolproof. Like, even *I* can make them without setting off the smoke alarm. Let’s do this!
Why This Recipe is Awesome
Okay, so why are we specifically talking about cornstarch in our chocolate chip cookies? Because it’s the secret weapon, duh! This isn’t just *another* cookie recipe. This is *the* cookie recipe that will elevate your baking game with minimal effort. Here’s the lowdown:
- **Unbelievable Softness & Chewiness:** The cornstarch works like a charm to give these cookies an incredibly tender crumb and that perfect chewy texture we all dream of. No more dry, crumbly hockey pucks, folks!
- **It’s Idiot-Proof:** Seriously, if you can measure and stir, you can make these. Even if you’re usually more of a “buy cookies from the store” kind of person, this recipe is for you.
- **Quick Gratification:** From mixing bowl to your mouth, these don’t take forever. Perfect for those sudden, desperate cookie cravings.
- **Impress Your Friends (or Just Yourself):** Everyone loves a good chocolate chip cookie, but a *perfectly* soft and chewy one? You’ll be a legend.
Ingredients You’ll Need
Gather ’round, my fellow food adventurer! Here’s what you’ll need to raid your pantry for. Don’t worry, nothing too wild here.
- **1 cup (2 sticks) Unsalted Butter, softened:** Not melted, not rock hard. Just that perfect, squishy softness. This is non-negotiable for texture, IMO.
- **¾ cup Granulated Sugar:** For sweetness and a little crispness.
- **¾ cup Packed Light Brown Sugar:** Our MVP for that deep, caramelly flavor and extra chew. Don’t skimp!
- **2 large Eggs:** Room temperature if you can swing it, helps everything mix better.
- **2 teaspoons Vanilla Extract:** Use the good stuff! It makes a world of difference.
- **2 ¼ cups All-Purpose Flour:** The standard base for our deliciousness.
- **2 tablespoons Cornstarch:** Our secret ingredient! This is the magic dust, people.
- **1 teaspoon Baking Soda:** For lift and spread.
- **½ teaspoon Salt:** Balances out all that sweet goodness. Don’t skip it, trust me.
- **1 ½ cups Chocolate Chips:** Your choice! Milk, semi-sweet, dark, a mix… live your best cookie life.
Step-by-Step Instructions
Alright, apron on, game face on (or don’t, it’s cookies, not a marathon). Let’s get baking!
- **Preheat Your Oven & Prep Your Pans:** Get that oven up to **375°F (190°C)**. Line two baking sheets with parchment paper. This makes cleanup a breeze and prevents sticking.
- **Cream the Butter & Sugars:** In a large bowl, beat the softened butter with both the granulated and brown sugars until light and fluffy. This usually takes about 2-3 minutes with an electric mixer. **Don’t rush this step!** It’s key for that airy texture.
- **Add the Wet Stuff:** Beat in the eggs one at a time, making sure each is fully incorporated before adding the next. Then, stir in the vanilla extract. Scrape down the sides of the bowl to make sure everything’s mixed.
- **Whisk the Dry Crew:** In a separate medium bowl, whisk together the flour, cornstarch, baking soda, and salt. Give it a good whisk to evenly distribute our secret weapon.
- **Combine ‘Em All:** Gradually add the dry ingredients to the wet ingredients, mixing on low speed until *just* combined. **Whatever you do, do NOT overmix!** Overmixing develops gluten and leads to tough cookies, and nobody wants a tough cookie.
- **Fold in the Chips:** Gently fold in your chocolate chips using a spatula. We want those babies evenly distributed!
- **Scoop ‘Em Out:** Drop rounded tablespoons (or use a cookie scoop for consistency) of dough onto your prepared baking sheets, leaving about 2 inches between each cookie.
- **Bake Until Golden:** Pop ’em in the preheated oven for **8-10 minutes**. Look for edges to be lightly golden, but the centers should still look soft and slightly undercooked. That’s the secret to chewiness!
- **Cool & Devour:** Let the cookies cool on the baking sheet for about 5 minutes before transferring them to a wire rack to cool completely. Or, you know, eat one (or three) warm. No judgment here.
Common Mistakes to Avoid
Even though this recipe is pretty chill, there are a few rookie errors that can derail your cookie dreams. Let’s make sure you avoid ’em!
- **Using Cold Butter or Eggs:** They won’t cream properly, and your dough will be lumpy. **Room temperature is your friend!**
- **Skipping the Cornstarch:** Remember, it’s literally the whole point of this recipe! Without it, you’re just making regular chocolate chip cookies (which are fine, but not *these*).
- **Overmixing the Dough:** Once you add the flour, mix only until no dry streaks remain. Excess mixing activates gluten, making your cookies tough instead of tender.
- **Baking Too Long:** Those perfectly soft centers depend on pulling them out when they look slightly underbaked. They’ll continue to set on the hot baking sheet. Don’t be afraid to take them out a little early!
- **Not Preheating the Oven:** Thinking you don’t need to preheat the oven—rookie mistake. A properly preheated oven ensures even baking from the start.
Alternatives & Substitutions
Feeling a little wild? Want to customize? Here are some ideas:
- **Different Mix-ins:** Not a fan of just chocolate chips? Throw in some chopped nuts (pecans or walnuts are divine!), white chocolate chunks, toffee bits, or even M&Ms for a colorful twist.
- **Gluten-Free Flour:** I haven’t personally tried it with this specific recipe, but generally, a 1:1 gluten-free all-purpose flour blend can work. Just watch the dough consistency and baking time.
- **Dairy-Free Butter:** You can swap the unsalted butter for a good quality dairy-free butter alternative. Make sure it’s one designed for baking.
- **No Brown Sugar?** You can use all granulated sugar, but just know your cookies will be less chewy and have a slightly different flavor profile. The brown sugar really adds to the chewiness and depth!
FAQ (Frequently Asked Questions)
Got questions? I got answers!
Can I use margarine instead of butter? Well, technically yes, but why hurt your soul like that? Butter is king for flavor, browning, and that perfect tender texture. If you *must*, make sure it’s a stick margarine (not tub spread) with good fat content.
Do I really need to use cornstarch? YES, honey, that’s literally the whole point! It’s what gives these cookies their signature softness and chewiness. Don’t skip our secret star!
Can I chill the dough? Absolutely! Chilling for 30 minutes to even overnight can make them even chewier and help prevent spreading. It’s a pro move if you have the time (and patience!).
My cookies are flat, what happened? This could be due to several things: your butter might have been too soft or melted, your oven might not be at the correct temperature, or you didn’t add enough flour (or too much sugar). Make sure your butter is just *softened*, not greasy.
How long do these last? In my house? About an hour. Realistically, store them in an airtight container at room temperature for up to 3-5 days. They stay wonderfully soft!
Can I add nuts to this recipe? Go for it! Walnuts or pecans would be absolutely delicious. Just make sure to chop ’em up so they distribute nicely.
Can I freeze the dough? You betcha! Scoop the dough onto a parchment-lined baking sheet, freeze until solid, then transfer to a freezer-safe bag or container. Bake from frozen, adding a couple extra minutes to the baking time.
Final Thoughts
There you have it! Your new go-to recipe for ridiculously delicious, impossibly soft, and perfectly chewy chocolate chip cookies, all thanks to a little cornstarch magic. You just unlocked a new level in your baking journey, my friend!
Now go forth and conquer that cookie craving. Make a batch, share them (or don’t, I won’t tell!), and revel in your culinary genius. You’ve earned it!


