So you’re scrolling through TikTok for the tenth time, stomach rumbling, and suddenly BAM! A craving for something ridiculously good hits you, but the idea of a 27-step recipe makes you want to curl up and cry? Been there, done that, got the t-shirt. But what if I told you there’s a recipe that’s ridiculously easy, makes you look like a culinary genius, and combines two of the best things on earth? Oh yeah, we’re talking **Oreo-stuffed chocolate chip cookies**, baby!
Why This Recipe is Awesome
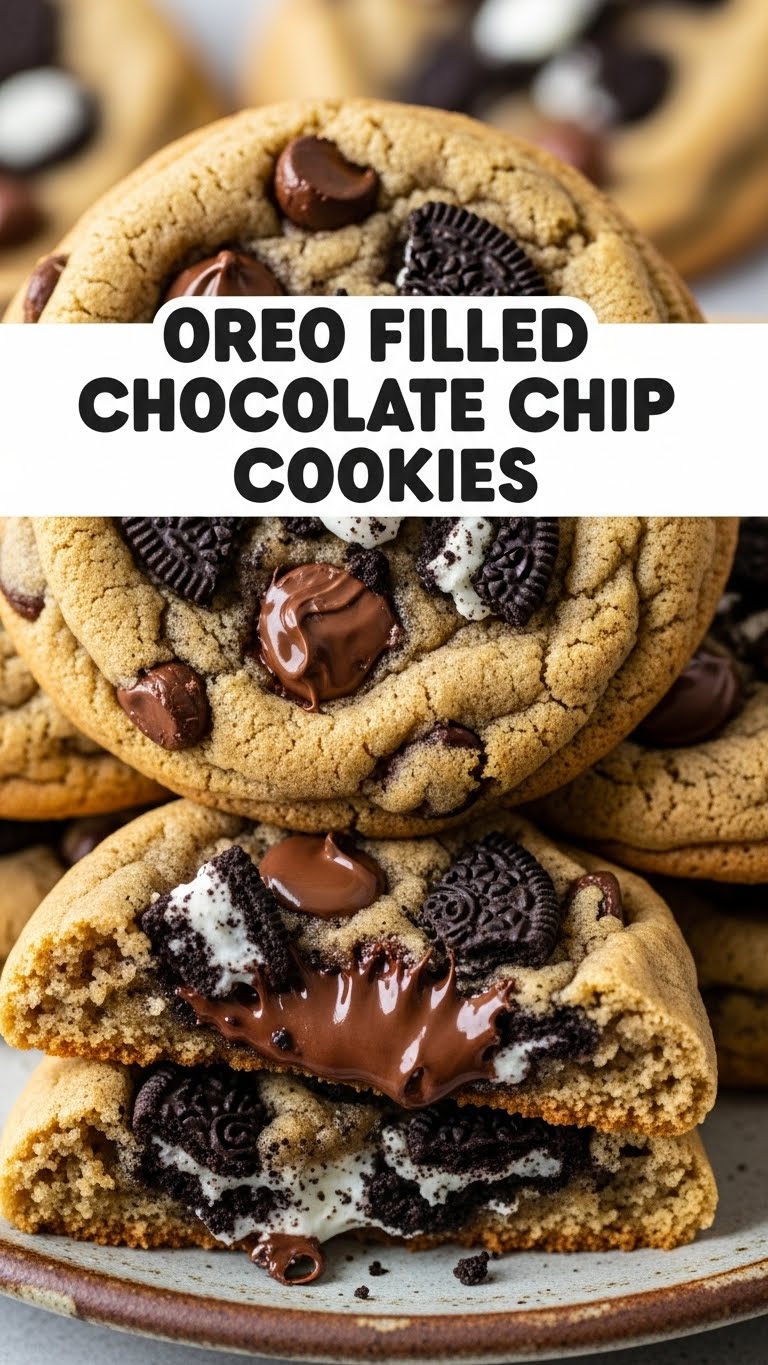
Because why choose between a classic chocolate chip cookie and an iconic Oreo when you can have a beautiful, delicious baby of both? This recipe is basically your favorite childhood dreams, all grown up and ready to party in your mouth. It’s the ultimate comfort food mashup, a true edible mic drop. Plus, it’s pretty much **idiot-proof**. Seriously, even I, the queen of occasionally questionable kitchen judgment, pull this off without setting off the smoke alarm. Most of the time, anyway. And the best part? The chewy cookie exterior with that surprise creamy, crunchy Oreo center? It’s pure magic. Trust me on this one, your tastebuds will thank you.
Ingredients You’ll Need
Gather ’round, my fellow snack enthusiasts! Here’s what you’ll need for this delicious adventure. Don’t worry, nothing too fancy, just the good stuff:
- 1 cup (2 sticks) unsalted butter, softened. The real MVP here. Make sure it’s room temp, not melted or straight from the fridge.
- ¾ cup granulated sugar. For that sweet, crispy edge.
- ¾ cup packed light brown sugar. Gives us that classic chewy texture and deep, molasses-y goodness.
- 2 large eggs. Happy, cage-free if you can. They bind everything together!
- 2 teaspoons vanilla extract. Don’t skimp! Vanilla makes everything better, IMO.
- 2 ¼ cups all-purpose flour. The backbone of our cookie empire.
- 1 teaspoon baking soda. Our little leavening friend, making sure things puff up nicely.
- ½ teaspoon salt. Balances all that sweetness and actually makes the chocolate taste richer. Science!
- 1 ½ cups chocolate chips. Semi-sweet is classic, but hey, you do you! Milk, dark, even a mix – go wild!
- 18-24 Oreo cookies. A whole sleeve, maybe a little more, depending on your commitment. Don’t act surprised.
Step-by-Step Instructions
- Preheat & Prep: First things first, get your oven ready! Preheat it to 375°F (190°C). Line a couple of baking sheets with parchment paper or silicone mats. This is a non-stick game-changer, FYI.
- Cream the Goods: In a large bowl, or the bowl of your stand mixer, cream together the softened butter, granulated sugar, and brown sugar until it’s light and fluffy. This usually takes about 2-3 minutes. Don’t rush this step; it’s crucial for cookie texture!
- Egg-cellent Additions: Beat in the eggs, one at a time, mixing well after each addition. Then, stir in the vanilla extract. Scrape down the sides of the bowl to make sure everything gets acquainted.
- Dry Mix Magic: In a separate medium bowl, whisk together the flour, baking soda, and salt. Make sure it’s all combined evenly.
- Combine Forces: Gradually add the dry ingredients to the wet ingredients, mixing on low speed until *just* combined. Do not overmix! Overmixing develops the gluten too much, leading to tough cookies, and nobody wants a tough cookie.
- Chocolate Chip Extravaganza: Fold in your chocolate chips. Get in there with a spatula and make sure they’re evenly distributed. This is where the magic happens, folks.
- Oreo Operation: Now for the fun part! Take about 2 tablespoons of cookie dough and flatten it into a disk in the palm of your hand. Place one Oreo cookie in the center. Carefully wrap the cookie dough around the Oreo, sealing it completely. Make sure the Oreo is fully encased; we don’t want any peeking!
- Bake ‘Em Up: Place the dough balls about 2 inches apart on your prepared baking sheets. Bake for 10-13 minutes, or until the edges are golden brown and the centers are still slightly soft. They’ll continue to set as they cool.
- Cool Down: Let the cookies cool on the baking sheets for 5 minutes before transferring them to a wire rack to cool completely. If you can wait that long, that is. I usually can’t.
Common Mistakes to Avoid
Listen up, buttercup! Even easy recipes have their pitfalls. Steer clear of these rookie blunders for maximum cookie glory:
- Using Cold Butter: Trying to cream cold butter is like trying to reason with a toddler – pointless and frustrating. Make sure it’s properly softened (but not melted!) for that perfect creamy texture.
- Overmixing the Dough: I already said it, but it bears repeating: **do not overmix the flour!** This is how you get dense, chewy cookies that are more brick-like than dreamy. Mix until just combined, then stop.
- Not Chilling the Dough (Sometimes): While this recipe often works fine without it, if your kitchen is warm or your dough feels super sticky, a 30-minute chill in the fridge can prevent your cookies from spreading into flat pancakes. Consider it a small investment for a big payoff.
- Not Preheating Your Oven: Baking in a cold oven means uneven baking and sad, saggy cookies. Give your oven time to get to the correct temperature; it’s worth the wait.
- Overbaking: Thinking “just one more minute” in the oven is a good idea? Nope, that’s how you get hockey pucks instead of soft, chewy cookies. Pull them out when the edges are golden and the centers look *slightly* underdone. They’ll finish baking on the hot sheet.
Alternatives & Substitutions
Feeling rebellious? Want to put your own spin on things? I get it! Here are a few ideas to shake things up:
- Butter Swaps: If you’re dairy-free, a good quality plant-based butter alternative can work, but let’s be real, nothing truly beats the real deal in a chocolate chip cookie. Just be prepared for a *slight* texture difference.
- Chocolate Chip Varieties: Tired of semi-sweet? Throw in some milk chocolate chips, white chocolate chips, dark chocolate chunks, or even a handful of M&Ms. Mini Reese’s Peanut Butter Cups also make an epic stuffing if you want to double down on the indulgence!
- Oreo Flavors: Don’t limit yourself to the classic! Peanut Butter Oreos, Mint Oreos, Birthday Cake Oreos… the world is your oyster (or, well, your cookie). Pick your favorite and go wild!
- Flour Power: If you need to go gluten-free, an all-purpose GF baking blend can usually be substituted cup-for-cup. Just know the texture might be a *tad* different, but still delicious.
- Nutty Additions: Want some crunch? Fold in ½ cup of chopped pecans or walnuts with your chocolate chips. Extra texture, extra yum!
FAQ (Frequently Asked Questions)
Got questions? I’ve got (casual, possibly sassy) answers!
- Can I make the dough ahead of time? Absolutely! You can store the unbaked dough (wrapped tightly) in the fridge for up to 3 days. Some people even swear chilling it overnight makes them taste better. Cookie science, baby!
- My cookies are spreading too much, what gives? Uh oh! Could be a few things: your butter might have been too warm, you didn’t add enough flour (or measured it incorrectly), or your oven temp is a bit off. Also, **don’t skip that optional chilling step!** It really helps.
- Can I use generic sandwich cookies instead of Oreos? Well, technically yes, but why hurt your soul like that? Just kidding (mostly)! They’ll work, but they won’t be *Oreos*. For the best results, stick with the original if you can.
- How do I store these masterpieces? Once completely cool, store them in an airtight container at room temperature for up to 3-4 days. Or, in your belly, which is usually my preferred method of storage.
- Can I freeze the dough balls? You bet! Form the dough balls with the Oreos inside, then freeze them solid on a baking sheet. Once solid, transfer them to a freezer-safe bag. When you’re ready to bake, pop them straight from the freezer into the oven, just add an extra 2-3 minutes to the baking time. Fresh cookies anytime!
- Do I *have* to use semi-sweet chocolate chips? Honey, it’s your cookie journey! Use milk, dark, white – mix ’em up! Live a little! The best chocolate chips are the ones *you* love.
Final Thoughts
So there you have it, folks! The secret to becoming everyone’s favorite person (or just your own) in about an hour. These Oreo-stuffed chocolate chip cookies are not just a dessert; they’re an experience. They’re proof that sometimes, the best things in life are simple, comforting, and ridiculously easy to make. Go forth, bake these beauties, and bask in the glory of your delicious creation. You’ve earned those bragging rights. Now, if you’ll excuse me, I hear a fresh batch calling my name…


