So you’re scrolling, probably procrastinating, and suddenly BAM! A craving for a warm, gooey chocolate chip cookie hits harder than your alarm on a Monday, right? You want that bakery-level goodness, but, let’s be real, putting on actual pants to go to a bakery feels like too much effort. Don’t worry, friend, I got you. We’re diving into the glorious world of **NY Style Chocolate Chip Cookies**, and trust me, your taste buds are about to send you a very grateful thank-you note.
Why This Recipe is Awesome
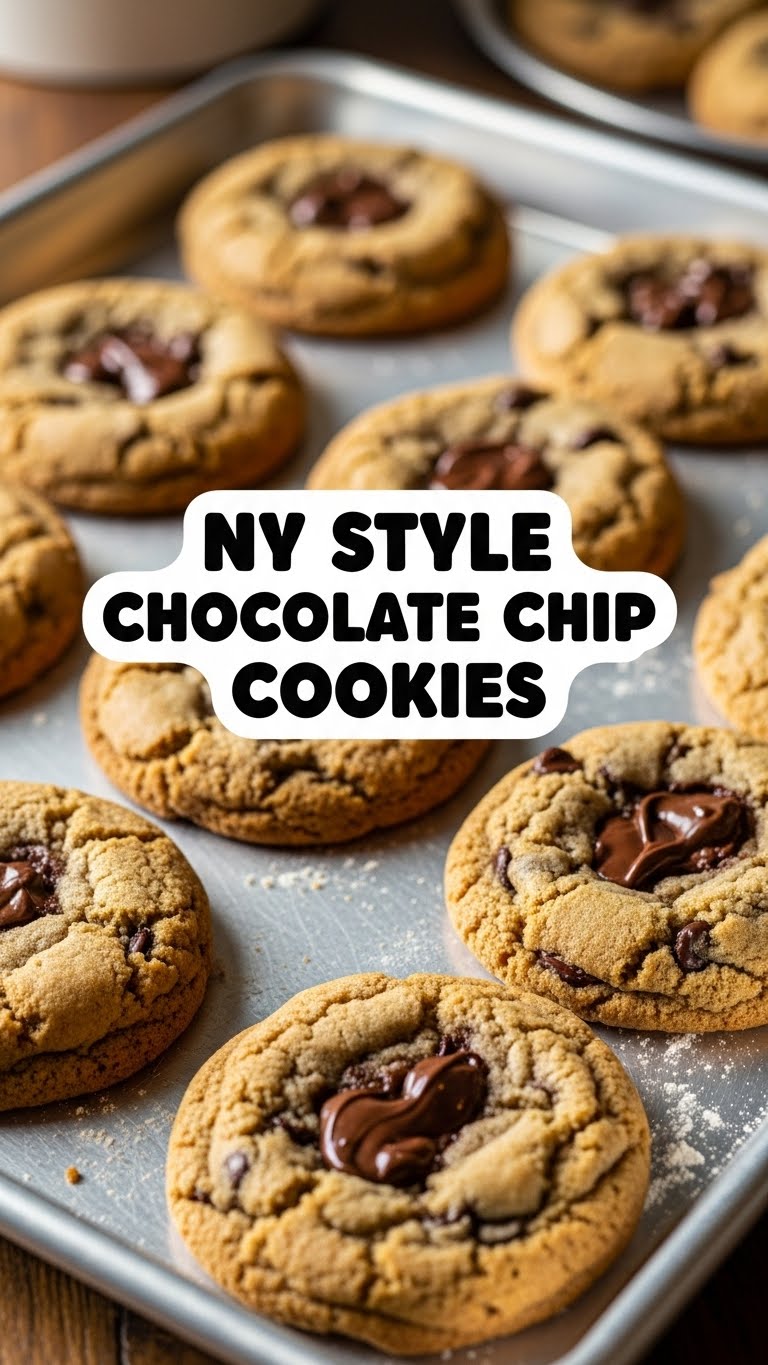
This isn’t just *any* chocolate chip cookie recipe. This is the **NY Style** kind. Think thick, chewy centers that practically melt in your mouth, those perfect slightly crisp edges, and chocolate puddles that make you wanna weep tears of joy. Seriously, it’s so good, your grandma might get a little jealous. Plus, it’s pretty much **idiot-proof** – even if your kitchen skills typically extend to pressing “start” on the microwave, you absolutely got this. It’s the kind of recipe that makes you look like a culinary genius without actually having to be one. You’re welcome.
Ingredients You’ll Need
Alright, gather your squad. Here’s what we’re wrangling:
- 1 cup (2 sticks) Unsalted Butter: Softened, but not melty. We’re fancy, we control our salt. Or, you know, we just grab what’s available.
- ¾ cup Granulated Sugar: For that classic sweetness and crisp.
- 1 cup Packed Light Brown Sugar: This is where the magic happens – chewiness, moisture, and deep flavor. Don’t skimp!
- 2 Large Eggs: Room temperature, because science, baby! It helps them emulsify better.
- 2 tsp Vanilla Extract: The good stuff. Not the imitation kind, unless you like your cookies tasting like a cheap candle.
- 2 ¼ cups All-Purpose Flour: Unbleached, if you’re feeling extra. No need to get complicated.
- 1 tsp Baking Soda: Our trusty leavening agent.
- ½ tsp Salt: Balances everything out. Don’t skip it, even if you used salted butter (just reduce it slightly).
- 1 ½ cups Chocolate Chips/Chunks: The star of the show! A mix of good quality dark chocolate chunks and semi-sweet chips is an **absolute game changer**, IMO, for layers of chocolatey goodness.
Step-by-Step Instructions
- First things first, preheat that oven to **375°F (190°C)**. Line two baking sheets with parchment paper. This is non-negotiable for easy cleanup and no-stick cookies.
- In a large bowl (or stand mixer if you’re feeling extra), cream together the softened butter, granulated sugar, and brown sugar. Beat them on medium speed until they’re light, fluffy, and look like a dream – usually about 2-3 minutes.
- Add one egg at a time, beating well after each addition. Scrape down the sides of the bowl to make sure everything’s incorporated. Then, stir in the vanilla extract. Your kitchen should already smell amazing.
- In a separate, medium-sized bowl, whisk together the flour, baking soda, and salt. Give it a good whisk to evenly distribute everything.
- Gradually add the dry ingredients to the wet ingredients, mixing on low speed until just combined. **Do not overmix!** As soon as you see no more dry flour streaks, stop. Overmixing leads to tough cookies, and nobody wants that.
- Now for the fun part: gently fold in the chocolate chips and chunks. Make sure they’re evenly distributed throughout the dough.
- Scoop out large mounds of dough – think golf ball to tennis ball size (about 3-4 tablespoons each) – and place them on your prepared baking sheets, leaving plenty of space between them. These babies spread!
- Bake for **10-14 minutes**, or until the edges are golden brown but the centers still look slightly soft and gooey. For those truly epic chocolate puddles, take them out when they look almost done, then whack the baking sheet lightly on the counter a couple of times. It collapses them slightly, making those beautiful melted pools.
- Let the cookies cool on the baking sheet for about 5-10 minutes before transferring them to a wire rack to cool completely. Or, you know, eat them warm, burning your tongue slightly. We’ve all been there.
Common Mistakes to Avoid
- Overmixing the Dough: We just talked about this, but it bears repeating. Mixing too much develops too much gluten, resulting in hockey pucks instead of soft, chewy cookies. Stop mixing when the flour just disappears!
- Not Chilling the Dough (Sometimes): While this specific recipe is pretty forgiving and often doesn’t require a chill, if your cookies are spreading too much, a 30-minute chill in the fridge can work wonders. Impatience is a virtue, but not always in baking.
- Wrong Oven Temperature: Your oven is probably a liar. Seriously. Get an oven thermometer! An oven that’s too hot will burn the outside before cooking the inside, and one that’s too cool will lead to flat, sad cookies.
- Skimping on Chocolate: Is there even such a thing as “too much chocolate”? The answer is a resounding NO. Load ’em up!
- Not Using Parchment Paper: Rookie mistake. It prevents sticking and makes cleanup a breeze. Plus, it helps with even baking.
Alternatives & Substitutions
Feeling adventurous? Here are a few ways to mix things up:
- Chocolate Variety: Don’t limit yourself to just chips! Chopped chocolate bars (especially good quality ones like Ghirardelli or Lindt) create those glorious melty pools. Mix in white chocolate, peanut butter chips, or even some toffee bits for extra flair.
- Add-ins: A handful of chopped nuts (walnuts or pecans) can add a nice crunch. A pinch of flaky sea salt sprinkled on top right after baking? **Chef’s kiss!**
- Butter Alternative: Margarine? Don’t even go there, your soul deserves better. Coconut oil *can* work for a dairy-free option, but the flavor and texture will definitely be different. This recipe shines with real butter.
- Flour Alternatives: For gluten-free, you could try a 1:1 gluten-free baking blend, but be warned, the texture might not be *exactly* the same NY-style chewiness. It’s worth a shot if you have dietary restrictions!
FAQ (Frequently Asked Questions)
Got questions? I’ve got (casual, humorous) answers!
- Do I *really* have to use both kinds of sugar? Yes! Granulated sugar gives crispness, brown sugar gives chewiness and moisture. It’s a power couple, don’t break them up.
- My cookies are too flat! What happened? Likely culprits: your butter was too warm/melty, you overmixed, your oven isn’t hot enough, or your baking soda is old. Check that baking soda expiry date, it’s a sneaky one!
- Can I make the cookies smaller? Sure, but then they’re just *cookies*, not **NY Style** cookies. The whole point is that glorious, thick, chewy center! If you do, reduce baking time accordingly.
- How long do these glorious cookies last? LOL. They don’t. But if you *manage* to have leftovers, store them in an airtight container at room temp for up to 3-5 days. Reheat for 10 seconds in the microwave for that fresh-baked feel.
- Can I freeze the dough? **Absolutely!** Scoop the dough balls onto a parchment-lined baking sheet, freeze until solid, then transfer to a freezer-safe bag. Bake from frozen, adding a minute or two to the baking time. Fresh cookies anytime, FYI!
- What’s the best kind of chocolate to use? A mix of good quality dark chocolate (60-70% cacao) chunks and semi-sweet chips is my personal recommendation for the best flavor complexity and melty texture.
Final Thoughts
Boom! You’ve just leveled up your cookie game from “store-bought basic” to “NYC bakery boss.” Now go forth and conquer those cravings. Bake a batch, revel in the deliciousness, and maybe (just maybe) share one or two with someone you really like. Or don’t! No judgment here. You’ve earned every single bite of that warm, gooey, perfect cookie. You’re basically a professional baker now. Go impress someone – or just yourself – with your new culinary skills. You’ve earned it!


