So, you’re craving something warm, gooey, and utterly delicious but too lazy to spend forever in the kitchen, huh? Same, friend, *same*. And let’s be real, sometimes a plain chocolate chip cookie just doesn’t quite hit the spot. You need a little *zing*. A little *pow*. You need that perfect balance of sweet and salty that makes your tastebuds do a happy dance.
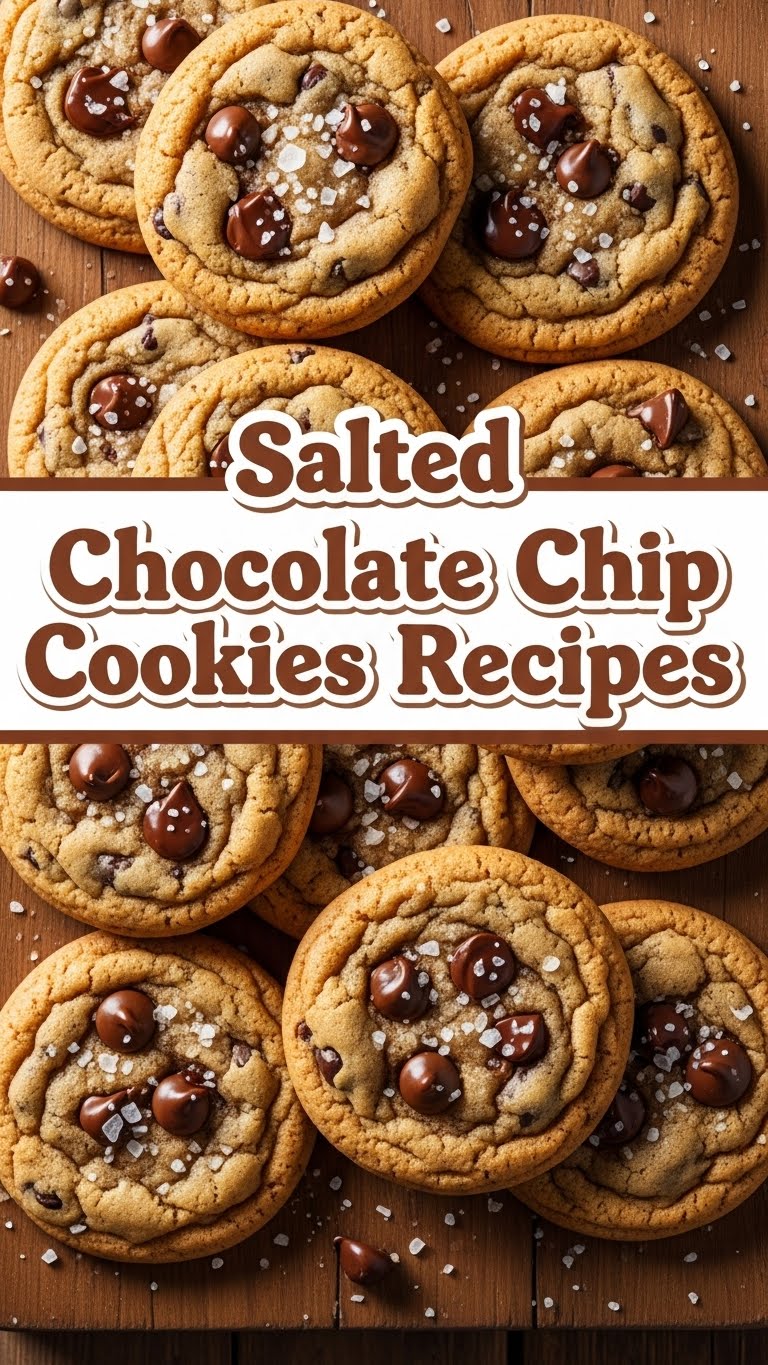
Enter the hero of our story: The Salted Chocolate Chip Cookie. It’s not just a cookie; it’s a mood. It’s a hug in edible form. And it’s about to become your new favorite secret weapon in the fight against a bland snack life. Let’s get baking, shall we?
Why This Recipe is Awesome
Listen, I get it. The internet is flooded with cookie recipes. But this one? This one is special. Why? Because it’s practically **idiot-proof**. Seriously, if I can make these without summoning a kitchen disaster, you absolutely can too. This recipe delivers a cookie that’s chewy in the middle, slightly crisp on the edges, loaded with melty chocolate, and then BAM!—a tiny pop of sea salt that elevates the whole darn thing to legendary status. It’s the kind of cookie that makes people ask, “What’s your secret?!” and you can just smirk knowingly. Plus, it’s relatively quick. No one has time for a ten-hour cookie saga, am I right?
Ingredients You’ll Need
Alright, gather your troops! Here’s what you’ll need to transform into a cookie wizard. Don’t worry, nothing too fancy.
- **Unsalted Butter** (1 cup / 2 sticks): Room temp, please! Cold butter is the enemy of creamy dough.
- **Granulated Sugar** (¾ cup): For sweetness and a bit of crisp.
- **Packed Light Brown Sugar** (¾ cup): The real MVP for chewiness and that lovely caramel flavor.
- **Large Eggs** (2): Also room temp! Seriously, it makes a difference.
- **Vanilla Extract** (2 teaspoons): Don’t you dare skimp on the good stuff. It’s the soul of the cookie.
- **All-Purpose Flour** (2 ¼ cups): Fluff it up before you measure.
- **Baking Soda** (1 teaspoon): For lift and spread.
- **Salt** (1 teaspoon, fine sea salt preferred): This is for the *dough*, people, not just the topping.
- **Chocolate Chips** (1 ½ cups): A mix of semi-sweet and milk chocolate chips is my personal fave, but you do you. Chunks are also highly encouraged!
- **Flaky Sea Salt** (for sprinkling): This is non-negotiable for the “salted” part of the Salted Chocolate Chip Cookie. Don’t skip it!
Step-by-Step Instructions
Okay, aprons on, oven mitts ready (metaphorically, for now). Let’s get these bad boys baking!
- **Preheat Your Oven (and Line Your Pans):** Crank that oven to **375°F (190°C)**. Line two baking sheets with parchment paper or silicone mats. Trust me, it makes cleanup a breeze.
- **Cream Butter and Sugars:** In a large bowl, or your stand mixer, beat the room temperature butter, granulated sugar, and brown sugar together until it’s light, fluffy, and looks like a cloud of deliciousness. This usually takes about 2-3 minutes.
- **Add Eggs and Vanilla:** Crack in one egg at a time, mixing well after each addition. Then, pour in that glorious vanilla extract and mix until just combined. Don’t overdo it!
- **Whisk Dry Ingredients:** In a separate medium bowl, whisk together the flour, baking soda, and the teaspoon of fine salt. Giving it a good whisk ensures everything is evenly distributed.
- **Combine Wet and Dry:** Gradually add the dry ingredients to the wet ingredients, mixing on low speed (or by hand) until just combined. **Stop mixing as soon as you see no more streaks of flour.** Overmixing develops gluten, making tough cookies—and who wants a tough cookie?
- **Fold in Chocolate Chips:** Now for the fun part! Gently fold in your chocolate chips with a spatula. Be sure they’re spread throughout the dough, getting into every nook and cranny.
- **Scoop and Sprinkle:** Use a cookie scoop (or two spoons) to drop generous mounds of dough onto your prepared baking sheets, leaving a couple of inches between each. **This is crucial:** Immediately sprinkle a few flakes of the sea salt over the top of each cookie dough ball.
- **Bake ‘Em Up:** Pop those sheets into your preheated oven. Bake for **10-12 minutes**, or until the edges are golden brown but the centers still look a little soft. That’s how you get that perfect chewy texture!
- **Cool (If You Can Resist):** Let the cookies cool on the baking sheets for about 5 minutes before transferring them to a wire rack to cool completely. Or, you know, just eat one (or three) while they’re still warm and gooey. No judgment here.
Common Mistakes to Avoid
We all make mistakes, but let’s try to avoid these rookie errors for ultimate cookie glory:
- **Using Cold Butter/Eggs:** I mentioned it before, and I’ll say it again: **room temperature ingredients are key!** They emulsify better and give you a smoother, more even dough.
- **Overmixing the Dough:** Once you add the flour, treat that dough gently. Overmixing means tough, dense cookies. We want tender, chewy goodness.
- **Skipping the Flaky Sea Salt:** This isn’t just decoration, folks. It’s the *entire point* of a salted chocolate chip cookie! Don’t deny yourself this flavor explosion.
- **Not Preheating the Oven:** Thinking you can just shove them in? Nope. A properly preheated oven ensures even baking and proper spread. Otherwise, you’ll get flat, sad cookies.
- **Baking Too Long:** Watch those edges! You want them golden, not burnt. A slightly underbaked center equals ultimate chewiness.
Alternatives & Substitutions
Feeling adventurous? Here are a few ways to tweak this recipe to your heart’s content. Because rules are suggestions, right?
- **Chocolate Choices:** Not a fan of semi-sweet? Go all milk chocolate, or all dark chocolate for a richer flavor. You could even throw in some white chocolate chips for a fun twist, though IMO, they don’t quite hit the same.
- **Nutty Additions:** Want some crunch? Fold in ½ cup of chopped pecans or walnuts with your chocolate chips. Toasted nuts are even better!
- **Different Extracts:** Swap out half the vanilla for almond extract for a subtle, nutty undertone. Or try a tiny splash of espresso powder (½ tsp) to deepen the chocolate flavor—it’s practically magic!
- **Dairy-Free Option:** For my dairy-free friends, you can absolutely use a good quality plant-based butter (like Miyoko’s Kitchen or Earth Balance sticks) and dairy-free chocolate chips. The texture might be slightly different, but still delicious!
FAQ (Frequently Asked Questions)
Got questions? I’ve got answers (and opinions, naturally).
- **Do I really need to use flaky sea salt? Can’t I just use regular salt?**
Well, technically yes, you *could*, but why hurt your soul like that? Regular table salt won’t give you those delightful little bursts of intense saltiness that flaky sea salt does. It’s truly worth the splurge!
- **Can I chill the dough?**
Absolutely! Chilling the dough for at least 30 minutes (or even overnight!) can deepen the flavors and make for a slightly chewier cookie. If you’ve got the patience, go for it! But this recipe is designed to be delicious even without the chill time.
- **My cookies spread too much! What did I do wrong?**
A few culprits: your butter might have been too soft (almost melted), your oven wasn’t hot enough, or you measured too much sugar or too little flour. Make sure to level your flour cups and ensure that butter isn’t liquidy!
- **How do I store these masterpieces?**
Keep them in an airtight container at room temperature for up to 3-4 days. If they last that long, you’re a stronger person than me.
- **Can I freeze the cookie dough?**
Yes, please do! Scoop the dough balls, place them on a parchment-lined baking sheet, and freeze until solid. Then transfer them to a freezer-safe bag. When a craving hits, bake from frozen, adding an extra 2-3 minutes to the baking time.
- **What if I don’t have brown sugar?**
You *can* substitute with all granulated sugar, but your cookies will be less chewy and have a flatter, crisper texture. The brown sugar really brings that moistness and chew. So, if you can, grab some!
Final Thoughts
There you have it! Your new go-to recipe for salted chocolate chip cookies that are guaranteed to make you feel like a domestic goddess (or god!). They’re easy, they’re fast, and they’re ridiculously delicious. So go ahead, whip up a batch. Impress your friends, bribe your boss, or simply treat yourself to a moment of pure bliss. You’ve earned it!
Now get out there and bake some joy!


