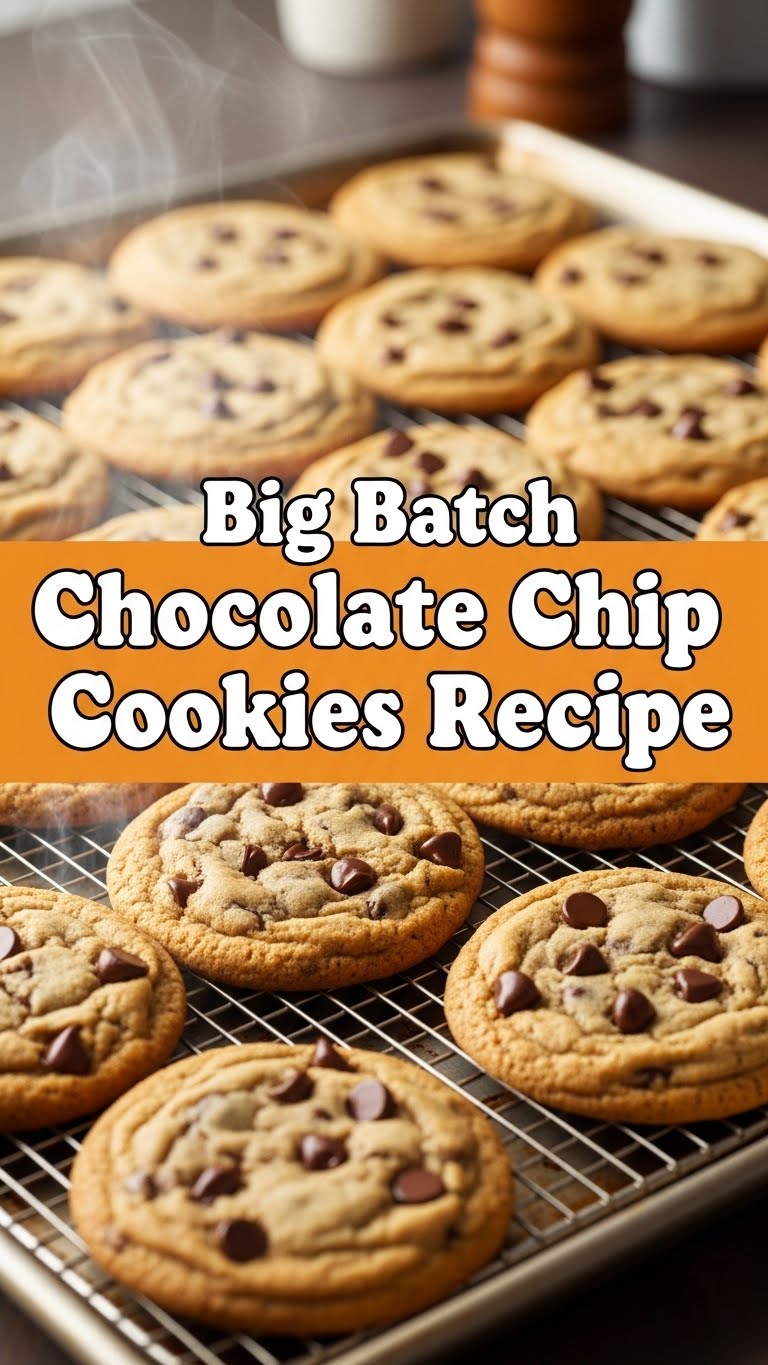
So you’re craving something tasty but too lazy to spend forever in the kitchen, huh? Same. What if I told you we could whip up enough delicious, chewy, chocolatey goodness to last *days* (or, let’s be real, a really epic movie marathon) with minimal fuss? Because, let’s be honest, who has time for tiny batches when the craving hits? Enter the Big Batch Chocolate Chip Cookie recipe – your new go-to for effortless edible joy.
Why This Recipe is Awesome
Okay, let’s get real. This isn’t just *a* recipe; it’s a game-changer. Why? Because it’s practically **idiot-proof**. No, seriously, even I didn’t mess it up, and my track record with delicate pastries is… let’s just say “adventurous.” This recipe lets you make a mountain of cookies without feeling like you’ve run a marathon. It’s perfect for feeding a hungry crowd (or just your hungry self, no judgment here), ideal for freezing dough balls for future emergencies, and an absolute champion for satisfying those sudden, intense chocolate chip cookie urges. Plus, a warm cookie in hand just makes the world a better place, right? It’s basically happiness, baked.
Ingredients You’ll Need
Gather ’round, my fellow cookie enthusiasts! Here’s what you’ll need to transform your kitchen into a beacon of deliciousness:
- Unsalted Butter (the good stuff): 1 cup (2 sticks or 226g), softened. Don’t skimp here, folks. Butter is the soul of a good cookie. Unsalted lets you control the salt content.
- Granulated Sugar: 1 cup (200g). For that classic sweetness and a bit of crispness.
- Packed Light Brown Sugar: 1 ½ cups (300g). This is our secret weapon for chewiness and that deep, molasses-y flavor. Don’t pack it lightly; pack it like you mean it!
- Large Eggs: 2, at room temperature. Happy eggs make happy cookies. Trust the process.
- Vanilla Extract: 2 teaspoons. The MVP of flavor. Go for the real deal, not that imitation stuff. Your taste buds will thank you.
- All-Purpose Flour: 3 cups (360g). Nothing fancy, just your everyday flour doing its delicious job.
- Baking Soda: 1 teaspoon. Our little lift-off agent, making sure these aren’t flat disks of sadness.
- Salt: ½ teaspoon. Balances all that sweet goodness and brings out the flavors. Don’t skip it!
- Chocolate Chips: 2 cups (340g) – semi-sweet is classic, but hey, go wild! Milk, dark, white chocolate chunks, or a glorious mix. It’s your cookie, make it sparkle.
Step-by-Step Instructions
Alright, apron on, game face ready! Let’s get baking!
Preheat and Prep: Get your oven going to 375°F (190°C) and line a couple of baking sheets with parchment paper. Seriously, **don’t skip the parchment** unless you enjoy wrestling with stuck cookies later. Who has time for that?
Cream the Goodness: In your largest mixing bowl (or stand mixer), beat the softened butter with both the granulated and brown sugars. Cream them together until the mixture is light, fluffy, and looks like a golden cloud. This usually takes about 2-3 minutes on medium speed.
Egg-cellent Addition: Crack in your eggs, one at a time, beating well after each addition. Then, pour in that glorious vanilla extract and mix until just combined. Everything should look smooth and creamy now.
Whisk the Dry Bits: In a separate, medium-sized bowl, whisk together the flour, baking soda, and salt. Give it a good whisk to make sure everything is evenly distributed. We want uniform cookie magic!
Combine Forces: Slowly add the dry ingredients to the wet ingredients. Mix on low speed until everything is *just* combined. **Whatever you do, don’t overmix!** Overmixing develops gluten too much, leading to tough, un-fun cookies.
Chocolate Time!: Gently fold in your chosen chocolate chips. Use a spatula for this. You want them nestled throughout the dough, like little treasure nuggets waiting to be discovered.
Scoop & Bake: Drop rounded tablespoons of dough onto your prepared baking sheets, leaving about 2 inches between them. These beauties like to spread out and show off. Bake for 9-12 minutes, or until the edges are nicely golden brown and the centers still look a tiny bit soft. That’s the secret to chewiness!
Cool Down: Let the cookies cool on the baking sheets for about 5 minutes before carefully transferring them to a wire rack to cool completely. **Patience, young grasshopper.** They firm up as they cool, and trying to move them too soon is a recipe for broken hearts (and cookies).
Common Mistakes to Avoid
Nobody’s perfect, especially when delicious cookies are involved. But a few pointers can save you from cookie catastrophe:
- Not Preheating Your Oven: Rookie mistake! A cold oven means your cookies won’t spread properly, leading to thick, uneven results. Always give your oven time to get to temperature.
- Overmixing the Dough: We already mentioned it, but it bears repeating. Unless you’re aiming for hockey pucks, mix until *just* combined. Stop when you no longer see streaks of flour.
- Using Cold Butter (or Melted Butter): Your butter needs to be softened, not cold and hard, and definitely not melted. Softened butter creams beautifully with sugar, creating air pockets for a fluffy, tender cookie. Melted butter makes for flat, greasy cookies.
- Baking Too Long: This is the number one cause of dry, crumbly cookies. Pull them out when the edges are golden, and the centers still look a little underdone. They’ll continue to cook slightly on the hot baking sheet.
- Not Chilling the Dough (Optional, but Gold): While not strictly required, chilling your dough for at least 30 minutes (or even overnight!) helps prevent spreading and deepens the flavor. It’s a small extra step for a **big flavor payoff**.
Alternatives & Substitutions
Feeling a little rebellious? Here are some ways to shake things up:
- Chocolate Varieties: Mix and match! White chocolate chips with macadamia nuts? Dark chocolate with a sprinkle of sea salt on top? Peanut butter chips? Caramel bits? The world is your oyster! Or, you know, your chocolate chip cookie.
- Nutty Additions: Walnuts or pecans are classic. Toast them lightly before adding for an extra depth of flavor. FYI, toasting nuts is a game-changer.
- Flour Power: If you’re experimenting with gluten-free flour, use a 1:1 baking blend. Results may vary, so be prepared for a slightly different texture, but it can totally work!
- Extract Experiments: A tiny splash of almond extract (like ¼ teaspoon) alongside the vanilla can add a lovely marzipan-esque note. Or orange zest for a bright twist!
- Dairy-Free Twist: You *could* try a plant-based butter alternative. Just make sure it’s a good quality one that bakes well. The texture might be a little different, but still tasty!
FAQ (Frequently Asked Questions)
Can I use margarine instead of butter? Well, technically yes, but why hurt your soul like that? Butter just tastes better, IMO, and yields a superior texture. For the best cookies, stick with butter!
How long do these cookies last? In my house? About an hour. Realistically, stored in an airtight container at room temperature, they’re good for 3-5 days. Or, even better, freeze baked cookies for up to 3 months!
My cookies are flat! What went wrong? Could be several things, buttercup! Your butter might have been too soft, the dough might have been too warm, or your baking soda might be expired. Make sure your oven is preheated correctly, too!
Can I freeze the dough? Absolutely! Scoop the dough onto a parchment-lined baking sheet and freeze until firm, about 30 minutes. Then transfer the frozen dough balls to a freezer-safe bag. Bake from frozen, adding a few extra minutes to the baking time.
Do I *really* need to chill the dough? You don’t *have* to, but for thicker, chewier cookies with more developed flavor, **chilling is your secret weapon**. It helps the flavors meld and prevents excessive spreading. If you have the time, do it!
Can I add other mix-ins? Uh, yes! M&Ms, sprinkles, crushed pretzels, toffee bits, shredded coconut… your imagination is the limit! Just don’t go overboard, or you’ll have more mix-ins than cookie.
Final Thoughts
So there you have it, folks! Your new go-to recipe for when you need a mountain of deliciousness without climbing an actual mountain of effort. These big batch chocolate chip cookies are not just a treat; they’re a *lifestyle*. The perfect companion for movie nights, potlucks, sad days, happy days, or frankly, any day ending in “y.” Now go forth and conquer that cookie craving. You’ve earned it! Maybe send me one? Just kidding… mostly.


