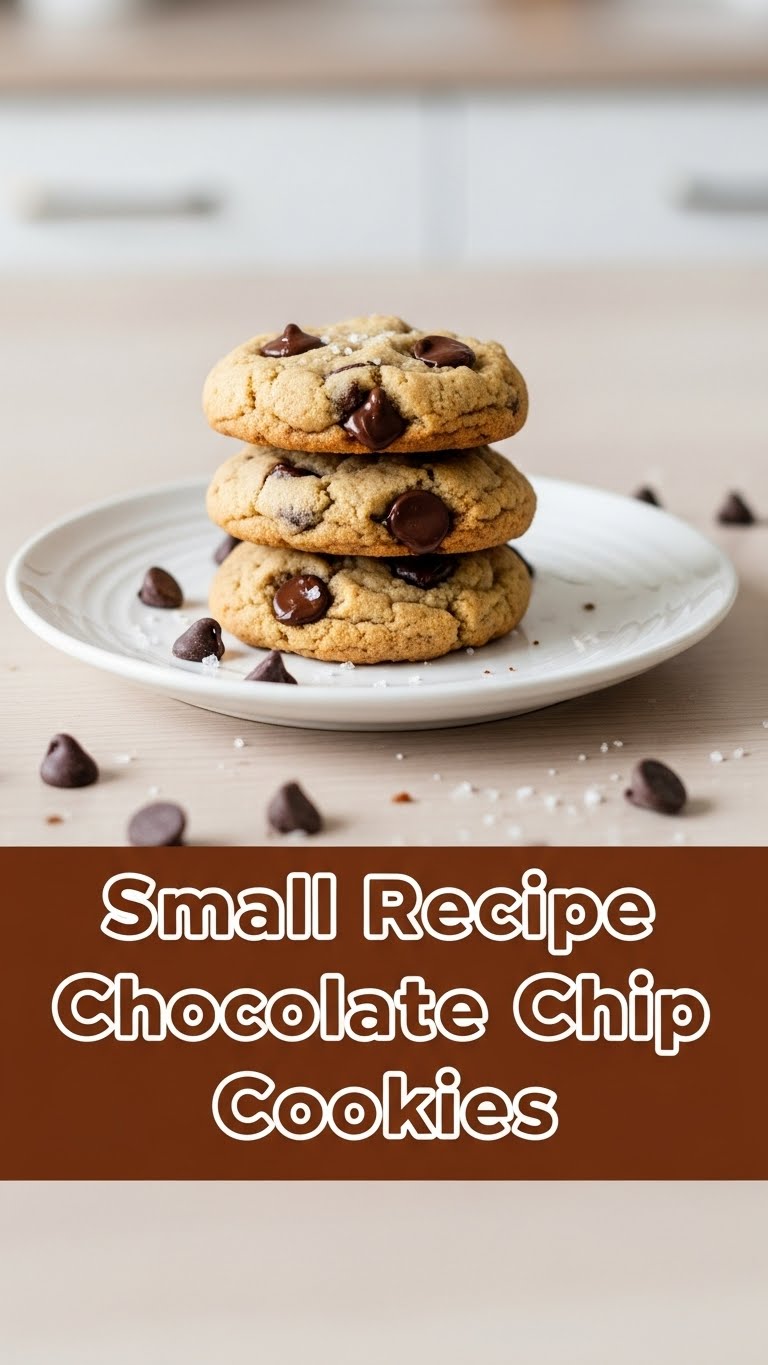
So you’re craving something tasty but too lazy to spend forever in the kitchen, huh? Same. High five! Because today, my friend, we’re embarking on a super chill, super fast, and super delicious journey to the land of chocolate chip cookies. Not a giant batch that tempts you for days, but a small, mighty, “just-enough-to-hit-the-spot” kind of recipe. Get ready to bake and then brag (to yourself, mostly).
Why This Recipe is Awesome
Listen, this isn’t just *any* cookie recipe. This is THE cookie recipe for when you’ve got that specific, urgent cookie craving and zero patience for fuss. It’s **idiot-proof**, even I didn’t mess it up, and that’s saying something. We’re talking minimal ingredients, minimal cleanup, and maximum satisfaction. You get a perfect, chewy, slightly crispy-edged cookie (or two, let’s be real) without feeling like you just ran a marathon in the kitchen. Plus, a small batch means less temptation to eat 12 in one sitting. Or, you know, just enough for one glorious sitting. Whatever floats your boat, you rebel.
Ingredients You’ll Need
Gather ’round, baking buddy! Here’s the small but mighty lineup for your cookie adventure:
- 2 tablespoons unsalted butter, melted. Don’t cheap out, get the good stuff.
- 1 tablespoon granulated sugar. Just a touch of the white magic.
- 1 ½ tablespoons packed light brown sugar. This is where the chewiness comes from, don’t skimp!
- 1 large egg yolk. Yes, just the yolk! The secret to that perfect texture.
- ¼ teaspoon vanilla extract. The flavor MVP.
- ¼ cup all-purpose flour. The glue that holds our dreams together.
- ⅛ teaspoon baking soda. For that perfect lift.
- Pinch of salt. Elevates all the other flavors. Seriously, don’t skip the salt!
- ¼ cup chocolate chips (or chunks, or whatever chocolatey goodness you have). The stars of the show!
Step-by-Step Instructions
- Get Ready to Bake: Preheat your oven to 350°F (175°C). Line a small baking sheet with parchment paper or a silicone mat. This step is crucial, don’t be that person.
- Melt the Butter: Pop your butter in a microwave-safe bowl and melt it. Takes about 20-30 seconds. Don’t let it get too hot, just liquidy.
- Wet Ingredients Whirl: In a medium bowl, combine the melted butter, granulated sugar, and brown sugar. Whisk ’em together until smooth. Stir in the egg yolk and vanilla extract until everything is nicely combined and smells delicious.
- Dry Goods Join the Party: Add the flour, baking soda, and salt to your wet mixture. Gently mix until just combined. **Don’t overmix!** Nobody likes a tough cookie (pun intended).
- Chocolate Time! Fold in your chocolate chips. Be generous, be bold, be you.
- Scoop ‘Em Out: Drop 1-2 rounded tablespoons of dough onto your prepared baking sheet. If you’re making one big cookie, just plop it all down! Give them a little space if you’re doing two.
- Bake ‘Em Up: Pop that sheet into the preheated oven for 8-12 minutes. The edges should be golden brown, and the center should still look a little soft. **Keep an eye on them**, small batches bake fast!
- Cool Down: Let your masterpieces cool on the baking sheet for about 5 minutes before transferring them to a wire rack to cool completely. Or, if you’re like me, eat one warm and gooey right off the sheet. YOLO.
Common Mistakes to Avoid
We all make mistakes, but let’s try to avoid these rookie errors, shall we?
- Forgetting to Preheat the Oven: Thinking you don’t need to preheat the oven—rookie mistake. Your cookies will spread weirdly and bake unevenly. Be patient, friend!
- Overmixing the Dough: Once you add the flour, mix until *just* combined. Overmixing develops the gluten too much, leading to tough, not tender, cookies. Nobody wants that.
- Baking Too Long: Cookies can go from perfectly chewy to hockey pucks in seconds. Pull them out when the edges are set and golden, but the middle still looks a little soft. They’ll continue to cook slightly on the hot pan.
- Eating All the Raw Dough: Okay, maybe not a “mistake” per se, but for safety (and so you have cookies to bake), try to resist the urge to devour all the raw goodness. A little nibble is fine, IMO.
Alternatives & Substitutions
Feeling adventurous? Or just missing an ingredient? Here are some simple swaps:
- Chocolate Types: No chocolate chips? No problem! Roughly chop up a chocolate bar (dark, milk, or even white chocolate work great!). Or throw in some M&Ms for a pop of color.
- Add-ins: Want to level up? Toss in a pinch of sea salt on top before baking for that gourmet touch. A tablespoon of chopped nuts (walnuts, pecans) would also be divine.
- Brown Sugar Only: If you’re out of granulated sugar, you can use all brown sugar. Your cookie will be even chewier and a bit darker. Delish!
- Coconut Oil Instead of Butter? Technically yes, but why hurt your soul like that? Butter just tastes better in this recipe, trust me. If you absolutely must, use solidified coconut oil in the same quantity.
FAQ (Frequently Asked Questions)
- Can I double this recipe?
- Absolutely! This recipe scales beautifully. Just double all the ingredients and follow the same steps. Now you’ll have four cookies to “share.”
- How long do these cookies last?
- Hah! That’s a trick question. In my house, about 30 minutes. Realistically, stored in an airtight container at room temperature, they’re best within 2-3 days. But they’re definitely meant for immediate gratification.
- Why is my cookie flat?
- A few culprits here: your butter might have been too warm (melted, but not hot!), your oven wasn’t preheated, or your baking soda isn’t fresh. Make sure your ingredients are good and follow the steps closely!
- Can I use a whole egg instead of just the yolk?
- You can, but the yolk is key for that rich, chewy texture. A whole egg will make the cookie a bit cakier and spreadier, which isn’t necessarily bad, but not what we’re going for in this specific recipe. Use that egg white for an omelet later!
- Do I need to chill the dough?
- For such a small batch, not really! The beauty of this recipe is its instant gratification. If your kitchen is super warm and the dough feels really soft, a quick 10-15 minutes in the fridge won’t hurt, but it’s not essential.
Final Thoughts
And there you have it! Your very own, perfect, small-batch chocolate chip cookies. Seriously, how easy was that? Now go impress someone—or yourself—with your new culinary skills. You’ve earned it! Take a bite, savor that moment, and remember that sometimes the best things come in small packages (and involve chocolate chips). Happy baking, you magnificent human!


