So you’re staring into the abyss of your snack cupboard, dreaming of something soft, chewy, and utterly divine, but your energy levels are, let’s say, *optimistic*? Me too, friend. Me too. Good news: I’ve got your back with a recipe so easy, it practically bakes itself. (Okay, not really, but close!)
Why This Recipe is Awesome
Forget those rock-hard, crumbly nightmares masquerading as cookies. We’re talking melt-in-your-mouth, perfect-texture vibes here. This recipe is pretty much **idiot-proof**, which means if I can make them without setting off the smoke detector, you totally can too. It’s fast, it uses ingredients you probably already have lurking in your pantry, and the end result? Pure, unadulterated bliss. Plus, it combines two of the best things on earth: peanut butter and chocolate. What’s not to love, honestly?
Ingredients You’ll Need
- Unsalted butter: The good stuff. Room temperature, please, unless you enjoy wrestling with cold butter. (Don’t.)
- Granulated sugar: For that classic sweetness.
- Light brown sugar: The secret to chewiness! Don’t skip it.
- Creamy peanut butter: Your favorite brand. Not the natural, oil-separation kind unless you’re feeling adventurous and want a different texture.
- Eggs: Just two. Large ones, preferably.
- Vanilla extract: A splash for flavor town.
- All-purpose flour: The backbone of our cookies.
- Baking soda: Our lift-off buddy.
- Salt: Just a pinch to balance all that sweetness.
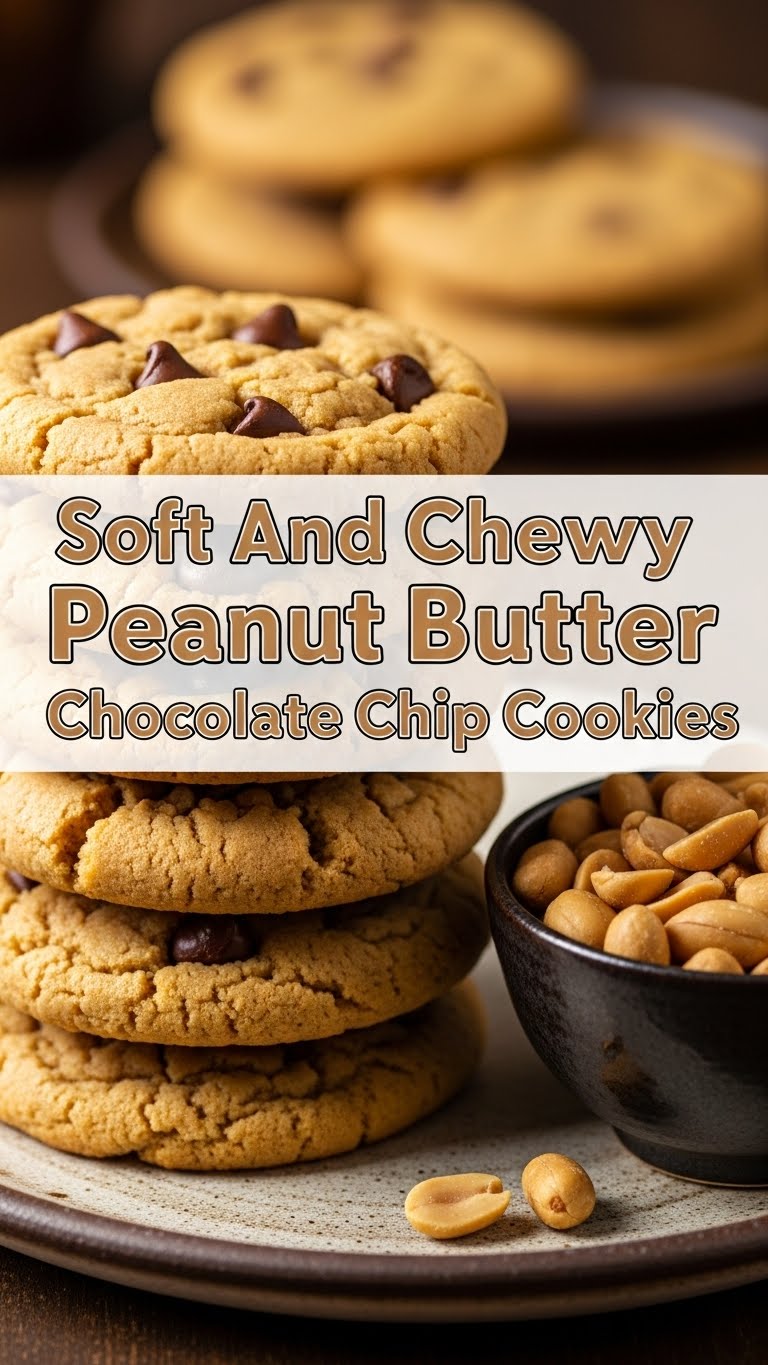
- Chocolate chips: The stars of the show! Semi-sweet is classic, but hey, you do you.
Step-by-Step Instructions
- Preheat & Prep: Get your oven to 375°F (190°C) and line a couple of baking sheets with parchment paper. Trust me, parchment paper is your friend.
- Cream the Goodness: In a large bowl, **cream together the softened butter, granulated sugar, and brown sugar** until it’s light and fluffy. This usually takes a couple of minutes with an electric mixer.
- Add the Stars: Beat in the creamy peanut butter until it’s well combined. Then, one at a time, crack in the eggs, mixing well after each addition. Finish with the vanilla extract.
- Dry Mix Fun: In a separate, smaller bowl, whisk together the flour, baking soda, and salt. Whisking ensures everything is evenly distributed.
- Combine Forces: Gradually add the dry ingredients to the wet ingredients, mixing on low speed until *just* combined. **Don’t overmix!** Overmixing leads to tough cookies, and nobody wants that.
- Chocolate Time! Fold in your glorious chocolate chips by hand. Get them nice and evenly spread throughout the dough.
- Scoop ‘Em Up: Scoop rounded tablespoons of dough onto your prepared baking sheets, leaving a couple of inches between each cookie. They’re gonna spread a bit!
- Bake Away: Bake for 8-10 minutes, or until the edges are lightly golden but the centers still look soft. **This is key for chewiness!**
- Cool Down: Let them cool on the baking sheets for about 5 minutes before transferring them to a wire rack to cool completely (if you can wait that long).
Common Mistakes to Avoid
- Not preheating your oven: Seriously, don’t be that person. A cold oven equals sad, flat cookies.
- Using cold butter: It won’t cream properly, and your cookie texture will suffer. Plan ahead, butter-wrangler!
- Overmixing the dough: Once you add the flour, mix *just* until combined. We’re not making bread here; we want tender cookies.
- Baking too long: If they look fully golden brown and firm in the oven, you’ve probably overbaked them. Pull them out when the centers still look a little soft. **Remember: residual heat continues to cook them.**
- Not using parchment paper: Cookies stick. Parchment paper prevents heartbreak.
Alternatives & Substitutions
- Nut butter swap: Not a fan of peanut butter? **Almond butter, cashew butter, or even sunflower seed butter** (for nut allergies) can work here. Just be aware that the flavor profile will obviously change. IMO, peanut butter is king for this recipe.
- Chocolate variations: Semi-sweet is classic, but feel free to go dark chocolate, milk chocolate, white chocolate, or even a mix! **Chocolate chunks** instead of chips give a nice melty puddle effect.
- Add-ins: Feeling fancy? A sprinkle of flaky sea salt on top before baking elevates these to gourmet status. Or, throw in some chopped nuts for extra crunch (though then they aren’t *just* soft and chewy anymore, are they?).
- Sugar types: You can play with the ratio of granulated to brown sugar, but **more brown sugar equals chewier cookies**. Less brown sugar will make them a bit crispier.
FAQ (Frequently Asked Questions)
- Q: My cookies came out flat! What happened?
A: Oh no! Usually, flat cookies mean your butter was too soft (or melted), you didn’t chill the dough (we didn’t explicitly call for it here, but it helps!), or your baking soda isn’t fresh. Make sure your butter is room temp, not melty!
- Q: Can I use crunchy peanut butter?
A: You can, but it will obviously add a crunchy texture to your otherwise soft and chewy cookies. If you like that, go for it! For pure soft and chewy, stick with creamy.
- Q: How do I store these?
A: Keep them in an airtight container at room temperature for up to 3-4 days. They also freeze beautifully for up to a month! Just thaw and enjoy.
- Q: Do I really need to use both sugars?
A: Yes, my friend, **yes!** Granulated sugar provides crispness; brown sugar provides moisture and chewiness. They’re a dynamic duo for a reason.
- Q: Can I chill the dough?
A: Absolutely! Chilling the dough for at least 30 minutes (or even overnight) can deepen the flavor and prevent spreading, leading to thicker cookies. A little extra patience never hurt anyone (much).
- Q: I don’t have parchment paper. Can I just grease the pan?
A: You can, but your cookies might spread more or stick. Parchment paper or a silicone baking mat really makes life easier and ensures even baking and easy removal. FYI, it’s worth the investment!
Final Thoughts
See? That wasn’t so scary, was it? You just whipped up a batch of glorious, soft, and chewy peanut butter chocolate chip cookies. Go ahead, bask in the glory. Take a picture, post it, brag a little. You deserve it! Now go impress someone—or yourself—with your new culinary skills. You’ve earned it! (And maybe save one for me?) Happy baking, buttercup!


