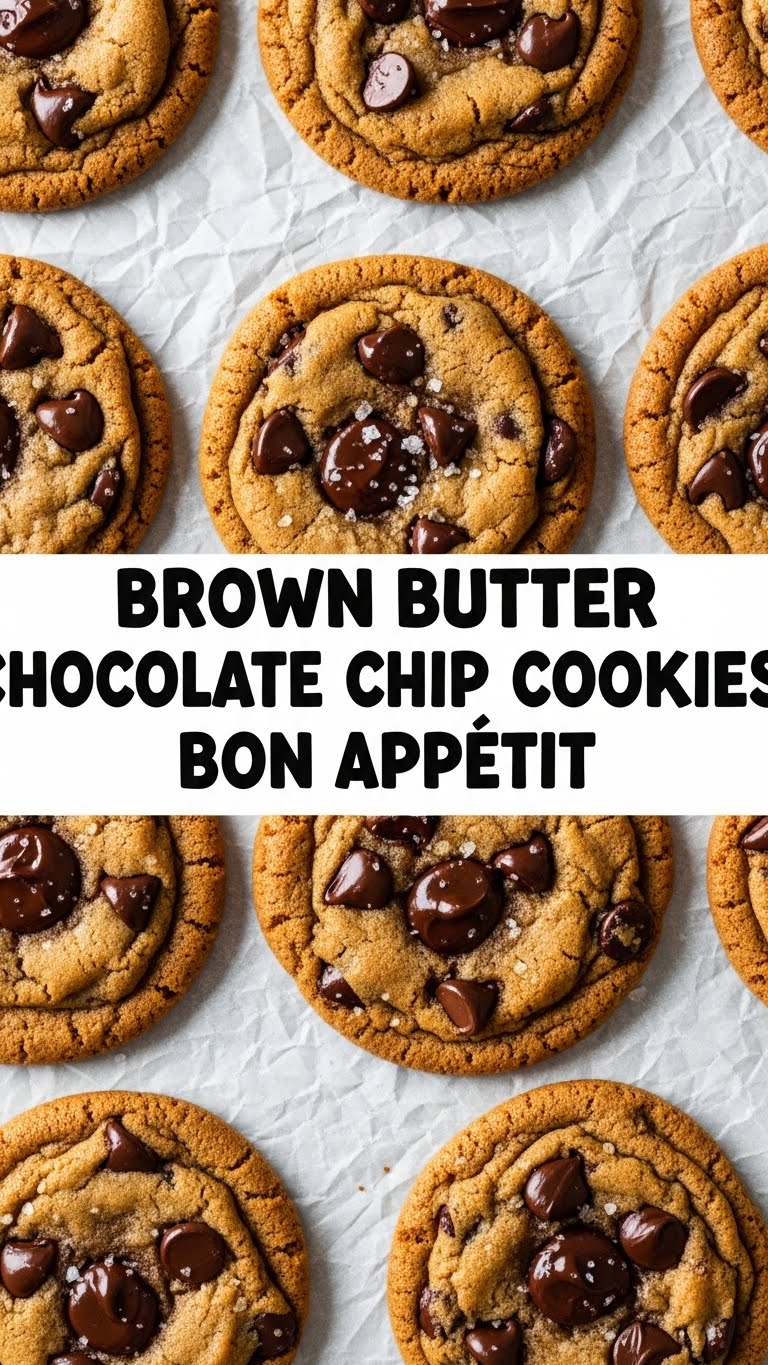
Listen up, buttercup. If your ideal evening involves comfy pants, a questionable Netflix binge, and something ridiculously delicious that tastes like it took all day but actually came together faster than you can say “extra chocolate chips,” then pull up a chair. Or rather, get ready to stand in front of your oven. We’re diving into the legendary Bon Appétit Brown Butter Chocolate Chip Cookies, and trust me, your taste buds are about to send you a thank-you note.
Why This Recipe is Awesome
Okay, so why this specific cookie recipe? Because it’s not just *a* chocolate chip cookie; it’s *THE* chocolate chip cookie. It’s got that deep, nutty, toasty flavor from the brown butter that elevates it from “good” to “why am I suddenly crying tears of joy?” It’s the kind of cookie that makes people ask for the recipe, then secretly judge you for how amazing they are. And guess what? It’s **shockingly easy**. Seriously, if I can do it without setting off the smoke detector, you’re golden. Plus, chilling the dough is basically mandatory, which means you get to procrastinate and build anticipation. Win-win!
Ingredients You’ll Need
Gather your troops! Here’s what you’ll need to transform your kitchen into a cookie factory:
- 1 cup (2 sticks) unsalted butter: The star of the show! Don’t skimp on quality here.
- 1½ cups all-purpose flour: Just regular flour, no fancy stuff.
- 1 teaspoon baking soda: Helps them puff up beautifully.
- 1¼ teaspoons kosher salt: Don’t use table salt, it’s not the same! This is crucial for balance.
- ½ cup granulated sugar: For sweetness and crispness.
- 1¼ cups (packed) dark brown sugar: For chewiness and a molasses-y depth.
- 2 large eggs: Room temp is best, but if you forget, don’t sweat it too much.
- 2 teaspoons vanilla extract: Go for the good stuff if you can. It makes a difference!
- 6 ounces bittersweet or semisweet chocolate, chopped: Or chocolate chips, but seriously, chopping a good bar of chocolate makes these next-level.
Step-by-Step Instructions
Alright, apron on, game face ready! Let’s bake some magic.
-
Brown that Butter, Baby!
In a light-colored saucepan (so you can see the magic happen!), melt your 1 cup of butter over medium heat. Stir it occasionally. It’ll foam, then sizzle, then tiny brown bits will appear at the bottom. Keep going until it smells nutty and looks like a beautiful amber. This usually takes 5-8 minutes. Immediately pour it into a heatproof bowl (scraping out all those good brown bits!) and let it cool for about 15 minutes. You want it cool enough to handle but still liquid. **Don’t skip the cooling!**
-
Mix the Dry Stuff.
While the butter cools, whisk together your flour, baking soda, and kosher salt in a medium bowl. Set it aside.
-
Combine Wet Ingredients.
In a large bowl, whisk the cooled brown butter with both sugars until well combined. Then, add the eggs one at a time, whisking vigorously after each addition until smooth. Stir in the vanilla extract. It should be light and fluffy-ish.
-
Bring it All Together.
Add the dry ingredients to the wet ingredients. Mix with a spatula or wooden spoon until just combined. **Do not overmix!** A few streaks of flour are totally fine. Then, fold in your glorious chopped chocolate.
-
The Chill Pill (Crucial Step!).
Cover the dough and refrigerate for at least 30 minutes, or up to 2 days. The longer it chills, the better the flavor and texture. Seriously, this isn’t optional, it’s a cookie glow-up.
-
Preheat & Scoop.
When you’re ready to bake, preheat your oven to 375°F (190°C). Line a baking sheet with parchment paper. Scoop about 2-tablespoon sized balls of dough onto the sheet, leaving a couple inches between them.
-
Bake ‘Em Up!
Bake for 10-12 minutes, or until the edges are golden brown and the centers are still slightly soft. If you like ’em gooey, pull ’em a little sooner. If you like ’em crispy, give ’em an extra minute. Let them cool on the baking sheet for 5 minutes before transferring to a wire rack to cool completely (if they even make it that far).
Common Mistakes to Avoid
Nobody’s perfect, but we can try! Here are a few pitfalls to dodge on your path to cookie nirvana:
- Burning the Brown Butter: This is a delicate dance. Watch it like a hawk. Brown bits, good. Black bits, bad. If it smells burnt, start over. Your taste buds will thank you.
- Skipping the Chill: I know, impatience is a virtue… but not here. Chilling allows the flavors to meld and prevents your cookies from spreading into flat, sad puddles. **This is probably the most important non-negotiable step!**
- Overmixing the Dough: Once you add the flour, mix until just combined. Overmixing develops too much gluten, leading to tough cookies. And nobody wants tough cookies (unless we’re talking about you, you baking machine).
- Using Crappy Chocolate: Seriously, good chocolate makes all the difference. Ditch the waxy stuff and grab a nice bar to chop. Those melty puddles are worth it.
- Not Using Parchment Paper: Rookie mistake! It prevents sticking and makes cleanup a breeze.
Alternatives & Substitutions
Feeling frisky? Want to put your own spin on it? I got you!
- Chocolate Variety: Instead of just bittersweet, try a mix! Milk chocolate, white chocolate chunks, or even a mix of chopped chocolate and regular chips. Go wild!
- Nuts for Nutter-Butter Lovers: Toast some chopped pecans or walnuts and fold them in with the chocolate. The nutty flavor will complement the brown butter beautifully.
- Flaky Sea Salt: A sprinkle of flaky sea salt (like Maldon) on top of the cookies right after they come out of the oven is a total game-changer. It enhances the chocolate and butter flavors like nobody’s business.
- Spice it Up: A pinch of cinnamon or a tiny dash of cayenne pepper (seriously, just a tiny bit!) can add a surprising depth to the chocolate.
- Flour Power: Want a slightly chewier cookie? Replace a tablespoon or two of the all-purpose flour with bread flour.
FAQ (Frequently Asked Questions)
Got questions? I’ve got (casual) answers!
- “Can I use margarine instead of butter?” Well, technically yes, but why hurt your soul (and the cookies’) like that? Brown butter magic really needs butter.
- “Do I *really* have to chill the dough?” Yes. YES. A thousand times yes. It’s not a suggestion; it’s a command from the cookie gods. It makes a HUGE difference in flavor and texture.
- “My brown butter bits are burnt! What happened?” You probably walked away for a minute. Brown butter goes from perfectly browned to burnt in a flash. Stay vigilant!
- “What kind of chocolate is best?” IMO, a good quality bittersweet or semisweet chocolate bar (60-70% cacao) that you chop yourself. It melts into gooey puddles.
- “My cookies spread too much! Help!” Did you chill the dough? Was your butter too warm when you mixed it? Is your oven temperature accurate? These are common culprits. Try chilling longer next time.
- “Can I freeze the dough?” Absolutely! Scoop the dough balls onto a parchment-lined tray and freeze until solid, then transfer to a freezer bag. Bake from frozen, adding a couple extra minutes to the baking time. Future you will thank past you.
- “Can I make them smaller/larger?” Yep, adjust the baking time accordingly. Smaller cookies need less time, larger ones need more. Just keep an eye on them!
Final Thoughts
So there you have it, folks. Your new go-to cookie recipe that’ll make you feel like a bona fide pastry chef (even if your kitchen usually looks like a science experiment gone wrong). These Brown Butter Chocolate Chip Cookies are next-level delicious, surprisingly simple, and guaranteed to impress anyone lucky enough to snag one. Now go forth and spread joy (and delicious cookie crumbs). You’re basically a professional baker now, FYI. You’ve earned it!


