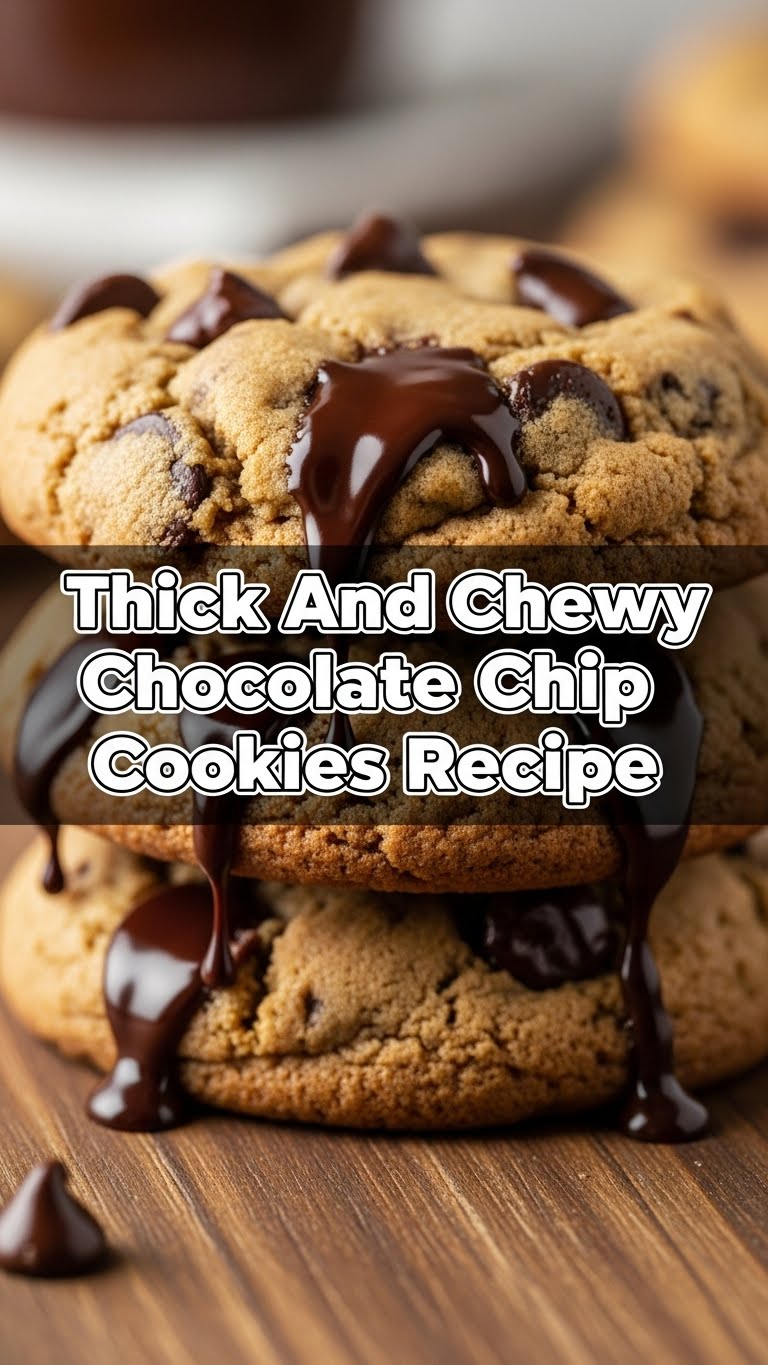
So, you’ve hit that sweet spot in your day where only a warm, gooey, chocolate-packed cookie can fix things, huh? But not just *any* cookie. We’re talking thick, chewy, practically melts-in-your-mouth goodness. And you want it without turning your kitchen into a science lab or spending all day stirring? My friend, you’ve come to the right place. Grab a comfy seat (and maybe a glass of milk, for inspiration), because we’re about to make some magic happen. No stress, just deliciousness!
Why This Recipe is Awesome
Okay, let’s be real. There are a bazillion chocolate chip cookie recipes out there. So what makes *this* one worth your precious time (and butter)? Well, for starters, it’s virtually **idiot-proof**. Seriously, if I can nail it, anyone can. This isn’t just a cookie; it’s a statement. A statement that says, “I know how to bake, and I’m not afraid to show it off (or eat all of it myself).” It delivers on the promise of thick and chewy, with that perfect balance of crispy edges and a soft, tender center. Plus, it uses ingredients you probably already have lying around, unless your pantry is as chaotic as mine. It’s the kind of recipe that makes people ask, “Wait, you *made* these?!” with wide, impressed eyes. Mission accomplished, my friend.
Ingredients You’ll Need
Gather ’round, baking buddy! Here’s your loot list. Nothing fancy, just good old-fashioned deliciousness fuel:
- 1 cup (2 sticks) unsalted butter: Room temperature, please! If it’s rock hard, microwave it gently in 10-second bursts. If it’s melted, you’ve gone too far.
- ¾ cup granulated sugar: The white stuff. Essential for that classic cookie sweetness.
- 1 cup packed light brown sugar: This is our secret weapon for chewiness and that lovely, caramelly depth. Don’t skip it!
- 2 large eggs: Also room temp. They blend better and give a more consistent dough.
- 2 teaspoons vanilla extract: Go for the good stuff if you can. It makes a difference!
- 2 ¼ cups all-purpose flour: Just regular flour. No need for fancy types unless you’re feeling adventurous (but stick to AP for your first go!).
- 1 teaspoon baking soda: This helps them rise and get that beautiful texture.
- ½ teaspoon salt: Balances the sweetness and makes everything taste *more* like chocolate and less like just sugar.
- 1 ½ cups chocolate chips (or chunks!): Milk, semi-sweet, dark, a mix – your cookie, your rules! I’m partial to a mix of semi-sweet chips and dark chocolate chunks for variety.
Step-by-Step Instructions
Alright, apron on, game face ready! Let’s get these bad boys baking.
- Preheat & Prep: First things first, **preheat your oven to 375°F (190°C)**. While it’s heating up, line a couple of baking sheets with parchment paper. This makes cleanup a breeze and prevents sticking.
- Cream the Goods: In a large mixing bowl, or the bowl of your stand mixer, cream together the softened butter, granulated sugar, and brown sugar. Beat them on medium speed until they’re light, fluffy, and look like a dream – usually 2-3 minutes. This step is super important for cookie texture!
- Egg-cellent Addition: Crack in one egg at a time, beating well after each addition. Then, stir in the vanilla extract. Scrape down the sides of the bowl to make sure everything is incorporated evenly.
- Dry Mix Magic: In a separate, smaller bowl, whisk together the flour, baking soda, and salt. Whisking ensures everything is evenly distributed.
- Combine Forces: Gradually add the dry ingredients to the wet ingredients, mixing on low speed until *just* combined. **Do not overmix!** Overmixing develops the gluten too much, leading to tough cookies (and nobody wants a tough cookie).
- Chocolate Time!: Fold in those glorious chocolate chips (or chunks!). Do this by hand with a spatula until they’re evenly distributed throughout the dough.
- Scoop & Bake: Drop rounded tablespoons (or use an ice cream scoop for bigger cookies, my preferred method!) of dough onto your prepared baking sheets, leaving about 2 inches between each cookie. They will spread!
- Bake ‘Em Up: Bake for 9-12 minutes, or until the edges are golden brown and the centers are still slightly soft. **Don’t overbake!** A slightly underbaked cookie is a chewy cookie.
- Cool Down: Let the cookies cool on the baking sheets for about 5 minutes before transferring them to a wire rack to cool completely. This helps them set up and prevents them from falling apart.
Common Mistakes to Avoid
Baking is fun, but a few slips can turn your chewy dreams into crumbly nightmares. Here are some rookie mistakes to dodge:
- Melting the Butter: Thinking “softened” means “liquid gold.” Nope! Melted butter will give you flat, greasy cookies. We want soft, not soupy.
- Skipping the Brown Sugar: You might think, “Oh, I’ll just use all white sugar!” Bad idea, friend. Brown sugar is key to that chewy texture and depth of flavor.
- Overmixing the Dough: We talked about this! Once the flour is in, mix until *just* combined. Too much mixing develops gluten, leading to hockey pucks instead of soft cookies.
- Not Chilling (if you have time): While not strictly required for this recipe, chilling your dough for 30 minutes to an hour can seriously deepen the flavors and prevent spreading. It’s a pro move, if you’ve got the patience.
- Overbaking: Pull those beauties out when they look slightly underdone in the middle. They’ll continue to cook a bit on the hot pan. **Underbaked = chewy; overbaked = crunchy.**
Alternatives & Substitutions
Feeling creative? Here are some ways to shake things up:
- Chocolate Variety: Instead of just chips, try chopping up a good quality chocolate bar. The uneven melt is pure bliss. White chocolate, dark chocolate, milk chocolate – mix and match!
- Nutty Additions: Want some crunch? Fold in ½ cup of chopped pecans or walnuts with your chocolate chips. Toasted nuts add an even deeper flavor.
- Spice It Up: A pinch of cinnamon or a tiny bit of espresso powder (just ¼ teaspoon) can really enhance the chocolate flavor. Trust me on the espresso powder; it’s a game-changer!
- Salt Sprinkle: For an extra gourmet touch, sprinkle a tiny bit of flaky sea salt on top of the cookie dough balls before baking. Salty-sweet perfection!
- Butter Swap: While butter is king here, if you’re in a pinch, you can technically use a good quality baking margarine, but honestly, it won’t be quite the same. Why mess with perfection, right?
FAQ (Frequently Asked Questions)
- Why are my cookies flat? Oh, the classic flat cookie dilemma! Usually, it’s because your butter was too warm/melted, or you didn’t measure your flour correctly (too little flour can make them spread too much). Also, an oven that isn’t properly preheated can contribute.
- Can I make the dough ahead of time? Heck yes! This dough is fantastic for making ahead. Store it covered in the fridge for up to 3 days. FYI, chilling the dough often results in even *better* flavor and texture.
- My cookies are too crumbly, what gives? Too much flour or too little butter/liquid can be the culprit. Make sure you’re spooning your flour into the measuring cup and leveling it off, rather than scooping directly from the bag (which can compact it).
- Can I freeze the cookie dough? Absolutely! Roll the dough into balls, place them on a baking sheet, and freeze until solid. Then transfer them to a freezer-safe bag. When you’re ready to bake, just pop them on a sheet from frozen, adding a minute or two to the bake time. Instant fresh cookies whenever!
- What if I don’t have brown sugar? Well, technically you can use all granulated sugar, but your cookies won’t have that signature chewiness or depth of flavor. It’s really worth grabbing some brown sugar for this recipe.
Final Thoughts
So there you have it, folks! Your new go-to recipe for thick, chewy chocolate chip cookies that will make you feel like a baking superstar without actually breaking a sweat. Go on, unleash your inner cookie monster! Share them with friends (if you must), bribe your neighbors, or simply hoard them all for yourself – no judgment here. You’ve just mastered a classic, and IMO, that’s something to celebrate. Now go impress someone—or yourself—with your new culinary skills. You’ve earned it!


