So, you’re craving something ridiculously tasty but want to avoid spending an eternity in the kitchen, huh? Same, friend, **same**. You want that “I baked this gourmet masterpiece” vibe without, you know, actually being a gourmet baker. Well, buckle up, buttercup, because we’re about to dive into the magical world of the Triple Chocolate Mousse Cake. It’s like a party in your mouth, and everyone (especially your sweet tooth) is invited!
Why This Recipe is Awesome
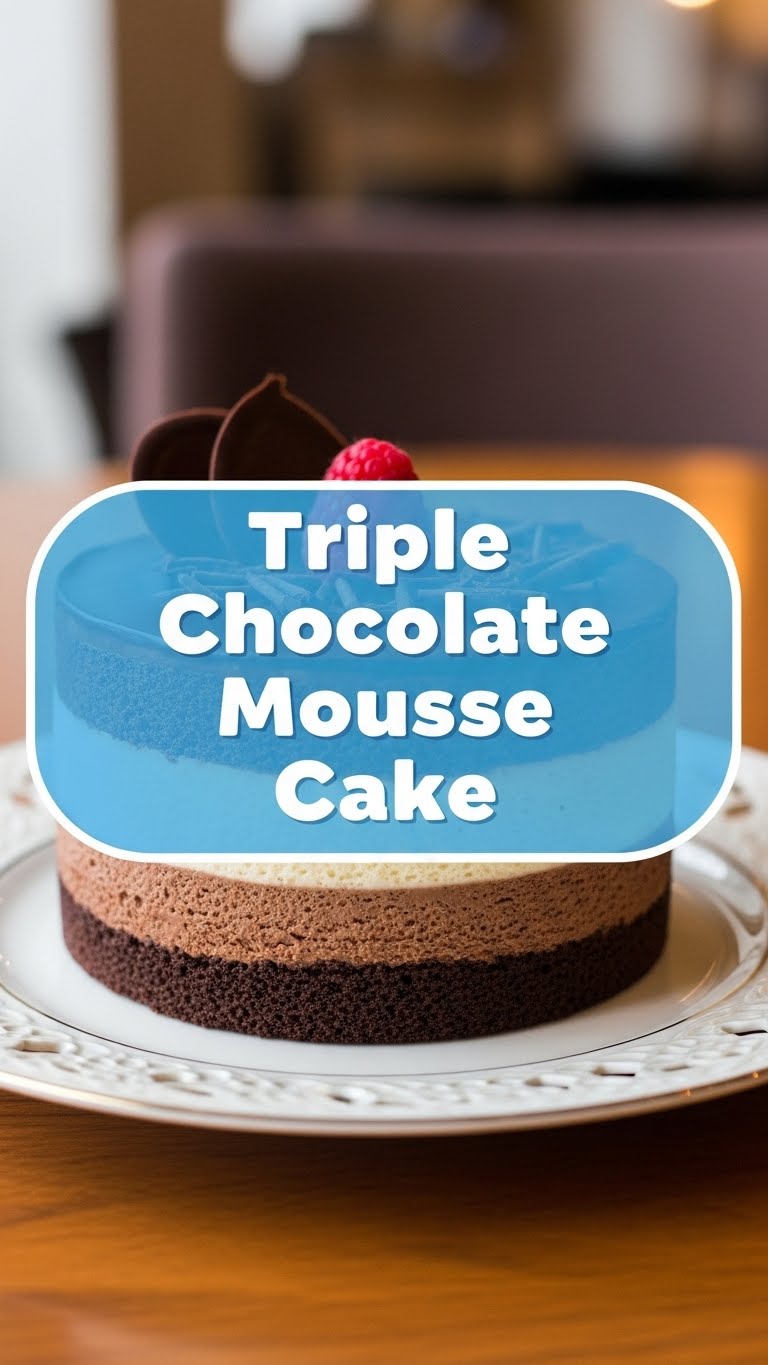
Let’s be real, who doesn’t love chocolate? Now, imagine three layers of chocolate. Dark, milk, AND white. Mind-blown yet? This isn’t just any cake; it’s a fluffy, creamy, melt-in-your-mouth dream. And the best part? It looks super fancy but is surprisingly **idiot-proof**. Seriously, even I, the queen of kitchen mishaps (don’t ask about the time I tried to make croissants from scratch), managed not to mess this one up. It’s perfect for impressing guests, winning over a crush, or just making a Tuesday feel like a celebration. Plus, no baking required for the cake part! Just chilling. Glorious, glorious chilling.
Ingredients You’ll Need
Get ready to stock up on the good stuff. Remember, quality chocolate makes a difference, so maybe skip the Halloween candy aisle for this one.
- **For the Cookie Crust:**
- 1 ½ cups (about 18-20 cookies) Oreo cookies, finely crushed (cream filling and all!)
- ¼ cup (4 tablespoons) unsalted butter, melted (don’t burn it, that’s just sad)
- **For the Dark Chocolate Mousse:**
- 1 teaspoon unflavored gelatin powder (your mousse’s secret agent for stability)
- 2 tablespoons cold water
- 4 ounces good quality dark chocolate (60-70% cacao), finely chopped
- 1 cup heavy cream, very cold
- ¼ cup powdered sugar (or less, depending on how dark you like it)
- ½ teaspoon vanilla extract
- **For the Milk Chocolate Mousse:**
- 1 teaspoon unflavored gelatin powder
- 2 tablespoons cold water
- 4 ounces good quality milk chocolate, finely chopped
- 1 cup heavy cream, very cold
- 2 tablespoons powdered sugar (milk chocolate is sweeter, you know)
- ½ teaspoon vanilla extract
- **For the White Chocolate Mousse:**
- 1 teaspoon unflavored gelatin powder
- 2 tablespoons cold water
- 4 ounces good quality white chocolate, finely chopped (yes, real white chocolate, not those waxy chips!)
- 1 cup heavy cream, very cold
- 1 tablespoon powdered sugar (white chocolate is the sweetest of the bunch)
- ½ teaspoon vanilla extract
- **For Garnish (Optional but highly recommended for flair):**
- Chocolate shavings, fresh berries, or a dusting of cocoa powder.
Step-by-Step Instructions
Alright, let’s get this party started! Make sure you have an 8-inch springform pan ready. Line the bottom with parchment paper for easy removal. Trust me on this one.
- **Crush it, Buttercup! (The Crust):** In a medium bowl, combine your crushed Oreos and melted butter. Mix until it resembles wet sand. Press this mixture firmly and evenly into the bottom of your prepared springform pan. Pop it in the fridge to chill for at least 15 minutes while you get ready for the mousse magic.
- **Gelatin Prep (Important!):** For EACH mousse layer, sprinkle 1 teaspoon of gelatin powder over 2 tablespoons of cold water in a small, heatproof bowl. Let it sit for 5-10 minutes to “bloom” (it’ll look like a lumpy jelly).
- **Dark Chocolate Mousse Time:**
- Place your chopped dark chocolate in a heatproof bowl. Gently melt it over a double boiler or in the microwave in short bursts, stirring until smooth. Let it cool slightly.
- While the chocolate cools, gently heat the bloomed gelatin for 10-15 seconds in the microwave (or over warm water) until it’s completely dissolved and clear. **Do NOT boil it!**
- In a separate, very cold bowl, whip 1 cup of heavy cream with ¼ cup powdered sugar and ½ teaspoon vanilla extract until soft peaks form. Don’t over-whip it into butter!
- Fold about ¼ of the whipped cream into the slightly cooled melted dark chocolate to lighten it. Then, slowly drizzle in the dissolved gelatin, mixing well. Finally, gently fold in the remaining whipped cream until just combined.
- Pour this dark chocolate mousse over your chilled cookie crust. Smooth the top and refrigerate for at least 30-45 minutes to set. **This chill time is crucial, don’t skip it!**
- **Milk Chocolate Mousse Layer:** Repeat step 3 exactly, but use your milk chocolate, 2 tablespoons of powdered sugar, and the corresponding gelatin mixture. Pour it over the set dark chocolate layer, smooth, and chill for another 30-45 minutes.
- **White Chocolate Mousse Layer:** You guessed it! Repeat step 3 again, using white chocolate, 1 tablespoon of powdered sugar, and its bloomed/dissolved gelatin. Pour over the set milk chocolate layer, smooth, and then chill the entire cake for at least **4 hours, or ideally overnight**, to ensure everything is perfectly set.
- **The Grand Finale (Garnish & Serve):** Once fully set, carefully run a thin knife around the edge of the pan before releasing the springform. Garnish with chocolate shavings, fresh berries, or a dusting of cocoa. Slice and prepare for applause!
Common Mistakes to Avoid
Nobody’s perfect, but we can at least try to avoid these rookie errors, right?
- **Impatience is Not a Virtue:** Seriously, those chill times between layers? They’re not suggestions; they’re commandments. If you pour a warm mousse onto an unset layer, you’ll have a sad, muddy mess. **Chill, literally.**
- **Over-whipping Cream:** One minute you have perfect peaks, the next you have butter. Keep an eye on it! Soft peaks are your goal.
- **Scorched Chocolate:** Melting chocolate needs a gentle touch. Low heat, short bursts, constant stirring. Burnt chocolate tastes like regret.
- **Gelatin Bloopers:** Not blooming it first, or not dissolving it fully, will give you grainy mousse. Ew. Make sure it’s fully clear and smooth before adding.
- **Using Crappy Chocolate:** I said it once, I’ll say it again. Life’s too short for bad chocolate. Invest a little. Your taste buds will thank you.
Alternatives & Substitutions
Feeling rebellious? Here are a few ways to tweak this masterpiece:
- **Crust Swap:** No Oreos? No problem! Use graham crackers, digestive biscuits, or even shortbread cookies. Just follow the same butter-to-crumb ratio.
- **Chocolate Preferences:** Not a fan of dark chocolate? Make two layers of milk and one of white! Or go all dark if you’re a true cacao connoisseur. You do you.
- **Vegetarian Option:** If gelatin isn’t your jam, you can use agar-agar powder as a plant-based alternative. **FYI**, the conversion isn’t always 1:1, so check the package instructions for proper ratios.
- **Flavor Boost:** Add a splash of coffee liqueur (like Kahlúa) to the dark chocolate layer for an espresso kick, or orange zest for a zesty twist!
- **Garnish Galore:** Instead of shavings, try a drizzle of ganache, chopped nuts, or even edible glitter if you’re feeling extra.
FAQ (Frequently Asked Questions)
Got questions? I’ve got (casual) answers!
- **Can I make this cake ahead of time?** Absolutely! In fact, it tastes even better the next day once all those flavors have had a chance to mingle and chill out together.
- **How long does this mousse cake last in the fridge?** Covered loosely, it’ll happily hang out for 3-4 days. But let’s be real, it probably won’t last that long.
- **What if I don’t have a springform pan?** You can try lining a regular round cake pan with plastic wrap, leaving an overhang to lift it out. It’s a bit trickier, but doable in a pinch!
- **Is the gelatin really necessary? Can I skip it?** Oh honey, no. The gelatin is what gives the mousse its stable, airy texture. Without it, you’d have chocolate soup, not a cake. Don’t skip the goo!
- **My mousse isn’t setting! What did I do wrong?** Most likely, the gelatin wasn’t fully dissolved, or the layers weren’t chilled long enough. Also, ensure your cream wasn’t over-whipped or under-whipped. It’s a delicate balance!
- **Can I use chocolate chips instead of chopped bar chocolate?** For melting, yes, but good quality bar chocolate usually melts smoother and has a better flavor. Chips often contain stabilizers that can affect texture. Just sayin’.
Final Thoughts
And there you have it! Your very own, show-stopping Triple Chocolate Mousse Cake. You’ve conquered gelatin, mastered the art of chilling (both the cake and probably yourself after all that excitement), and now possess the power to create pure dessert bliss. Go ahead, take a bow. Share it with friends, devour it solo (no judgment here, IMO), or just stare at it admiringly. You’ve earned it! Now go impress someone—or yourself—with your new culinary skills. Happy whisking!


