Ever stare into the fridge, contemplating your life choices, and all you really want is something sweet, but like, *really* good, without turning your kitchen into a disaster zone? Yeah, me too. This chocolate and vanilla cake recipe is basically your culinary fairy godmother, granting delicious wishes with minimal fuss. Prepare to be amazed (and maybe slightly sticky).
Why This Recipe is Awesome
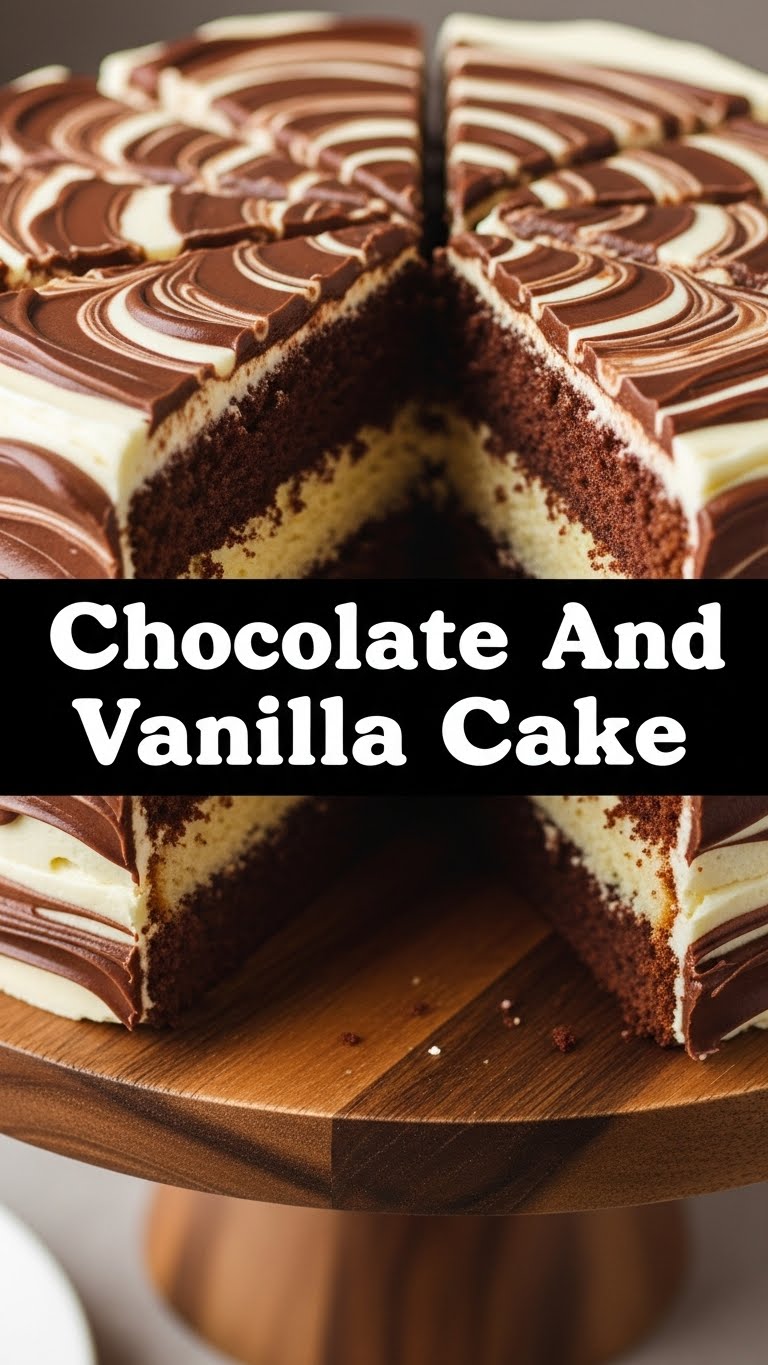
Okay, real talk. This isn’t just *any* cake. This is “I baked this, aren’t I amazing?” cake. It’s got the best of both worlds: deep, dark chocolatey goodness mingling with light, dreamy vanilla. Plus, it’s pretty much **fool-proof**. Seriously, if I can make it look decent, anyone can. It’s perfect for when you need to impress without actually breaking a sweat, or you just want to inhale something delicious while binging your favorite show. No judgment here.
Ingredients You’ll Need
- For the Cake Batter (a.k.a. the magic stuff):
- 1 ½ cups all-purpose flour (the plain white stuff, not the fancy almond kind… unless you’re feeling adventurous, but let’s stick to the script for now)
- 1 ½ cups granulated sugar (sweetness overload, in a good way)
- 1 teaspoon baking soda (the fizz-maker)
- ½ teaspoon salt (don’t skip this, it makes everything pop!)
- ½ cup unsweetened cocoa powder (for the chocolate half, obviously)
- ¾ cup unsalted butter, softened (room temp is key, don’t be a monster and use it cold!)
- 1 cup buttermilk (or milk + a splash of vinegar/lemon juice if you’re out, **DIY buttermilk for the win!**)
- 2 large eggs (happy chickens make happy cakes)
- 1 teaspoon vanilla extract (the secret sauce for everything delightful)
- ½ cup hot water (helps bloom the cocoa for max flavor, trust me on this)
- For the Frosting (because what’s cake without frosting?):
- 1 cup (2 sticks) unsalted butter, softened
- 3-4 cups powdered sugar (sifted, unless you like lumpy frosting… you don’t)
- 1 teaspoon vanilla extract
- 2-3 tablespoons milk or cream (adjust for desired consistency)
- A pinch of salt (again, essential!)
Step-by-Step Instructions
- **Prep Time!** Preheat your oven to 350°F (175°C). Grease and flour two 8-inch round cake pans. Don’t be shy with the grease.
- **Dry Mix Fun:** In a large bowl, whisk together the flour, sugar, baking soda, and salt. Give it a good swirl.
- **Wet Ingredients Party:** In a separate medium bowl, beat the softened butter until creamy. Add the eggs, buttermilk, and vanilla extract, mixing until just combined.
- **Combine Forces:** Gradually add the dry ingredients to the wet ingredients, mixing on low speed until *just* combined. Don’t overmix, that’s how dry cakes are born!
- **Chocolate Split!** Divide the batter equally into two separate bowls.
- **Chocolate Magic:** To one bowl, add the cocoa powder and hot water. Mix gently until smooth and fully incorporated. Hello, chocolate batter!
- **Pan It Up:** Pour the vanilla batter into one prepared cake pan and the chocolate batter into the other. If you’re feeling fancy, you can marble them together, but let’s keep it simple for now, eh?
- **Bake It Real Good:** Bake for 25-30 minutes, or until a toothpick inserted into the center comes out clean.
- **Cool Down:** Let the cakes cool in the pans for 10 minutes before transferring them to a wire rack to cool completely. Patience, young grasshopper.
- **Frosting Time!** While the cakes cool, beat the softened butter in a bowl until light and fluffy. Gradually add the powdered sugar, vanilla, and salt, mixing until smooth. Add milk/cream a tablespoon at a time until you reach your desired frosting consistency.
- **Assemble Your Masterpiece:** Once the cakes are *completely* cool (this is important!), place one layer on your serving plate, spread with frosting, then top with the second layer. Frost the top and sides of the entire cake. Voila!
Common Mistakes to Avoid
- **Not preheating your oven:** Seriously, don’t be that person. A cold oven is a sad oven, and it messes with your bake time.
- **Overmixing the batter:** This is a one-way ticket to dry, tough cake town. Mix until just combined, then stop. Walk away from the mixer.
- **Frosting warm cakes:** This isn’t a “warm chocolate sauce” moment, it’s a “melted frosting puddle” moment. **Let those cakes cool completely**, I repeat, *completely*.
- **Eyeballing ingredients:** Unless you’re a seasoned baker wizard, stick to the measurements, especially with baking soda and flour. Precision matters here, folks.
- **Forgetting the salt:** It might seem tiny, but salt balances the sweetness and deepens the flavors. It’s like the unsung hero of baking.
Alternatives & Substitutions
- **Buttermilk Blues?** No buttermilk? No problem! Add 1 tablespoon of white vinegar or lemon juice to a measuring cup, then fill the rest with regular milk until you reach 1 cup. Let it sit for 5 minutes. **DIY buttermilk, boom!**
- **Butter Swap:** While I’m a butter purist, you *can* use vegetable oil in the cake for a slightly moister crumb, but butter gives that unbeatable flavor. For frosting, stick with butter, IMO. Margarine will just make your frosting sad.
- **Flavor Adventures:** Want to spice things up? Add a pinch of instant espresso powder to the chocolate batter to really deepen that cocoa flavor. Or a touch of almond extract to the vanilla for a different twist.
- **Frosting Fun:** Don’t love buttercream? A simple ganache (chocolate and heavy cream) would be divine on the chocolate layer, or a cream cheese frosting for a tangy kick.
FAQ (Frequently Asked Questions)
- **Can I use any type of cocoa powder?** Yup, regular unsweetened cocoa powder works great. Dutch-processed gives a darker color and milder chocolate flavor, but either is fine. Just don’t grab the hot cocoa mix, okay? That’s a whole different vibe.
- **My cake sunk in the middle, what happened?** Oh, the dreaded sinkhole! Could be overmixing, opening the oven door too early, or your baking soda/powder is old. Check those expiration dates!
- **Do I have to use two separate pans?** Not necessarily! You can bake it in a 9×13 inch pan for a sheet cake, just adjust baking time (usually 30-35 mins). Just remember to divide your batter *before* adding cocoa.
- **How long does this cake last?** Covered tightly at room temperature, it’s usually good for 3-4 days. In the fridge, maybe a day or two longer, but it’s best fresh, obviously. Like, will it even last that long? Probably not.
- **Can I make it gluten-free?** You *can* try a 1:1 gluten-free flour blend. I haven’t personally tested it with this specific recipe, but generally, it should work. Just be gentle with the mixing!
- **What if my butter isn’t softened? Can I microwave it?** Gently, *very gently*. Nuke it in 10-second bursts, flipping it each time, until just soft. **Don’t melt it**, or your frosting will be a greasy mess and your cake batter might get weird.
Final Thoughts
So there you have it, champ! Your very own guide to conquering the legendary chocolate and vanilla cake. You’ve got the wisdom, you’ve got the ingredients, and now all you need is that little spark of baking courage. Don’t overthink it, have fun with it! Whether it’s for a special occasion or just a Tuesday treat, this cake is guaranteed to put a smile on someone’s face (probably yours). Now go impress someone—or yourself—with your new culinary skills. You’ve earned it! And maybe save me a slice? Just kidding… mostly.


