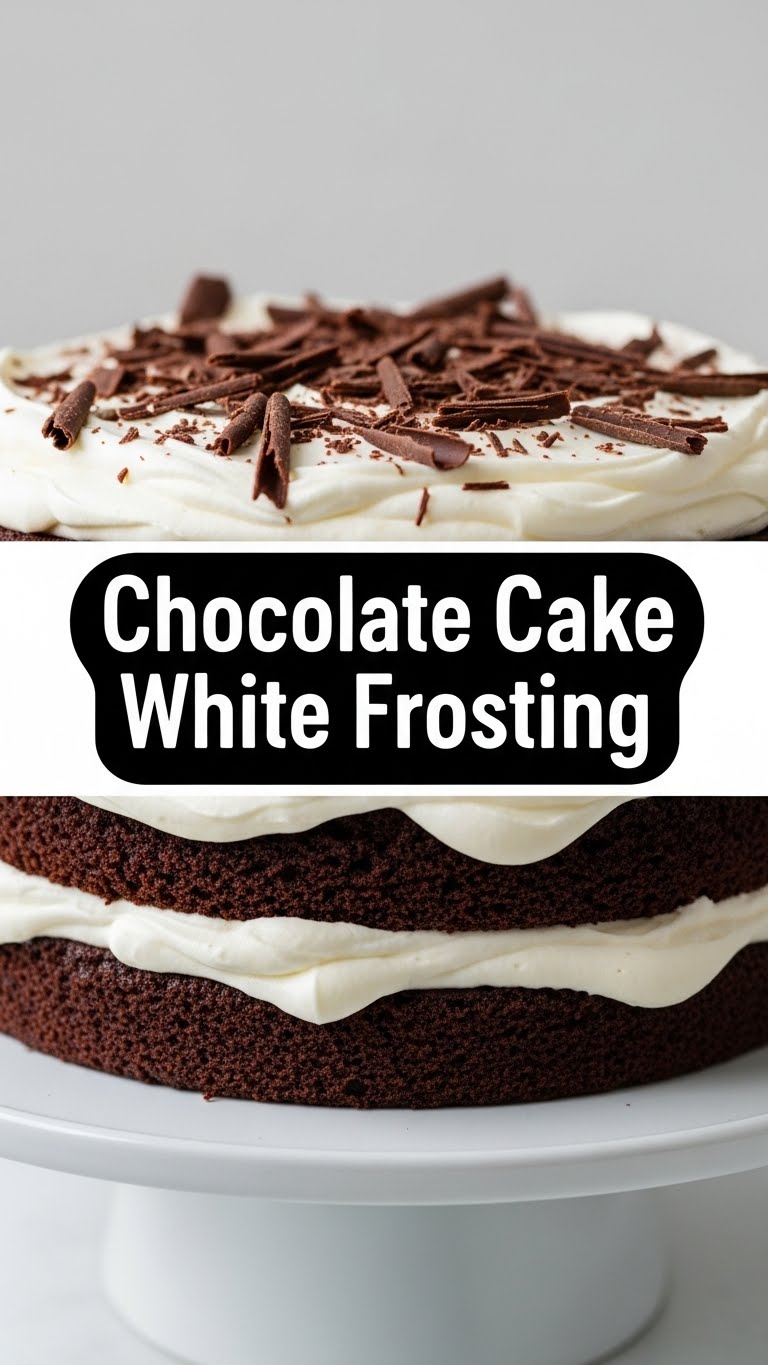
So, you’re staring into the abyss of your fridge, craving something utterly, ridiculously delicious but also, like, *minimum effort*, right? You want that deep, dark, chocolatey hug, but also the cloud-like embrace of sweet, dreamy frosting. And you want it NOW. My friend, you’ve come to the right place. We’re talking about a chocolate cake with white frosting that’s so good, you might just marry it. Don’t worry, I won’t tell anyone.
Why This Recipe is Awesome
Because, frankly, it’s a superhero in disguise. This isn’t just *any* chocolate cake; it’s the kind that practically bakes itself while you binge-watch your favorite show. It’s **idiot-proof** – and coming from me, that’s saying something. I once managed to burn water, so trust me, if I can nail this, you absolutely can. Plus, the frosting? Oh, the frosting. It’s light, it’s fluffy, and it’s basically a hug for your taste buds. It screams “homemade with love” without requiring you to actually, you know, stress out. **No fancy techniques, no obscure ingredients, just pure, unadulterated deliciousness.**
Ingredients You’ll Need
Gather ’round, fellow bakers (or aspiring snack architects). Here’s your shopping list for epicness. Side note: please measure, for the love of all things delicious. Eyeballing it is a path to sorrow.
For the Seriously Good Chocolate Cake:
- 1 ½ cups all-purpose flour: Your basic baking buddy.
- 1 ½ cups granulated sugar: Sweetness central.
- ¾ cup unsweetened cocoa powder: The darker the better, IMO. This is where the magic happens.
- 1 ½ teaspoons baking soda: Our lift-off agent!
- 1 teaspoon salt: Balances everything out like a culinary tightrope walker.
- 2 large eggs: Room temp if possible, they mix better.
- ¾ cup whole milk: Or whatever milk you have, but whole is king for richness.
- ⅓ cup vegetable oil: Keeps things moist, moist, moist!
- 1 ½ teaspoons vanilla extract: Don’t skimp on the good stuff.
- ¾ cup boiling water: The secret ingredient for super moist cake. Seriously, it’s a game-changer.
For the Dreamy White Frosting:
- 1 cup (2 sticks) unsalted butter: Softened, but not melted. Think spreadable, not puddle-able.
- 4 cups powdered sugar (confectioners’ sugar): Sifted, unless you like lumps. (You don’t.)
- ¼ cup whole milk or heavy cream: Adds creaminess and helps with consistency.
- 1 ½ teaspoons vanilla extract: Double vanilla for double deliciousness!
- Pinch of salt: Just a tiny bit to cut the sweetness and make it shine.
Step-by-Step Instructions
Let’s Get That Chocolate Cake Baking!
- Preheat & Prep: Preheat your oven to 350°F (175°C). Grease and flour two 8-inch round cake pans. Or, if you’re smart, line them with parchment paper. Saves a lot of grief.
- Dry Mix Magic: In a large bowl, whisk together the flour, sugar, cocoa powder, baking soda, and salt. Make sure there are no lumpy bits.
- Wet Wonders: Add the eggs, milk, vegetable oil, and vanilla extract to the dry ingredients. Beat with an electric mixer on medium speed for about 2 minutes, until smooth and well combined. Scrape down the sides of the bowl.
- The Hot Secret: Carefully pour in the boiling water. Mix on low speed until just combined. The batter will be thin – don’t freak out, that’s exactly how it should be! It’s the magic that makes it super moist.
- Bake Time! Divide the batter evenly between your prepared cake pans. Bake for 30-35 minutes, or until a wooden skewer inserted into the center comes out clean.
- Cool Down: Let the cakes cool in the pans for about 10 minutes before inverting them onto a wire rack to cool completely. **This is crucial, peeps!** Don’t even *think* about frosting a warm cake unless you want a chocolatey puddle.
Now for the Cloud-Like White Frosting!
- Butter Up: In a large bowl, beat the softened butter with an electric mixer on medium speed until creamy and light in color, about 2-3 minutes.
- Sugar Rush: Gradually add the sifted powdered sugar, about a cup at a time, beating well after each addition. Start on low speed to avoid a sugar cloud explosion in your kitchen.
- Cream it Up: Once all the sugar is incorporated, add the milk (or cream), vanilla extract, and a pinch of salt. Beat on medium-high speed for another 2-3 minutes until the frosting is light, fluffy, and spreadable. If it’s too thick, add a tiny bit more milk; too thin, add a bit more powdered sugar.
Assemble Your Masterpiece!
- Once your cakes are *completely* cool, place one layer on your serving plate. Dollop a generous amount of frosting on top and spread it evenly.
- Carefully place the second cake layer on top.
- Frost the top and sides of the entire cake. Get creative, make pretty swirls, or just go for a rustic look. No judgment here!
- **Serve and Devour!** Or, you know, store it in an airtight container for up to 3 days (but let’s be real, it won’t last that long).
Common Mistakes to Avoid
- Frosting a Warm Cake: Seriously, don’t. It’s a rookie mistake that will turn your beautiful frosting into a runny, melted mess. Patience is a virtue, especially when cake is involved.
- Overmixing the Batter: Once you add the flour, mix until *just* combined. Overmixing develops the gluten too much, leading to a tough, dry cake. Nobody wants that.
- Not Sifting Powdered Sugar: Unless you’re a fan of little sugar lumps in your smooth, creamy frosting, sift that stuff!
- Improperly Measuring: Baking is science, not art (mostly). Use proper measuring cups and spoons. For flour, spoon it into the measuring cup and level it off with a straight edge. Don’t pack it in!
- Forgetting to Preheat the Oven: Baking in a cold oven messes with the chemistry and will give you dense, unevenly baked cakes. Just don’t.
Alternatives & Substitutions
Feeling a little rebellious? Here are some tweaks you can make:
- Dairy-Free? Use a good quality plant-based milk (almond or oat milk work great) and vegan butter sticks for both the cake and frosting. Ensure your cocoa powder is also dairy-free.
- Coffee Boost: Instead of boiling water in the cake, use hot brewed coffee! It deepens the chocolate flavor without making it taste like coffee. **Highly recommended, FYI!**
- Frosting Flavors: Swap out half a teaspoon of vanilla extract in the frosting for almond extract for a marzipan-y twist, or add a little peppermint extract for a festive vibe. Feeling zesty? A teaspoon of orange zest could be divine.
- Oil Alternatives: Canola oil or grapeseed oil work perfectly fine instead of vegetable oil. Just avoid anything with a strong flavor profile like olive oil unless you want a… unique cake.
FAQ (Frequently Asked Questions)
- “Can I use margarine instead of butter in the frosting?” Well, technically yes, but why hurt your soul like that? Butter provides a richer flavor and better texture. Margarine can make the frosting taste a bit greasy and less luxurious. For optimal deliciousness, stick with butter!
- “My frosting is too thin/thick! Help!” If it’s too thin, gradually add more sifted powdered sugar, a tablespoon at a time, until it reaches your desired consistency. If it’s too thick, add a tiny splash more milk or cream, half a teaspoon at a time. It’s a delicate dance!
- “Do I *really* need to cool the cake completely?” YES. I cannot stress this enough. If you frost a warm cake, the frosting will melt and slide right off, turning into a sad, gooey mess. Be patient, young grasshopper.
- “Can I make this cake into cupcakes?” Absolutely! Line a cupcake tin with liners, fill them about two-thirds full, and bake for 18-22 minutes. You’ll get around 24 delicious cupcakes!
- “How long does this cake last?” Covered and stored at room temperature, it’s generally good for 2-3 days. In the fridge, it can last a bit longer, maybe 4-5 days. But TBH, it rarely makes it past day one in my house!
Final Thoughts
So there you have it, folks! Your new go-to chocolate cake with the most ridiculously good white frosting. This isn’t just a recipe; it’s a mood booster, a stress reliever, and a guaranteed crowd-pleaser (even if the crowd is just you, curled up on the couch). Now go impress someone – or yourself – with your new culinary skills. You’ve earned it! Seriously, take a bow. And then, take a bite. You deserve it.


