So, someone’s got a birthday coming up and you’re thinking beyond the sad, store-bought “Happy Birthday” scrawl on a supermarket sheet cake, eh? Good for you! Because we’re about to turn that humble chocolate cake into a *celebration* with minimal fuss and maximum fun. Think less Martha Stewart, more “I whipped this up while watching Netflix” chic. 😉
Why This Decoration “Recipe” is Awesome
Listen, baking a cake from scratch for a birthday is a noble pursuit, but decorating it? That’s where the real magic happens, especially when you’ve got a pre-baked hero (or, shhh, a store-bought one) ready for its glow-up. This isn’t just easy; it’s practically idiot-proof. Seriously, if I can do it without a major kitchen disaster, you’re golden. This “recipe” is awesome because it’s:
- Low Stress, High Impact: Looks like you put in effort, but it’s mostly just strategic sugar placement.
- Super Customizable: No two birthday people are alike, and neither should their cakes be!
- Therapeutic: Who knew spreading frosting could be so calming? (Until you smudge it, then it’s character-building).
- Foolproof Fun: Even if it’s not perfect, it’s chocolate cake. No one’s going to complain.
Ingredients You’ll Need (The Fun Bits!)
Alright, let’s get down to business. Remember, these are guidelines, not commandments. Feel free to swap things out based on what tickles your fancy (or what’s lurking in the back of your pantry).
- Your Chosen Chocolate Cake: Baked by you, your grandma, or lovingly picked from the bakery shelf. Make sure it’s cooled completely! This is crucial, my friend.
- Store-bought Frosting (or your favorite homemade kind): About 2 tubs (16 oz each) for a standard 8 or 9-inch round cake. Chocolate, vanilla, cream cheese—your call! We’re just looking for spreadability.
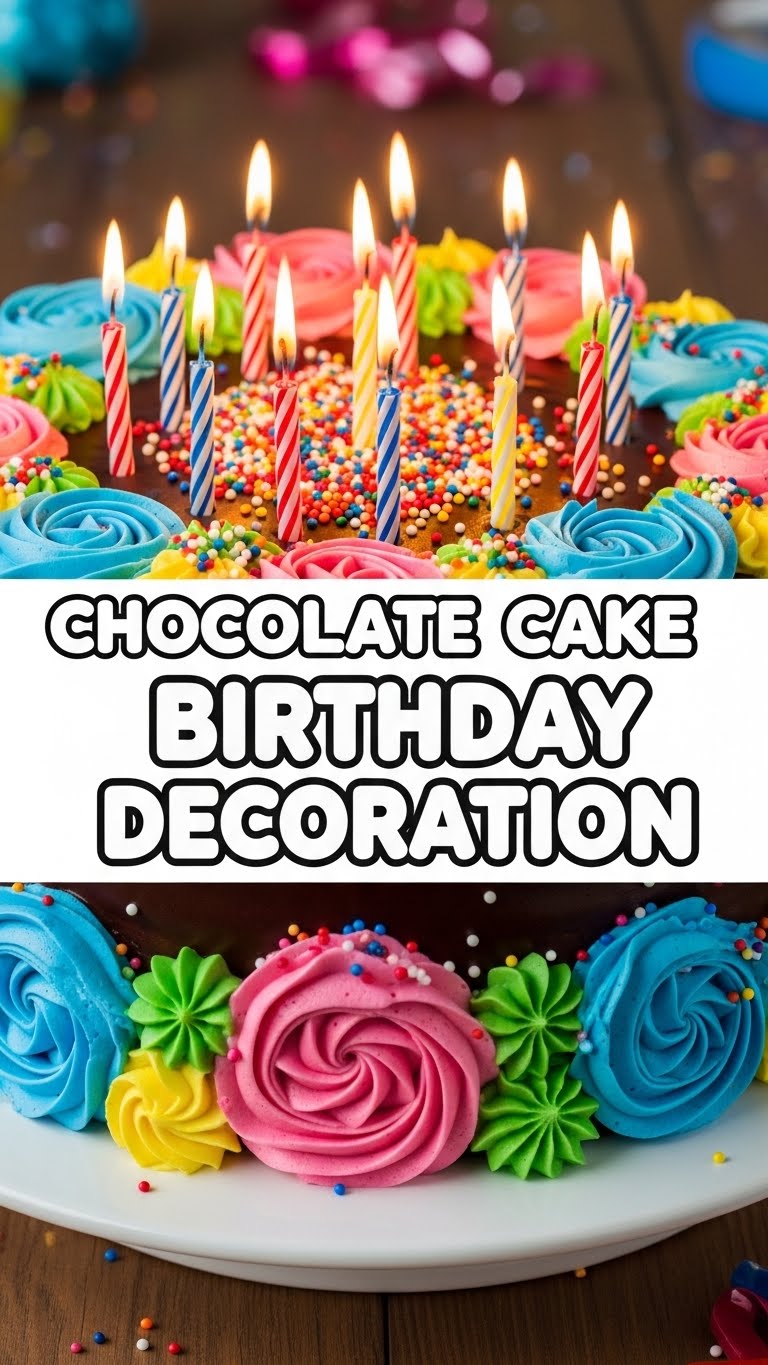
- Sprinkles, glorious sprinkles: The more varieties, the better! Jimmies, nonpareils, confetti, edible glitter—go wild!
- Candies/Chocolates: M&Ms, chocolate chips, mini chocolate bars, gummy bears (if you’re feeling controversial), whatever makes you smile.
- Optional but Recommended: Fresh berries (strawberries, raspberries), chocolate shavings, edible pearls.
- Birthday Candles & Topper: Because what’s a birthday without fire hazards and a sparkly “Happy B-Day”?
Step-by-Step Instructions (Let’s Get Messy!)
Time to unleash your inner cake artist! Don’t overthink it; just have fun.
- The Great Cake Chill: If your cake isn’t already, pop it in the fridge for 20-30 minutes. A cold cake is a firm cake, and a firm cake is much easier to frost without crumbling. Trust me on this one.
- First Coat First (The Crumb Coat): Dollop a small amount of frosting (about 1/2 cup) onto the top of the cake. Using an offset spatula or a butter knife, spread a very thin layer all over the top and sides. This is your “crumb coat,” and its job is to trap any loose crumbs so your final layer is smooth. Don’t worry about perfection here.
- Chill Again! (Yes, really): Place the cake back in the fridge for another 15-20 minutes. This lets the crumb coat set, creating a nice foundation.
- The Main Event (The Final Frosting): Now for the real deal! Take a generous amount of frosting and spread it evenly over the top and sides of your cake. Use long, smooth strokes. If you want a rustic look, don’t worry about it being perfectly smooth. If you want it smoother, dip your spatula in warm water and wipe it clean before using.
- Sprinkle It Up: This is where the party starts! Grab your sprinkles. You can do a full covering, a border around the bottom, or just a fun design on top. Gently press them into the frosting. For the sides, hold the cake board with one hand and cup sprinkles in the other, gently pressing them onto the sides as you turn the cake.
- Candy & Berry Placement: Arrange your candies, chocolates, or fresh berries on top. Get creative! You can make patterns, create a central pile, or spell out an initial. No rules, just deliciousness.
- Candles & Topper Time: Finally, stick those candles in! Place your “Happy Birthday” topper or whatever fun accessory you’ve chosen.
Common Mistakes to Avoid (So You Don’t Cry Over Spilled Sprinkles)
We’ve all been there. Learn from my past frosting blunders!
- Warm Cake Syndrome: Trying to frost a cake that’s not completely cooled will lead to a melty, crumbly disaster. Chill that cake, folks!
- Too Much Frosting, Too Soon: Piling on all the frosting at once before the crumb coat sets is a one-way ticket to crumb-city. Patience, young padawan.
- Fear of the Mess: Decorating *will* be messy. Embrace it. Lay down some parchment paper or newspaper to save your countertop.
- Over-Piping: Trying to write a novel in icing script if you’re not a pro. Keep messages short and sweet, or just use letter candles!
- Comparing Yourself to Instagram: Seriously, don’t. Your cake is made with love (and maybe a little bit of desperation), and that’s all that matters.
Alternatives & Substitutions (Because We’re Flexible Like That)
Don’t have exactly what I listed? No stress! Here are some ideas to keep the party going:
- No Piping Bag? No Problem! Grab a Ziploc bag, snip a tiny corner off, and boom—instant piping bag for simple lines or dots.
- Ganache Glam: Instead of regular frosting, why not pour a luscious chocolate ganache over the top? Melt equal parts chocolate chips and heavy cream, stir until smooth, let it cool a bit, then pour. Drip-tastic!
- Cookie Crumble Magic: Crushed Oreos, graham crackers, or even shortbread can make a fantastic border or topping.
- The “Naked” Cake Look: If you’re feeling minimalist, apply a very thin, almost see-through layer of frosting. It’s chic and requires even less frosting skill.
- Fruit Frenzy: Don’t have candies? Load up on colorful fruits like kiwi slices, orange segments, or blueberries for a fresh, vibrant look.
FAQ (Frequently Asked & Funnily Answered Questions)
Got questions? I’ve got answers (mostly good ones).
- “Can I use whipped cream instead of frosting?” Well, technically yes, but it’s not as stable for intricate decorations. Whipped cream is best for a quick, elegant top layer right before serving. It’s an ephemeral beauty!
- “My frosting is too stiff! Help!” Pop it in the microwave for 10-15 seconds, stir, and repeat until it’s spreadable. Don’t go too long or you’ll have soup.
- “How far in advance can I decorate the cake?” For most decorations, 1-2 days ahead is fine. If you’re using fresh fruit, add those closer to serving time to prevent them from getting mushy or discoloring.
- “What if my cake breaks while I’m frosting it?” Deep breaths. You can usually “glue” smaller breaks back together with frosting. For bigger breaks, just embrace it and call it “deconstructed” or “rustic.” No one will know once it’s covered in chocolate and sprinkles!
- “My handwriting for the ‘Happy Birthday’ message looks terrible. Any tips?” Mine too, IMO. Practice on a plate first! Or, skip the writing entirely and use letter candles, chocolate molds, or simply arrange sprinkles in a celebratory pattern. Less stress, more fun!
Final Thoughts
See? You just transformed a humble chocolate cake into a showstopper! Whether it’s for a friend, family, or just your beautiful self, a handmade (or at least hand-decorated) cake is always special. Now go impress someone—or yourself—with your new culinary *artistry*. You’ve earned that slice (or three!). Enjoy the smiles and the deliciousness, you rockstar!


