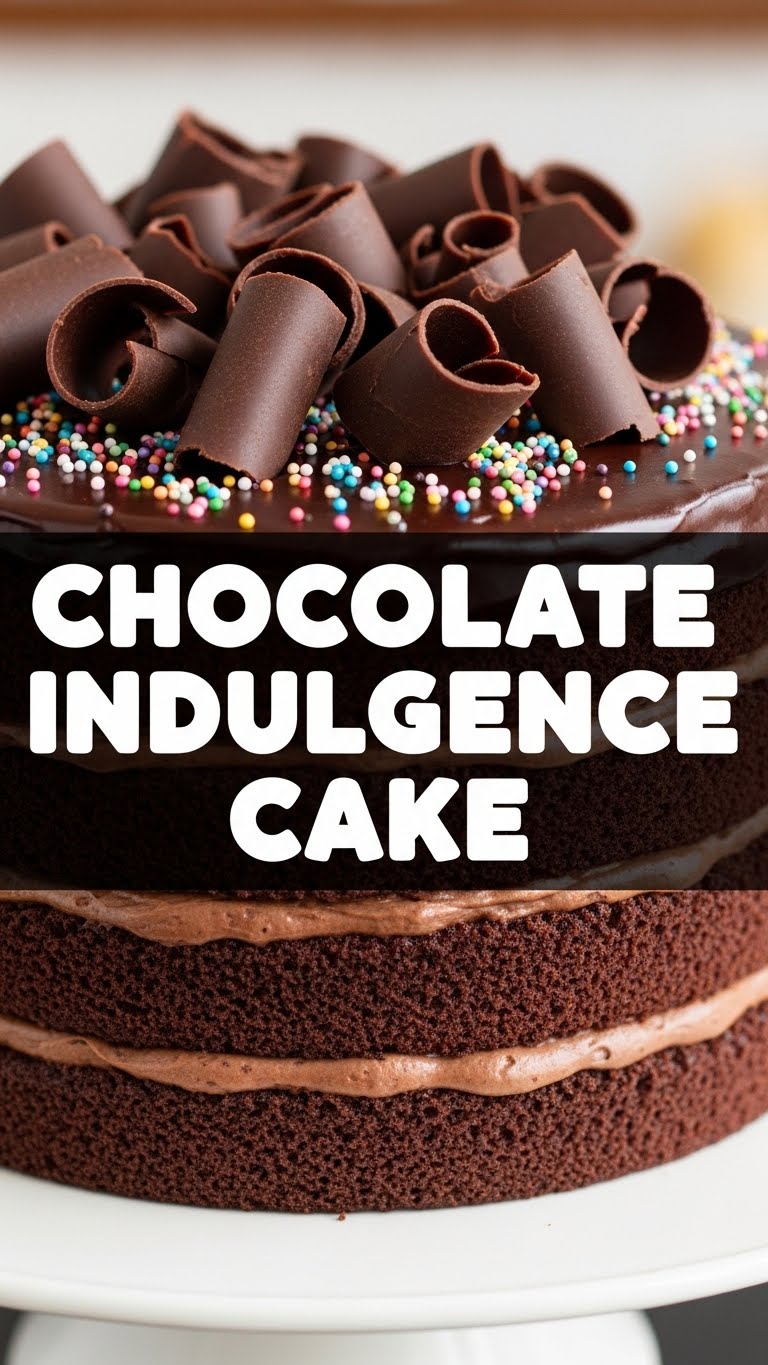
So, you’ve got that intense chocolate craving hitting harder than a Monday morning alarm, right? And you want something that screams “decadent dessert” but whispers “I barely broke a sweat”? Yeah, totally get it. We’re about to make a Chocolate Indulgence Cake that’s so easy and so ridiculously good, you’ll wonder why you ever bothered with those complicated, multi-step recipes. Let’s get this party started!
Why This Recipe is Awesome
Okay, first off, this isn’t just a cake; it’s a mood. It’s the kind of cake that makes you want to curl up with a good book (or a bad reality TV show, no judgment) and a big ol’ slice. And here’s the best part: it’s practically idiot-proof. Seriously, if I, a person who once set off a smoke detector making toast, can nail this, you absolutely can too.
It’s moist, it’s rich, it’s got that deep chocolate flavor that makes your eyes roll back in your head a little. Plus, it uses simple ingredients you probably already have lurking in your pantry. No fancy equipment needed, just a bowl, a whisk, and your fabulous self. Consider this your new go-to “I need chocolate NOW” recipe.
Ingredients You’ll Need
Gather your chocolatey troops! Here’s what you’ll need for this glorious journey:
- 1 ¾ cups (210g) All-Purpose Flour: Your basic baking buddy.
- 1 ¾ cups (350g) Granulated Sugar: For that sweet, sweet bliss.
- ¾ cup (75g) Unsweetened Cocoa Powder: Go for a good quality one, it makes a difference! Life’s too short for sad chocolate.
- 1 ½ teaspoons Baking Soda: Our lift-off agent!
- 1 ½ teaspoons Baking Powder: Double the power, double the rise!
- 1 teaspoon Salt: Balances all that sweetness. Don’t skip it!
- 1 cup (240ml) Milk: Whole milk is best for richness, but whatever you have on hand works.
- ½ cup (120ml) Vegetable Oil: Keeps things super moist. Canola or other neutral oil works.
- 2 Large Eggs: Room temperature, please! They mix better.
- 1 teaspoon Vanilla Extract: A little touch of magic.
- 1 cup (240ml) Boiling Water (or freshly brewed hot coffee): This is the secret weapon! It blooms the cocoa and makes the cake extra moist. If you use coffee, it just deepens the chocolate flavor. Pro tip: coffee is always a good idea.
For a Simple Chocolate Ganache (optional, but highly recommended!)
- ½ cup (120ml) Heavy Cream: The good stuff.
- 4 oz (113g) Semi-Sweet Chocolate Chips or chopped chocolate: The better the chocolate, the better the ganache, obvi.
Step-by-Step Instructions
Alright, apron on, “pump-up” playlist ready? Let’s bake this cake!
- Preheat & Prep: Preheat your oven to 350°F (175°C). Grab a 9×13 inch baking pan (or two 8 or 9-inch round pans if you’re feeling fancy) and give it a good spray with non-stick cooking spray, or grease and flour it. No sticking allowed!
- Whisk Dry Ingredients: In a large mixing bowl, whisk together the flour, sugar, cocoa powder, baking soda, baking powder, and salt. Make sure there are no lumpy bits. You want it all incorporated nicely.
- Add Wet Ingredients (Almost All Of Them!): Pour in the milk, oil, eggs, and vanilla extract into your dry mixture. Beat with an electric mixer (or a strong arm and a whisk) on medium speed for about 2 minutes, until everything is well combined and smooth. Scrape down the sides of the bowl to make sure no dry pockets are hiding.
- The Secret Ingredient: Carefully, and slowly, pour in the boiling water (or hot coffee) into your batter. Stir it in until just combined. The batter will be quite thin – don’t panic, this is exactly what we want! It’s the key to that amazing moistness.
- Bake It Up: Pour the thin batter evenly into your prepared pan(s). Pop it into the preheated oven.
- For a 9×13 pan: Bake for 30-35 minutes.
- For round pans: Bake for 30-35 minutes, or until a wooden skewer inserted into the center comes out clean.
- Cool Down: Once baked, let the cake cool in the pan on a wire rack for about 10-15 minutes before attempting to flip it out (if using round pans). If it’s a 9×13, you can just let it cool completely in the pan. Patience is a virtue, especially with cake.
- Ganache Time (if you’re feeling extra): While the cake cools, make the ganache. Heat the heavy cream in a small saucepan over medium heat until it just begins to simmer. Remove from heat, add the chocolate chips, and let sit for 5 minutes. Then whisk until smooth and glossy. Pour over your completely cooled cake and spread evenly.
- Devour: Slice, serve, and bask in the glory of your chocolatey masterpiece!
Common Mistakes to Avoid
We’ve all been there, trust me. Here are a few common pitfalls to steer clear of:
- Under-mixing the Dry Ingredients: If you don’t whisk those dry bits well, you might end up with clumps of baking soda. No one wants a surprise bitter bite!
- Over-mixing the Batter: Once you add the wet to the dry, mix until just combined. Over-mixing develops gluten, which can lead to a tough cake. We want tender, not tenacious!
- Opening the Oven Door Too Early: Resist the urge to peek! Especially in the first 20 minutes. It drops the oven temperature and can cause your cake to sink. It’s not a TV, it’ll still be there.
- Not Using Boiling Water (or Hot Coffee): This isn’t just warm water; it needs to be actively boiling. It’s what “blooms” the cocoa, releasing its full flavor and giving you that truly dark, rich chocolate.
- Trying to Frost a Warm Cake: Unless you enjoy a runny, chocolatey mess, wait until your cake is *completely* cool before applying any frosting or ganache. Seriously, go watch an episode of something.
Alternatives & Substitutions
Feeling adventurous or working with what you’ve got? No stress!
- Dairy-Free Delight: Swap the regular milk for almond, soy, or oat milk. It works beautifully! Just make sure it’s plain, unsweetened.
- Oil Alternatives: Not a fan of vegetable oil? Melted coconut oil (liquid form) or even unsalted butter can work, though the texture might be slightly different (still delicious, though!).
- No Cocoa Powder? Okay, this is a chocolate cake, so that’s a tough one. But if you’re in a pinch, you could try a different flavor profile, but then it wouldn’t be “Chocolate Indulgence.” FYI, just buy the cocoa.
- Frosting Fun: If ganache feels like too much effort, a simple dusting of powdered sugar is elegant and easy. Or, you could use store-bought chocolate frosting (we won’t tell!). Whipped cream is also a fantastic, lighter option.
- Adding Flavour: Want to amp it up? Add a pinch of cinnamon or a tiny dash of cayenne pepper to the dry ingredients for a subtle Mexican chocolate kick! Or some instant espresso powder to the hot water for an even deeper chocolate taste.
FAQ (Frequently Asked Questions)
Got questions? I’ve got (mostly sarcastic) answers!
- Can I use margarine instead of oil? Well, technically yes, but why hurt your soul like that? Oil gives it superior moistness. Margarine is… fine. But this cake deserves better.
- My cake looks dry, what did I do wrong? Did you forget the boiling water? Did you overbake it? (Did you *really* check it was completely cool before declaring it dry?) Don’t worry, a simple syrup or a generous amount of ganache can often save a slightly dry cake!
- Can I make this into cupcakes? Absolutely! Just fill cupcake liners about two-thirds full and bake for 18-22 minutes. Keep an eye on them, as oven times vary.
- How long does this cake last? In my house? About 24 hours. But seriously, stored in an airtight container at room temperature, it’ll be good for 3-4 days. In the fridge, maybe a bit longer, but it’s best at room temp.
- Is it okay if my batter is really thin? Yes! In fact, that’s exactly how it should be. The thinness from the hot liquid is what contributes to the cake’s incredible moistness and tender crumb. Don’t add more flour, IMO!
- Can I freeze this cake? You bet! Let it cool completely, then wrap it tightly in plastic wrap and then foil. It’ll keep in the freezer for up to 3 months. Thaw it at room temperature.
Final Thoughts
And there you have it! Your new favorite Chocolate Indulgence Cake. See? You’re practically a pastry chef now, and you didn’t even have to put on real pants. This cake is proof that sometimes, the simplest things are the most satisfying.
So go on, make it, devour it, share it (if you’re feeling generous), and definitely take all the credit. You’ve earned it! Now go impress someone—or just yourself—with your new culinary skills. Enjoy!


