So you’re craving something tasty but too lazy to spend forever in the kitchen, huh? Same. And probably a gazillion KitKats just sitting there, practically begging to be baked into something epic? Yeah, me too. Good news: I’ve got the low-down on a KitKat Chocolate Cake that’s so easy, your dog could probably make it (if it had opposable thumbs, of course). Let’s dive in before we eat all the evidence.
Why This Recipe is Awesome
Okay, buckle up buttercup, because this isn’t just any cake. This is THE cake. First off, it’s virtually idiot-proof. Seriously, if I can do it without setting off the smoke detector, you’re golden. Secondly, it looks like you spent hours slaving away, but nope! It’s a quick win for maximum ‘wow’ factor. Perfect for impressing friends, family, or just your reflection after a particularly long day. Plus, it involves KitKats. Need I say more? It’s like a chocolate therapy session, but edible.
Ingredients You’ll Need
Alright, gather your troops! Here’s what you’ll need to transform into a baking wizard:
All-Purpose Flour: (the basic white stuff, not the fancy almond flour your yoga instructor uses – unless you are that yoga instructor, then fine)
Granulated Sugar: (because we’re going for sweet, not “a little bit sweet”)
Unsweetened Cocoa Powder: (the darker, the more mysterious your cake looks; use good quality for best flavor, FYI!)
Baking Soda & Baking Powder: (the magical lift-off duo, don’t skimp! They make your cake fluffy.)
Salt: (just a pinch, for balance, like in life)
Large Eggs: (at room temperature, because they mix better – science, baby!)
Milk: (any kind works, but whole milk makes it extra luscious – your call)
Vegetable Oil: (or any other neutral oil like canola; keeps it super moist, trust me)
Pure Vanilla Extract: (please, not the imitation stuff – your taste buds will thank you)
Boiling Water: (yes, really! It unlocks all that cocoa goodness and creates a super moist crumb)
For the Frosting:
Unsalted Butter: (softened; because we add our own salt, thank you very much)
Powdered Sugar: (also known as confectioners’ sugar; for that silky smooth finish)
Unsweetened Cocoa Powder: (again, for maximum chocolatey goodness)
Milk or Cream: (just a splash to get the right consistency)
Pure Vanilla Extract: (another dash, because vanilla + chocolate = perfection)
The Stars of the Show:
KitKat Bars: (loads of ’em! You’ll need enough to line the sides and some for chopping on top. Maybe an extra pack for “tasting” purposes… you know, for quality control.)
M&M’s or other small candies: (for ultimate rainbow sprinkle party on top, optional but highly recommended for pizzazz)
Step-by-Step Instructions
Prep Time! Preheat your oven to 175°C (350°F). Grease and flour two 9-inch round cake pans. Or line the bottoms with parchment paper if you’re feeling extra fancy. No sticking, please!
Dry Mix. In a large bowl, whisk together the flour, granulated sugar, cocoa powder, baking soda, baking powder, and salt. Make sure there are no lumps, unless you like lumpy cake (which is kinda weird, NGL).
Wet Mix. In another, separate bowl, combine the room temperature eggs, milk, vegetable oil, and vanilla extract. Whisk them until they’re all friends and evenly mixed.
Combine Forces. Pour the wet ingredients into the dry ingredients. Mix on low speed with an electric mixer, or by hand, until just combined. Don’t overmix, unless you want a rubbery cake – no thanks!
Hot Water Magic. Carefully stir in the boiling water. The batter will be thin, don’t panic! This is the secret to a super moist cake. It seriously works wonders.
Bake It! Divide the thin batter evenly between your two prepared cake pans. Bake for 30-35 minutes, or until a toothpick inserted into the center comes out clean. If it’s gooey, give it a few more minutes.
Cool Down. Let the cakes cool in the pans for about 10-15 minutes before carefully transferring them to a wire rack to cool completely. This part is crucial: patience is a virtue here. Frosting on warm cake is a disaster waiting to happen!
Frosting Fun! While the cakes are chilling out, beat the softened butter in a large bowl until it’s light and creamy. Gradually add the powdered sugar and cocoa powder, alternating with splashes of milk/cream, until the frosting is smooth and fluffy. Stir in the vanilla extract for that extra oomph.
Assemble the Masterpiece. Once the cakes are totally cool (I mean *totally*), spread a generous layer of frosting on the first cake layer. Place the second layer on top, and then frost the entire cake – top and sides included. Make it nice and smooth!
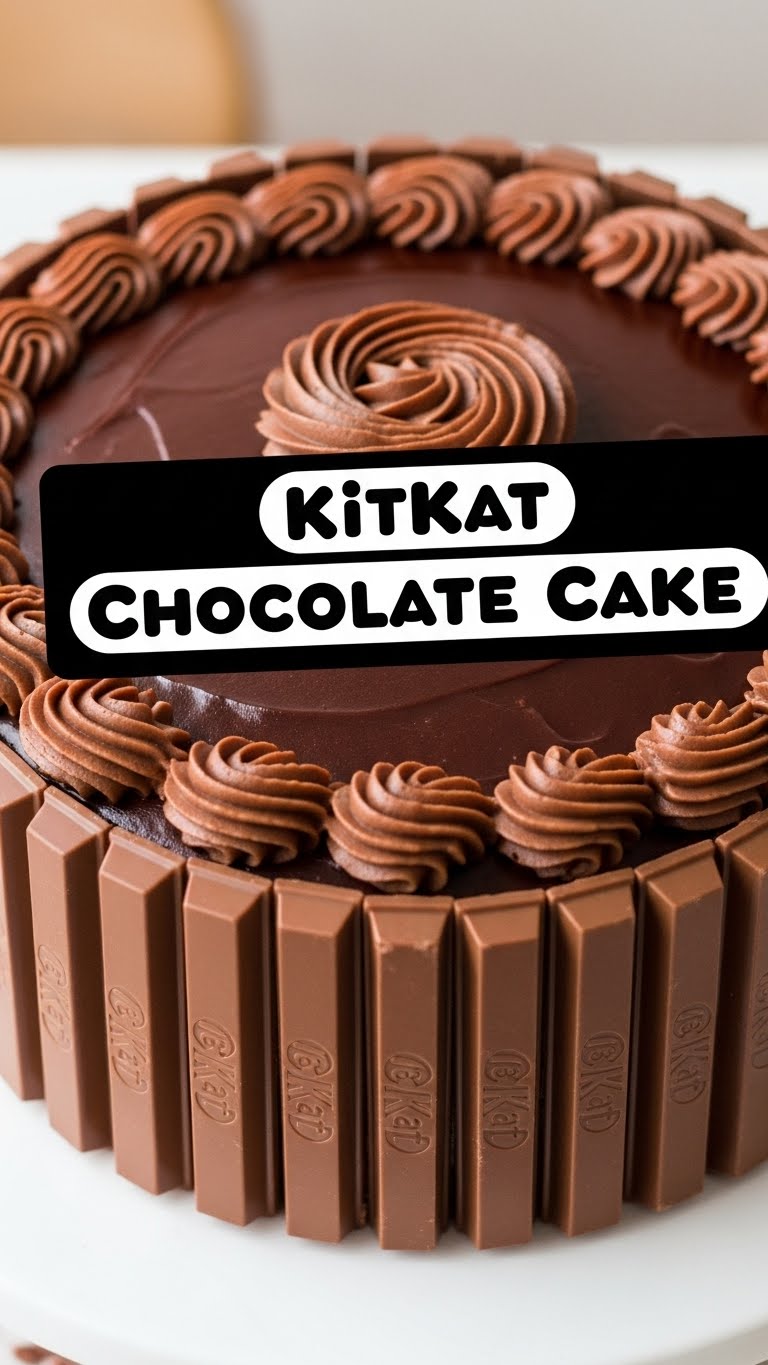
KitKat Border Patrol. This is the *most* fun part! Carefully break your KitKat bars into individual sticks. Press them gently around the sides of the cake, standing upright. They’ll stick perfectly to the frosting. So satisfying!
Final Flourish. Top the cake with chopped KitKats, M&M’s, or whatever candy explosion your heart desires. You can tie a pretty ribbon around it if you want to be extra. Chill for at least 30 minutes to let the KitKats set firm against the frosting. Then, dig in!
Common Mistakes to Avoid
Not preheating the oven: Rookie mistake! Your cake won’t rise properly and will be sad. Seriously, it’s step one for a reason.
Overmixing the batter: You want a tender, fluffy cake, not a dense hockey puck. Mix until just combined, then stop.
Not letting the cakes cool completely: Frosting on warm cake equals a melty, sliding, weep-inducing disaster. Patience, young padawan! We talked about this.
Skimping on the KitKats: Are you even making a KitKat cake if you only use half a pack? Come on now, go big or go home!
Eating all the KitKats before they make it to the cake: I won’t lie, this one’s hard. But try your absolute best to save some for the actual cake. You can do it!
Alternatives & Substitutions
Feeling adventurous or just missing an ingredient? No stress, we can totally tweak this!
Butter vs. Margarine: Can you use margarine for the cake batter? Sure, it’ll work. For the frosting? Well, technically yes, but why hurt your soul like that? Butter just tastes richer and makes for a better, creamier frosting, IMO.
Different Chocolates: Not a KitKat fanatic (gasp!)? You can totally swap them out for other chocolate bars like Twix, Kinder Bueno, or even just chocolate fingers. Get creative with your edible fence!
Gluten-Free Flour: For your GF friends or if you’re avoiding gluten, a 1:1 gluten-free baking flour blend usually works great. Just follow the package directions as some brands absorb liquids differently.
Dairy-Free Milk: Almond, soy, or oat milk can easily replace regular milk in both the cake and frosting without much fuss. Just make sure it’s unsweetened if you’re using it in the cake.
FAQ (Frequently Asked Questions)
Q: Can I make this as cupcakes instead?
A: Absolutely! Just fill cupcake liners about two-thirds full and bake for a shorter time, usually 18-22 minutes. Then top with frosting and mini KitKats for maximum cuteness. Easy peasy!Q: How far in advance can I make this cake?
A: You can bake the cake layers a day or two ahead and keep them well-wrapped at room temp. The frosting can also be made a day ahead and refrigerated (just re-whip it before using). Assemble on the day of serving for optimal freshness and KitKat crunchiness. You’re basically a meal-prepping chef!Q: My frosting is too thick/thin! Help!
A: Oh, the eternal frosting struggle! Too thick? Add milk/cream, a teaspoon at a time, until it loosens up. Too thin? Add more powdered sugar, a tablespoon at a time, until it thickens. It’s a delicate dance, but you’ll get there!Q: Do I really need boiling water? What if I use warm water?
A: Boiling water helps to “bloom” the cocoa powder, which basically means it brings out a deeper, richer chocolate flavor. Warm water isn’t quite the same, so try to stick to hot water for the best results. It makes a noticeable difference, trust me.Q: Can I add coffee to the cake batter?
A: Ooh, you’re getting fancy! Yes, a teaspoon or two of instant espresso powder (dissolved in the boiling water) will deepen the chocolate flavor without making it taste like coffee. It just enhances the chocolate. Highly recommended!Q: How do I store this masterpiece?
A: Cover it loosely and keep it at room temperature for up to 3 days, or in the fridge for up to 5 days. If it lasts that long without being devoured, you’re a stronger person than me. Seriously, kudos!
Final Thoughts
So there you have it, your very own ridiculously easy and outrageously delicious KitKat Chocolate Cake! Who knew you had such baking superpowers? Now go impress someone—or yourself—with your new culinary skills. You’ve earned it, especially after resisting the urge to eat all those KitKats. Now go get your cake on, you magnificent baker, you!


