So, you’ve just stared into the void (aka your fridge) and realized your life is missing something… specifically, something rich, chocolatey, and utterly decadent? And you’re craving it without having to sell a kidney for a fancy patisserie version, right? Same, friend, same. Welcome to your new obsession: Chocolate Mousse Cake. It’s so good, you might just marry it.
Why This Recipe is Awesome
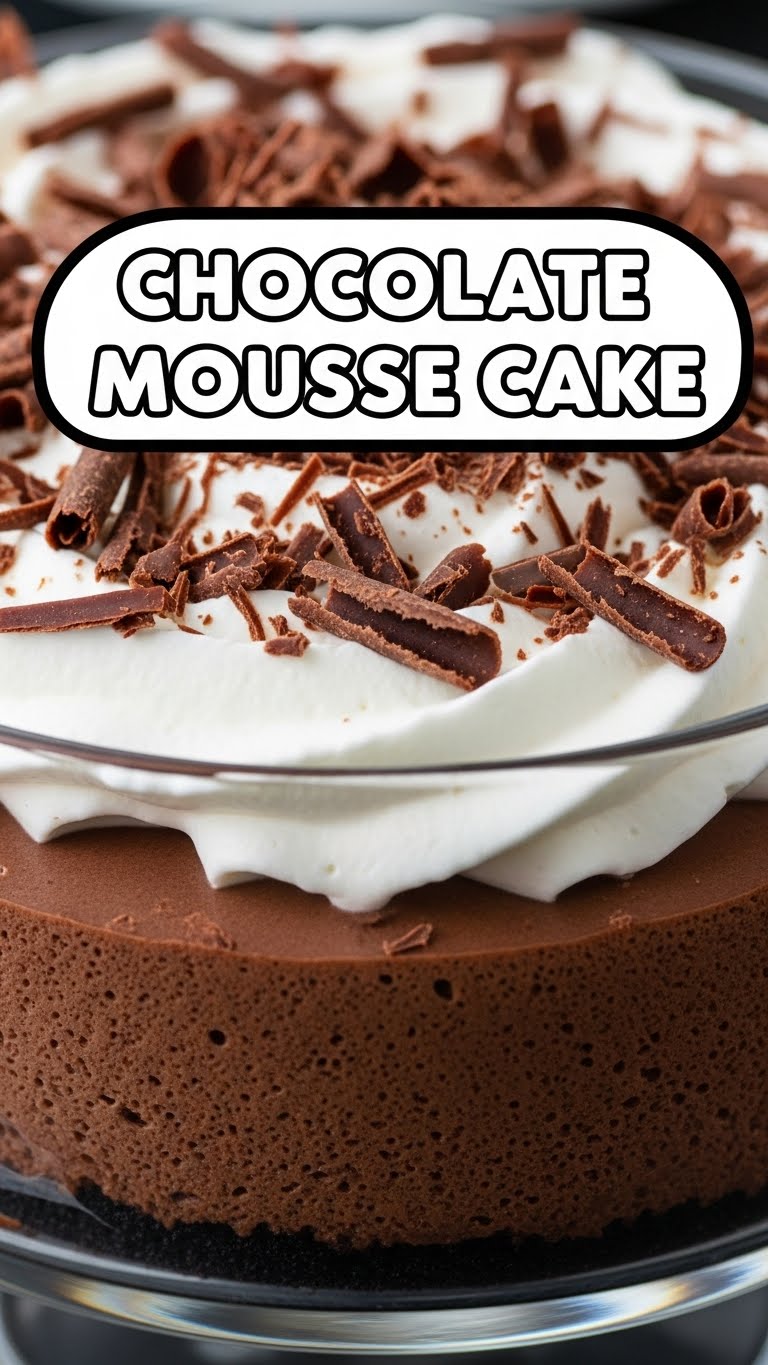
Listen up. This isn’t just *a* chocolate mousse cake. This is *the* chocolate mousse cake. Why? Because it looks fancy enough to fool your mother-in-law into thinking you’re a culinary genius, but it’s actually so straightforward, even your pet goldfish could probably follow the steps (if it had opposable fins, of course). It’s got that crunchy cookie base, a cloud-like chocolate mousse filling, and it practically screams “I’m fabulous!” without you having to break a sweat. No oven baking for the mousse itself! Just chill, baby, chill.
Ingredients You’ll Need
Get ready to raid your pantry (and maybe make a quick run to the store for chocolate, because let’s be real, who ever has enough chocolate?).
- For the Crust:
- 1 ½ cups (about 180g) Chocolate Wafer Cookies (or Oreos, because why not? Crush ’em till they’re dust.)
- ½ cup (113g) Unsalted Butter (melted, because butter makes everything better, duh.)
- For the Mousse:
- 12 oz (340g) Good Quality Dark Chocolate (about 60-70% cacao. This isn’t the time for Hershey’s Kisses, unless you *want* less “mousse” and more “sweet brick.”)
- ¼ cup (60ml) Water (just water, no fancy stuff.)
- 2 large Eggs (at room temp, trust me, it matters.)
- 2 large Egg Yolks (because extra richness is never a bad idea.)
- ¼ cup (50g) Granulated Sugar (to sweeten the deal.)
- Pinch of Salt (enhances all that chocolatey goodness!)
- 1 ½ cups (360ml) Heavy Cream (cold, straight from the fridge. She’s about to get whipped.)
- 1 tsp Vanilla Extract (the little black dress of baking ingredients.)
- For Garnish (Optional, but encouraged!):
- Cocoa powder, chocolate shavings, fresh berries, or a dollop of extra whipped cream. Make it pretty!
Step-by-Step Instructions
Alright, apron on, “Rocky” theme song playing, let’s do this!
- Crush it, Baby! Get those chocolate wafers (or Oreos!) crushed into fine crumbs. A food processor is your best friend here, or a Ziploc bag and a rolling pin for some stress relief. Mix the crumbs with the melted butter until they’re all sticky and glorious.
- Press & Chill. Press this buttery crumb mixture into the bottom of a 9-inch springform pan. Use the back of a spoon or your knuckles. Make it even. Pop it in the fridge for at least 30 minutes to firm up while you conquer the mousse.
- Melt Down. Finely chop your good quality dark chocolate. In a heatproof bowl set over a saucepan of barely simmering water (a double boiler, fancy!), melt the chocolate with the ¼ cup water, stirring until smooth and glossy. Remove from heat and let it cool slightly.
- Egg-cellent Work. In another heatproof bowl, whisk together the whole eggs, egg yolks, sugar, and salt. Place this bowl over the same simmering water (make sure the bottom doesn’t touch the water!) and whisk constantly until the mixture thickens slightly and reaches 160°F (71°C). This cooks the eggs gently. Take it off the heat.
- Combine Forces. Slowly drizzle the slightly cooled melted chocolate into the egg mixture, whisking continuously until it’s perfectly combined and smooth. Set aside to cool to room temperature.
- Whip it Good! In a separate, chilled bowl (important!), whip the cold heavy cream with the vanilla extract until soft peaks form. Don’t overdo it unless you want butter (which, while delicious, isn’t what we’re going for here).
- Fold it In, David. Gently fold about a third of the whipped cream into your chocolate-egg mixture to lighten it. Then, carefully fold in the remaining whipped cream until no streaks remain. Be gentle! This is what makes it light and airy.
- Assemble Your Masterpiece. Pour the glorious chocolate mousse over your chilled cookie crust in the springform pan. Smooth the top with a spatula.
- The Hard Part: Waiting. Cover the pan loosely with plastic wrap and refrigerate for at least 4-6 hours, or even better, overnight. This chilling step is non-negotiable! It needs to set.
- Release & Garnish. Once firm, carefully run a thin knife around the edge of the springform pan before releasing the sides. Garnish with cocoa powder, chocolate shavings, or fresh berries.
Common Mistakes to Avoid
Nobody’s perfect, but we can avoid some rookie errors together, can’t we?
- Using warm heavy cream: You absolutely need cold heavy cream for whipping. Room temperature cream just won’t cooperate, it’ll be a soupy mess. Chill your bowl too!
- Over-mixing the mousse: Once you’ve folded in the whipped cream, stop. Over-mixing will deflate all that beautiful air you just incorporated, leaving you with a dense, sad mousse.
- Not chilling long enough: I know, I know, the wait is excruciating. But pulling it out too early will result in a runny, messy cake. Patience, young padawan.
- Skipping the egg cooking step: Don’t play fast and loose with raw eggs, friend. Tempering them correctly ensures safety and better texture.
Alternatives & Substitutions
Feeling rebellious? Want to put your own spin on it? I like your style!
- Chocolate type: You can totally use milk chocolate if you prefer a sweeter, milder flavor, but adjust the sugar in the egg mixture down a touch. Or go for a higher percentage dark chocolate (80%+) for a more intense, sophisticated vibe. Your call, boss!
- Crust variations: Graham crackers work great instead of chocolate wafers. Or, for a gluten-free option, use gluten-free cookies or even a nut crust (like finely ground almonds mixed with butter).
- Flavor boosts: Add a splash of Kahlúa, espresso, or a fancy liqueur (like Grand Marnier or Chambord) to the melted chocolate for an adult twist. A tiny pinch of cayenne pepper in the chocolate adds an unexpected kick!
- Dairy-free: While trickier, you can find dairy-free heavy cream alternatives for whipping, and ensure your chocolate is dairy-free. Results may vary slightly, but it’s totally doable!
FAQ (Frequently Asked Questions)
- “Can I make this ahead of time?” Heck yes! This cake actually tastes even better the next day once all the flavors have had a chance to mingle and get cozy. It’s a fantastic make-ahead dessert for parties.
- “How long does it last?” Covered in the fridge, it’ll keep happily for up to 3-4 days. But let’s be real, it probably won’t last that long.
- “Can I use semi-sweet chocolate chips instead of a bar?” Technically yes, but chocolate chips often contain stabilizers that can make them melt differently and affect the mousse’s texture. For the best results, splurge on good quality chocolate bars. You deserve it!
- “My mousse is too runny! What happened?” Likely culprits: not chilling long enough, over-mixing the whipped cream (which then deflated), or not cooking the eggs enough to thicken. Double-check those steps next time!
- “Can I freeze it?” You bet! Wrap individual slices tightly in plastic wrap, then foil, and freeze for up to a month. Thaw in the fridge overnight before serving.
Final Thoughts
So there you have it, your ultimate guide to crafting a Chocolate Mousse Cake that will make hearts sing and taste buds dance. It’s elegant, it’s rich, it’s chocolatey, and most importantly, YOU made it! Go forth, my culinary friend, and conquer that kitchen. Now go impress someone—or yourself—with your new dessert-making superpowers. You’ve earned every single bite!


