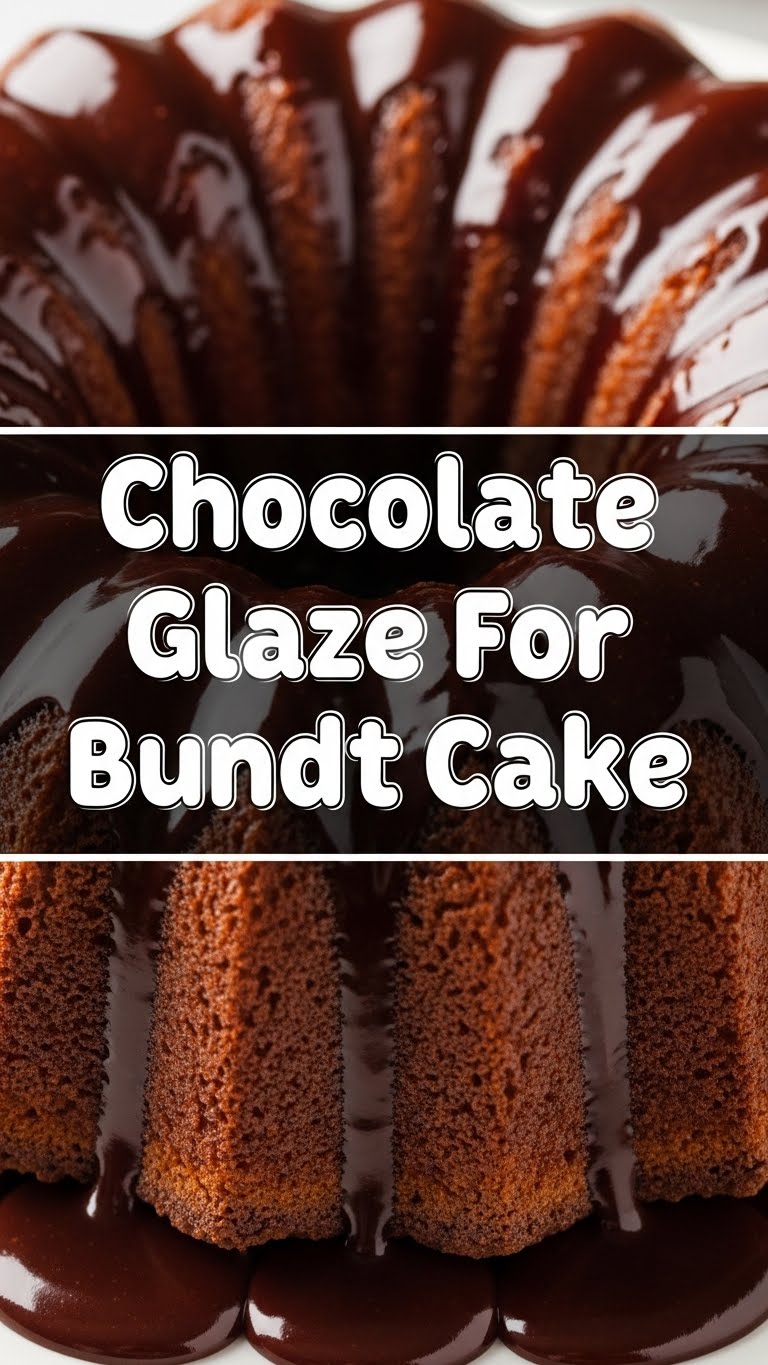
So you’ve baked that gorgeous Bundt cake, and now it’s sitting there, looking all dignified but… kinda naked? We can’t have that, friend. It’s like wearing a fancy dress without any sparkle. Your cake needs its bling, its crown, its *chocolatey hug*. And guess what? We’re about to give it just that with the easiest, most decadent chocolate glaze known to humankind (or at least, known to my kitchen).
Why This Recipe is Awesome
Because let’s be real, life’s too short for complicated glazes that seize up or taste like disappointment. This one? It’s **foolproof**. Seriously. I’ve made it after a long day (maybe with a glass of wine in hand, don’t judge), and it still came out perfect. It takes like *five minutes* – tops! And it transforms any Bundt from ‘oh, that’s nice’ to ‘OMG, CAN I HAVE ANOTHER SLICE?’ status. Plus, it just looks so darn pretty, your friends will think you secretly went to pastry school.
Ingredients You’ll Need
Gather your gladiators, er, ingredients! You probably have most of these hiding in your pantry already.
- 1 ½ cups Powdered Sugar (Confectioners’ Sugar): The magical white stuff that makes things smooth and sweet. Don’t even *think* about granulated sugar here, unless you want a gritty disaster.
- ¼ cup Unsweetened Cocoa Powder: Go for a good quality one. It’s like the difference between a meh coffee and a barista-made masterpiece. Your taste buds will thank you.
- 3-5 tablespoons Milk (or Cream, or Half-and-Half): Just a splash, to bring it all together. The higher the fat content, the richer your glaze will be. We’re not calorie counting today, okay?
- 2 tablespoons Unsalted Butter, Melted (Optional, but highly recommended): This is your secret weapon for a glossy, decadent glaze. It adds richness and a beautiful shine. Trust me on this one.
- ½ teaspoon Vanilla Extract: A little splash of pure happiness. It elevates the chocolate flavor like a fancy chef.
Step-by-Step Instructions
Alright, apron on (or not, whatever, we’re friends), let’s get this party started!
Sift it, Baby: Grab a medium bowl. Sift your powdered sugar and cocoa powder together. This is **crucial** for a smooth glaze; no one wants lumpy chocolate. Seriously, do it. Your future self will thank you.
Wet Ingredients Join the Party: In a separate small bowl, whisk together your melted butter (if using) and vanilla extract. These guys are the life of the party, bringing all the flavor.
Mix ’em Up, Slowly: Now, pour the wet ingredients into the dry. Start adding your milk, **one tablespoon at a time**, whisking constantly. You’re aiming for a luscious consistency, so don’t rush.
Find Your Zen Consistency: Keep adding milk until you reach your desired consistency. You want it thick enough to coat the back of a spoon, but thin enough to drip lazily down your cake. Think “slow-moving lava,” not “chocolate soup.” It should look luxurious.
Pour and Admire: Once your cake is completely cool (this is important, folks!), gently spoon or pour the glaze over the top. Let it drip artfully down the sides. It’s like painting a masterpiece, but with chocolate.
Set and Serve: Let the glaze set for a few minutes before slicing into that masterpiece. It usually hardens just enough to make for clean slices. Now go get a fork!
Common Mistakes to Avoid
Even the pros make mistakes, but you don’t have to! Avoid these common blunders for glaze perfection:
- Skipping the Sifting: Oh, the horror! You’ll end up with lumps, and nobody wants that in their silky smooth glaze. **Always sift!** It takes two seconds and saves a world of textural regret.
- Adding all the Liquid at Once: Whoa there, speedy! This is how you get a runny, pathetic excuse for a glaze that slips right off your cake. Add liquid incrementally.
- Glazing a Warm Cake: This is a big no-no. Your beautiful glaze will just melt and slide right off, leaving a sad puddle at the bottom of your cake plate. **Wait for your cake to be completely cool.** Patience is a virtue here.
- Not Using Good Cocoa Powder: You’re putting in the effort, so don’t cheap out on the star ingredient. Good quality cocoa = good flavor. Period. Your Bundt deserves better!
Alternatives & Substitutions
Feeling frisky? Want to play around with flavors? I got you. This recipe is super flexible!
- Liquid Lovin’: Instead of milk, try strong brewed coffee (cooled, of course) for a mocha kick, or even a tablespoon of your favorite liqueur (like Kahlua, Bailey’s, or a raspberry liqueur) for an adult twist. Just remember to **start with less liquid** and add slowly, as different liquids can have different consistencies.
- Flavor Boosts: Swap vanilla extract for almond extract, peppermint extract (hello, holiday Bundt!), or even a pinch of cinnamon or chili powder for a Mexican hot chocolate vibe. Get creative!
- Butter-Free Zone: If you want to skip the butter, you totally can! Your glaze just won’t be quite as shiny or rich, but it’ll still be delicious. Think of it as a slightly less indulgent (but still tasty!) version.
FAQ (Frequently Asked Questions)
You’ve got questions, I’ve got answers (and probably some sass!).
- “My glaze is too thick/thin! Help!” Don’t panic! Too thick? Add a *tiny* bit more milk (like, half a teaspoon at a time) until it’s just right. Too thin? Whisk in another tablespoon of sifted powdered sugar. You got this! It’s all about balance, baby.
- “Can I use water instead of milk?” Technically, yes. But why would you? Milk or cream gives it a richer taste and creamier texture. Water just dilutes the goodness and makes it less luxurious. IMHO, stick to the dairy!
- “How long does this glaze take to set?” Usually about 15-30 minutes, depending on the thickness and the humidity in your kitchen. Pop it in the fridge for a few minutes if you’re in a super hurry, but usually, room temp is fine.
- “Can I make this ahead of time?” You can, but it’s really best made fresh. If you do make it ahead, store it in an airtight container at room temperature, and give it a good whisk before using, maybe adding a *tiny* splash of milk to loosen it up if it’s too stiff.
- “Does the cake need to be refrigerated with this glaze?” If your cake usually needs refrigeration (like if it has a perishable filling), then yes. Otherwise, the glaze itself is usually fine at room temperature for a couple of days. Common sense prevails!
Final Thoughts
See? That wasn’t so scary, was it? You just whipped up a gorgeous, delicious chocolate glaze that’s going to make your Bundt cake look and taste like a million bucks. Now go forth and impress everyone, or just yourself, with your new culinary superpowers. You’ve earned it (and probably deserve another slice). Happy glazing!


