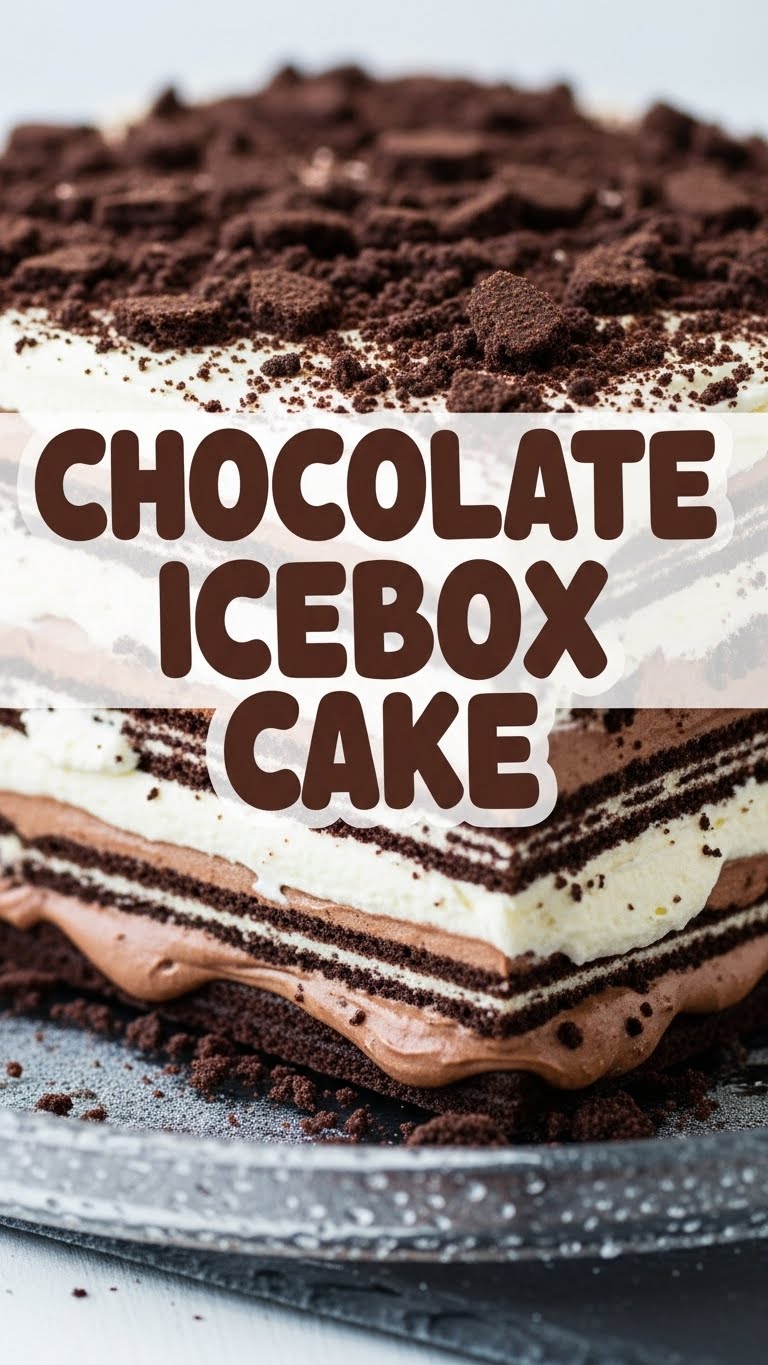
So, you’ve got that familiar rumble in your tummy, calling for something ridiculously delicious, but your inner chef is currently on strike, demanding minimal effort? Oh, honey, I hear you. And I’m here to tell you, you’re about to meet your new best friend: the Chocolate Icebox Cake. It’s basically magic, but edible, and requires zero oven time. Seriously, your oven can just chill. Like, literally.
Why This Recipe is Awesome
Let’s be real, most desserts demand a commitment. Hours of whisking, baking, cooling, crying… not this one! This chocolate icebox cake is so simple, it practically makes itself. It’s the culinary equivalent of “Netflix and chill” – you do a little setup, then let the fridge do all the heavy lifting. **It’s idiot-proof, even I didn’t mess it up**, and my track record with anything requiring precision in the kitchen is, shall we say, “experimental.” It’s creamy, chocolatey, nostalgic, and seriously impressive for the tiny amount of effort involved. Plus, no hot oven in the summer. Score!
Ingredients You’ll Need
Get ready for the world’s shortest, most delightful grocery list:
- Heavy Whipping Cream (2 cups): This is where the magic happens. Don’t skimp, don’t substitute for half-and-half, just commit to the cream. Your taste buds will thank you.
- Powdered Sugar (1/2 cup, give or take): Also known as confectioners’ sugar. It dissolves beautifully, keeping things smooth. Adjust to your sweet tooth level.
- Unsweetened Cocoa Powder (1/4 cup): Because we want chocolate, glorious chocolate!
- Vanilla Extract (1 teaspoon): A little hug for your cream.
- Chocolate Wafer Cookies (1 package, about 9 oz): The OG. Thin, crispy, and ready to become fudgy goodness. Nab those Nabisco ones, if you can.
- A Pinch of Salt: To make all the other flavors sing!
Step-by-Step Instructions
- Whip it Good: In a large bowl, combine your heavy whipping cream, powdered sugar, cocoa powder, vanilla extract, and that tiny pinch of salt. Grab your electric mixer (or a whisk and a strong arm, if you’re feeling ambitious and masochistic). **Whip on medium-high speed until stiff peaks form.** You want it thick and fluffy, like a cloud that tastes like chocolate. Don’t overdo it, or you’ll get butter!
- Layer Up, Buttercup: Find a pretty serving dish or a loaf pan. Spread a thin layer of your chocolate cream mixture on the bottom. This acts as the glue.
- Cookie Time: Start arranging a single layer of chocolate wafer cookies over the cream. You might need to break some to fit them snugly. Think of it as edible Tetris.
- Repeat the Magic: Dollop another generous layer of chocolate cream over the cookies, then another layer of cookies. Keep going, alternating cream and cookies, until you run out of either, making sure the top layer is cream.
- Get Creative (Optional): If you’re feeling fancy, sprinkle some extra cocoa powder on top, or shave some chocolate curls. Or just leave it as is – it’s delicious either way.
- Chill Out: Cover your masterpiece loosely with plastic wrap and pop it in the fridge. This is the hardest part: waiting! **Chill for at least 4 hours, but ideally overnight.** This gives the cookies time to soften and meld with the cream, transforming into cake-like layers.
- Serve and Conquer: Once it’s perfectly chilled and fudgy, slice it up and watch faces light up. Pat yourself on the back, you culinary genius!
Common Mistakes to Avoid
- Not Chilling Long Enough: This isn’t a “quickie” dessert; it needs its beauty sleep. If you cut it too soon, it’ll be crunchy cookies and runny cream. Sad times. **Patience, my friend, is key.**
- Over-whipping the Cream: Stiff peaks are good; butter chunks are not. Stop as soon as it’s thick and holds its shape.
- Using the Wrong Cookies: While you *can* experiment (see below), the thin chocolate wafers are crucial for that melt-in-your-mouth, cake-like transformation. Thicker cookies won’t soften as nicely.
- Skimping on Cream: You want enough cream to generously coat each layer of cookies. Don’t be shy!
Alternatives & Substitutions
Feeling wild? Here are some ways to jazz up your icebox cake:
- Cookie Swap: Not a fan of chocolate wafers? Try Oreo thins (crushed or whole), graham crackers, or even gingersnaps for a spiced kick.
- Flavor Boost: Add a splash of Kahlúa, Baileys, or a touch of espresso powder to your cream for an adult twist. A hint of peppermint extract for a mint-chocolate vibe is also divine!
- Fruity Fun: Layer thin slices of banana or fresh raspberries between the cookie and cream layers. Just make sure the fruit isn’t *too* wet.
- Extra Crunch: Sprinkle some crushed nuts or mini chocolate chips on top or between layers for added texture.
FAQ (Frequently Asked Questions)
Can I use margarine instead of heavy cream? Well, technically yes, but why hurt your soul like that? Heavy cream is non-negotiable for that rich, luscious texture. Trust me on this one.
How long does it last in the fridge? It’s best within 2-3 days. After that, the cookies can get a little *too* soggy, and the cream starts to lose its oomph. But honestly, it’s so good, it probably won’t last that long anyway!
Can I freeze icebox cake? You bet! For longer storage, you can slice it and freeze individual pieces. Just wrap them well. Thaw in the fridge for a few hours before serving. It’s almost like ice cream cake!
My cream isn’t getting stiff! What did I do wrong? Ah, a common conundrum! Make sure your cream is **super cold** (pop the bowl and whisk in the freezer for 10-15 minutes beforehand for extra help). Also, ensure you’re using *heavy* whipping cream, not just whipping cream (it has a higher fat content). Humidity can also play a role, but cold cream is usually the fix.
Do I have to use cocoa powder? Can I just use chocolate syrup? Stick to the cocoa powder for richness and a lovely deep chocolate flavor. Syrup can make the cream too loose and overly sweet. We’re aiming for sophisticated, not sticky!
What kind of serving dish works best? A loaf pan (9×5 inch) works great for a taller, more traditional slice. A square 8×8 or 9×9 inch dish gives you flatter, wider slices. A fancy trifle bowl also looks amazing if you’re layering for show!
Final Thoughts
There you have it, folks. A dessert that screams “I tried so hard!” but secretly whispered “I barely lifted a finger.” This chocolate icebox cake is your ticket to effortless dessert glory. It’s perfect for potlucks, lazy Sundays, or just when you need a chocolatey hug. Now go impress someone – or yourself – with your new culinary skills. You’ve earned it!


