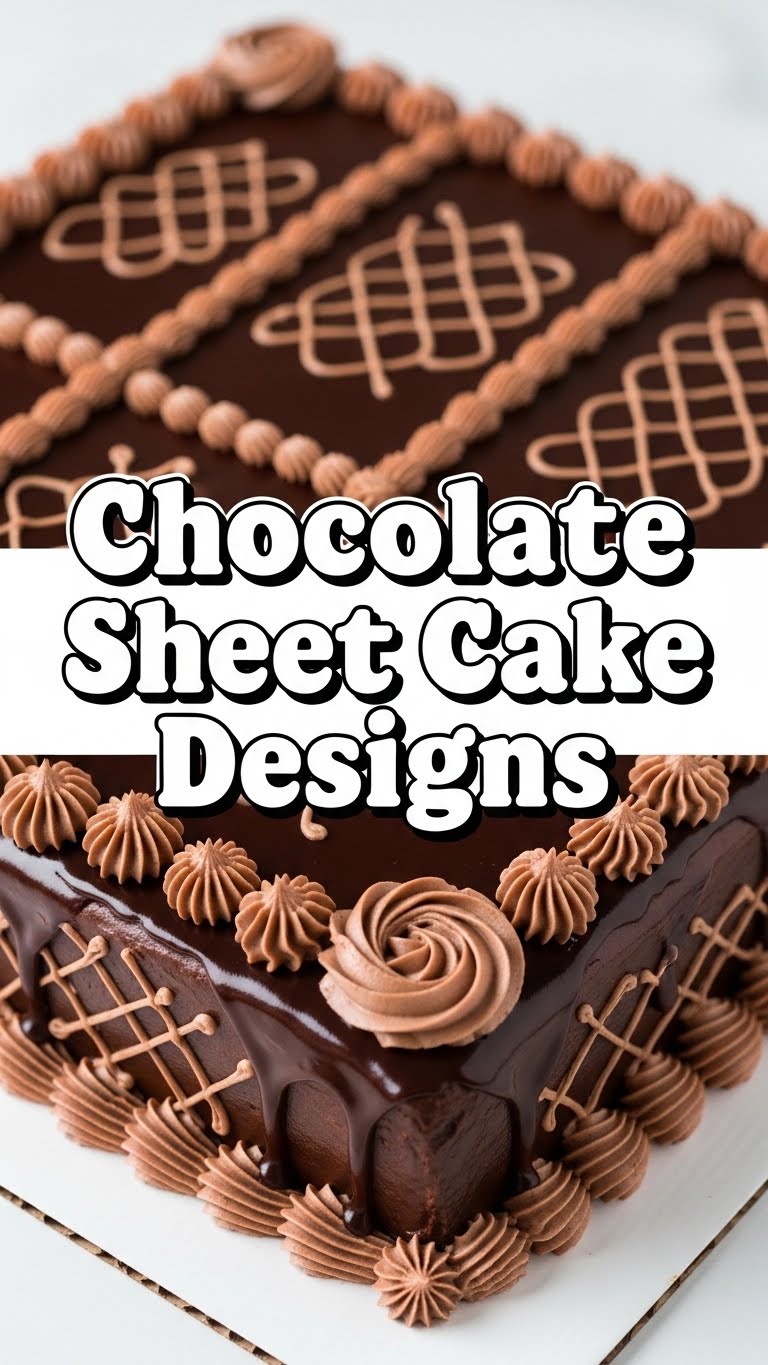
So, you’re craving something ridiculously chocolatey but the thought of spending hours meticulously decorating a cake makes your soul sigh, huh? Been there, baked that (and usually just ended up eating it with a spoon). Fear not, my fellow sweet tooth! We’re diving into the glorious world of chocolate sheet cake designs that are all about maximal yumminess with minimal fuss. Think “impressive” without the “I spent all day on this” lie. Let’s get baking!
Why This Recipe is Awesome
Honestly, because it’s the culinary equivalent of a warm hug that also gets you compliments. This chocolate sheet cake isn’t just a cake; it’s a testament to the fact that delicious doesn’t have to mean difficult. It’s practically idiot-proof. Seriously, even I, the queen of forgetting ingredients, manage to nail this one every time. Plus, it bakes up in a single, convenient sheet pan, making transport and serving a breeze. No fancy tiers, no gravity-defying structures, just pure chocolate bliss ready for its close-up with your chosen “design.”
Ingredients You’ll Need
Gather your troops, folks! Here’s what you’ll need for a super moist, super chocolatey cake base:
- All-purpose flour: The backbone of our operation.
- Granulated sugar: Because sweetness is not a crime.
- Unsweetened cocoa powder: For that deep, dark chocolatey soul. Don’t cheap out here!
- Baking soda & baking powder: Our lift-off specialists.
- Salt: A tiny pinch to make all that chocolate sing.
- Buttermilk: The secret weapon for supreme tenderness.
- Vegetable oil: Keeps things moist and lovely.
- Eggs: Our binding agents, at room temperature please!
- Vanilla extract: Don’t skimp on this. It’s the flavor VIP.
- Hot water or brewed coffee: Boosts the chocolate flavor like crazy. Trust me on this.
For the frosting (because what’s cake without it?):
- Unsalted butter: Softened, for that dreamy texture.
- Powdered sugar: Sifted, unless you like lumpy frosting (you don’t).
- Unsweetened cocoa powder: More chocolate, because why not?
- Milk or cream: To get that perfect consistency.
- Vanilla extract: Again, don’t be shy.
Step-by-Step Instructions
- Preheat & Prep: First things first, get your oven to **350°F (175°C)**. Grease and flour a 9×13 inch baking pan. This isn’t optional; trust me, you want your cake to come out in one piece.
- Dry Mix Magic: In a large bowl, whisk together your flour, sugar, cocoa powder, baking soda, baking powder, and salt. Make sure there are no lumpy bits.
- Wet Mix Wonders: In another bowl, combine the buttermilk, oil, eggs, and vanilla extract. Whisk ’em until they’re happily blended.
- Combine Forces: Pour the wet ingredients into the dry ingredients. Mix until just combined. Don’t overmix, or your cake will be tough, and nobody wants a tough cake.
- Hot Stuff: Carefully pour in the hot water (or coffee). The batter will be thin, and that’s totally normal. Mix until smooth.
- Bake It Up: Pour the thin batter into your prepared pan. Slide it into the preheated oven and bake for **30-35 minutes**, or until a toothpick inserted into the center comes out clean.
- Cool Down: Let the cake cool completely in the pan on a wire rack. **Seriously, completely.** If you try to frost a warm cake, it will melt into a sad, gooey mess.
- Frosting Time: While the cake cools, make your frosting. Beat the softened butter until creamy. Gradually add the powdered sugar and cocoa powder, alternating with milk/cream, and a splash of vanilla. Beat until smooth and fluffy. Add more milk/cream if needed for desired consistency.
- Design Your Masterpiece: Once the cake is fully cooled, spread that luscious frosting all over. Now for the fun part – the “designs”!
Common Mistakes to Avoid
- Not preheating the oven: Rookie mistake! Your cake won’t rise properly, and you’ll end up with a dense brick.
- Overmixing the batter: This develops the gluten too much, leading to a dry, chewy cake. Mix until just combined, then stop.
- Skipping the hot water/coffee: This ingredient really brings out the chocolate flavor. Don’t be a hero and skip it. Your taste buds will regret it.
- Frosting a warm cake: I repeat: Do NOT do this. It’s a one-way ticket to frosting soup and a very sad cake. Patience, young padawan!
- Not greasing AND flouring your pan: Your cake will stubbornly cling to the pan, and you’ll have to chisel it out. Not a good look.
Alternatives & Substitutions
Life happens, ingredients run out! Here are some quick fixes:
- No buttermilk? Easy fix! Add 1 tablespoon of white vinegar or lemon juice to a measuring cup, then fill the rest of the way with regular milk until it reaches 1 cup. Let it sit for 5 minutes. Voila, instant buttermilk!
- No vegetable oil? You can use another neutral-flavored oil like canola or even melted coconut oil (if you don’t mind a hint of coconut flavor).
- Hot water vs. coffee? If you’re not a coffee person, just use hot water. But FYI, coffee *enhances* chocolate flavor without making it taste like coffee. It’s magic!
- Different frostings: Feeling adventurous? Try a cream cheese frosting, a peanut butter frosting, or even a simple ganache. The world is your oyster (a chocolatey one, that is).
FAQ (Frequently Asked Questions)
- Can I use margarine instead of butter in the frosting? Well, technically yes, but why hurt your soul like that? Butter just tastes better and gives a richer, smoother frosting. IMO, it’s worth the splurge.
- My cake is dry! What went wrong? You probably overbaked it or overmixed the batter. Keep an eye on that toothpick test, and remember, once it’s clean, pull it out!
- Can I make this cake ahead of time? Absolutely! The cake itself can be baked a day in advance and stored covered at room temperature. Frost it right before serving for the freshest look.
- What are some easy “designs” for a sheet cake? Oh, the possibilities! Think sprinkles (classic!), chocolate shavings, a simple zig-zag pattern with a fork, or even just some fresh berries. You can also dust with cocoa powder or powdered sugar using a stencil (a paper doily works wonders!).
- Can I halve the recipe? Sure, if you’re making a smaller cake. Just use an 8×8 inch pan and adjust baking time, probably closer to 20-25 minutes.
Final Thoughts
So there you have it, folks! A chocolate sheet cake recipe that’s practically foolproof and ready for whatever level of “design” ambition you’re feeling. Whether you go for a minimalist sprinkle scattering or an elaborate (but still easy!) chocolate curl masterpiece, you’re going to end up with something truly delicious. Now go impress someone—or yourself—with your new culinary skills. You’ve earned it!

