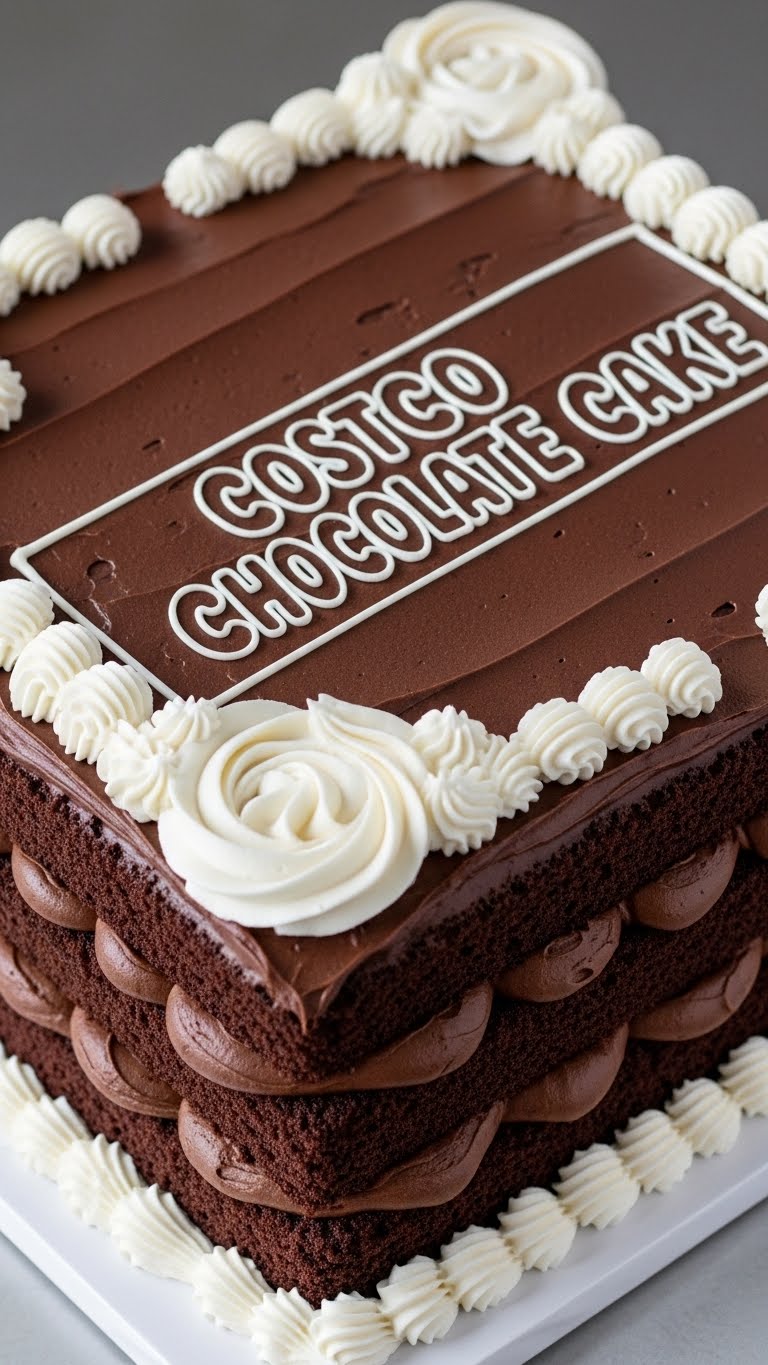
So you’re craving something tasty but too lazy to spend forever in the kitchen, huh? Same. But what if I told you there’s a way to get that legendary, ridiculously satisfying Costco chocolate cake vibe *without* battling the weekend crowds or needing a forklift to carry it home? Yep, we’re talking about a copycat recipe so good, it might just make you question your life choices… in the best way possible. Get ready to bake your way to chocolate heaven, my friend!
Why This Recipe is Awesome
First off, it’s pretty much **idiot-proof**. Seriously, if I can do it without setting off the smoke alarm (which is a minor miracle, IMO), you’re golden. You get all the glorious, rich, fudgy goodness of the real deal, but you can say you “made” it. Instant baker cred!
There’s no need to buy a cake big enough for a small army, unless you *want* to. You can scale it down (or up, no judgment here). It’s a fantastic way to impress literally anyone. Birthday? Potluck? Tuesday night? This cake screams, “I care enough to bake, but I also value my sanity.”
Ingredients You’ll Need
For the Cake:
- **All-purpose flour:** The backbone of all things cakey. Don’t cheap out, your taste buds will know.
- **Granulated sugar:** Because life needs sweetness, and this cake *delivers*.
- **Unsweetened cocoa powder (good quality!):** This is where the magic happens. Think dark and mysterious, not light and dusty.
- **Baking soda & baking powder:** Our leavening duo, giving that perfect rise. They work hard so your cake isn’t a brick.
- **Salt:** Just a pinch to balance all that sweet. It’s like the unsung hero of flavor.
- **Eggs (large):** Binders and richness providers. Happy chickens, happy cake.
- **Milk:** Any kind, really. Whole milk makes it extra luscious, but hey, use what you’ve got.
- **Vegetable oil (or other neutral oil):** For that super moist crumb. This cake isn’t dry, we promise.
- **Vanilla extract:** A splash of warmth and complexity. Don’t skip it!
- **Hot water or hot coffee:** **Pro tip:** Coffee enhances chocolate flavor like nothing else. Trust me on this one. It won’t taste like coffee, just *more chocolatey*.
For the Frosting (Because a cake without frosting is just bread):
- **Unsalted butter (room temp):** The foundation of any good buttercream.
- **Powdered sugar (confectioners’ sugar):** Sifted, please! No one likes lumpy frosting.
- **Unsweetened cocoa powder:** Again, good quality!
- **Heavy cream (or milk):** For that silky smooth texture.
- **Vanilla extract:** Always a good idea.
Step-by-Step Instructions
- **Preheat & Prep:** Get that oven to **350°F (175°C)**. Grease and flour two 9-inch round cake pans. Or line with parchment paper circles if you’re feeling fancy.
- **Dry Mix Party:** In a large bowl, whisk together the flour, sugar, cocoa powder, baking soda, baking powder, and salt. Make sure there are no lumpy bits.
- **Wet Mix Wonders:** In another bowl, beat the eggs, milk, oil, and vanilla until well combined.
- **Combine & Conquer:** Pour the wet ingredients into the dry ingredients. Mix on low speed until *just* combined. **Don’t overmix**, or your cake will be tough.
- **The Hot Liquid Boost:** Carefully stir in the hot water or coffee. The batter will be thin – don’t panic! That’s how we get that amazing moistness.
- **Into the Pans!:** Divide the batter evenly between your prepped cake pans. Give ’em a gentle tap on the counter to release any air bubbles.
- **Bake Time!:** Pop them in the oven for **30-35 minutes**, or until a wooden skewer inserted into the center comes out clean.
- **Cool Down:** Let the cakes cool in the pans for about 10-15 minutes before inverting them onto a wire rack to cool completely. **This is crucial!** Frosting a warm cake is a one-way ticket to a melted mess.
- **Frosting Fun:** While cakes cool, make the frosting! Beat room temperature butter until creamy. Gradually add sifted powdered sugar and cocoa powder. Add cream and vanilla, beating until light and fluffy. Adjust consistency with more cream or powdered sugar if needed.
- **Assemble Your Masterpiece:** Once the cakes are *fully* cooled, level them if necessary. Spread a generous layer of frosting on the first cake, top with the second, then frost the top and sides. **Decorate however your heart desires!**
Common Mistakes to Avoid
- **Overmixing the batter:** You want a tender crumb, not a rubber ball. Mix until *just* combined, then stop. Seriously, hands off!
- **Not sifting your dry ingredients (especially cocoa/powdered sugar):** Lumps are not your friend. They lead to uneven baking and gritty frosting.
- **Frosting a warm cake:** Unless you’re going for a rustic, melted lava cake look, resist the urge. Patience is a virtue, especially in baking.
- **Eyeballing ingredients:** Baking is a science, not an art project (yet!). **Measure accurately**, especially flour and leavening agents.
- **Opening the oven door too early:** Every time you peek, you let out heat and risk your cake sinking. Trust the timer!
Alternatives & Substitutions
**Coffee vs. Water:** Definitely go for hot coffee if you have it! It seriously deepens the chocolate flavor without making it taste like coffee. If not, hot water works perfectly fine.
**Milk:** Any kind of milk works. Dairy-free? Almond milk, soy milk, oat milk – all fair game.
**Oil:** Vegetable oil is neutral, but canola oil or even melted coconut oil (just be aware of potential flavor hints) can work.
**Frosting Creativity:** Feel free to swap out some of the cocoa for melted dark chocolate for an even richer frosting. Or add a tiny bit of instant espresso powder to the frosting too! **Seriously, try it.**
FAQ (Frequently Asked Questions)
- **Can I make this cake in a 9×13 pan?** Absolutely! You might need to adjust baking time slightly, usually a bit longer (around 35-40 minutes). Just keep an eye on it.
- **My cake sunk in the middle, what happened?!** Oh, the horror! Usually, this means one of two things: either your leavening agents (baking soda/powder) are old and expired, or you opened the oven door too early. **Check expiry dates!**
- **Can I use margarine instead of butter for the frosting?** Well, technically yes, but why hurt your soul like that? Butter tastes better, trust me. Margarine will give you a different texture and flavor profile.
- **How long does this cake last?** If you manage to not devour it all immediately, it’ll stay fresh covered at room temperature for 3-4 days. In the fridge, it can last up to a week.
- **Can I freeze leftover cake?** You betcha! Wrap individual slices or the whole cake tightly in plastic wrap, then foil, and freeze for up to 2-3 months. Thaw overnight in the fridge.
- **What if I don’t have two cake pans?** No worries! Bake one layer at a time. Just make sure to re-grease and flour the pan for the second batch. Or, make cupcakes! Just reduce baking time significantly (18-22 minutes).
Final Thoughts
So there you have it, folks! Your very own, incredibly delicious, “I totally made this from scratch” Costco-style chocolate cake. Go forth and conquer those chocolate cravings! Impress your friends, baffle your family, or just sit on the couch with a fork and zero regrets. You’ve earned this chocolatey goodness, you magnificent baker, you!


