So, you’re craving something decadent, chocolatey, and utterly delicious, but the thought of spending hours in the kitchen (or, gasp, sharing a whole cake) just isn’t cutting it today? Totally get it. Your energy levels are probably at “horizontal binging” status, and that’s okay. We’re about to make magic happen with minimal effort, maximum chocolate, and zero apologies.
Why This Recipe is Awesome
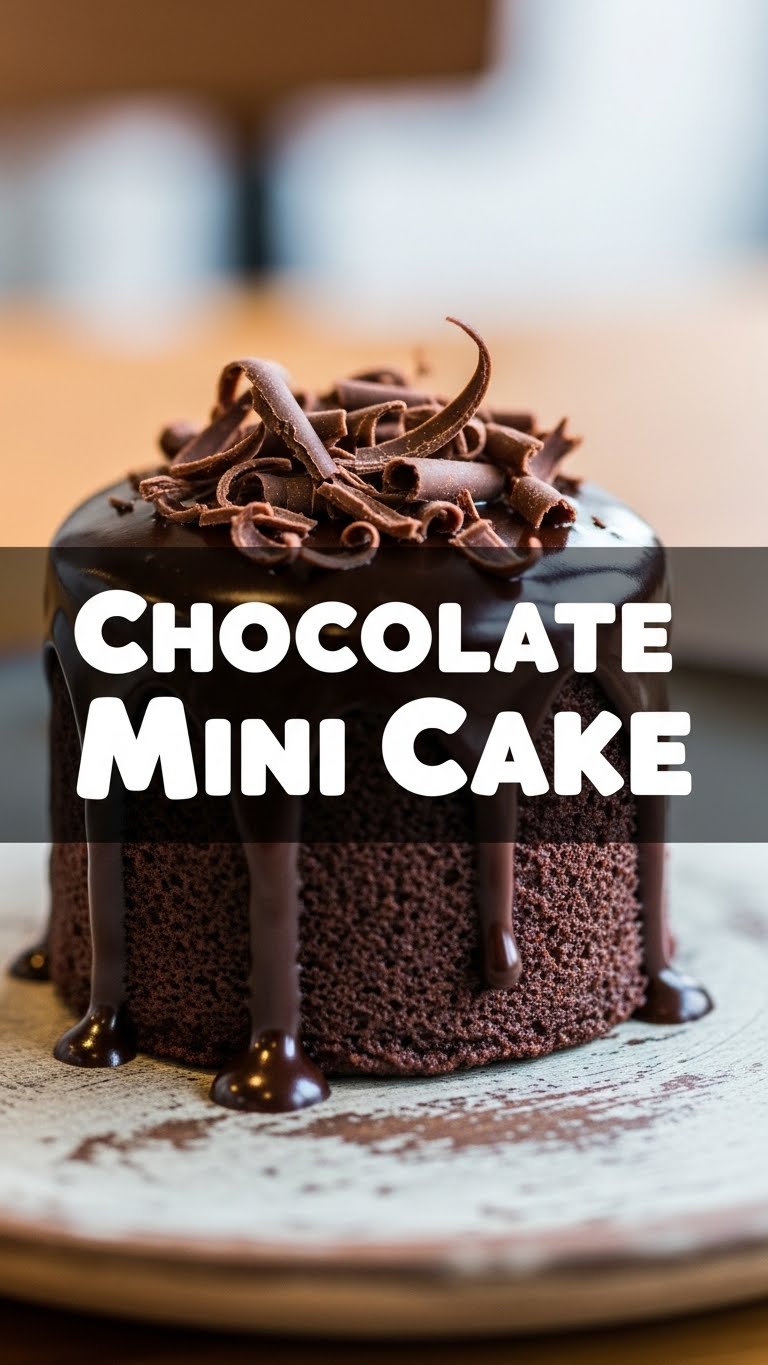
Listen, if I can make these, anyone can. This isn’t some super-chef, fancy-pants, multiple-tier cake situation. We’re talking about **chocolate mini cakes** – the perfect personal indulgence. They’re quick, they’re individual (meaning no awkward slicing or fighting over the biggest piece), and they’re pretty much idiot-proof. Seriously, even I didn’t mess these up, and my track record with delicate desserts is… let’s just say “adventurous.” Plus, they bake fast, so your craving won’t have time to stage a coup. It’s the ultimate ‘treat yourself’ in under an hour, start to finish. You’re welcome.
Ingredients You’ll Need
Get ready, because this list is short and sweet – just like the cakes themselves!
- All-purpose flour: Just your basic white flour. Don’t overthink it.
- Unsweetened cocoa powder: The good stuff. Not the hot chocolate mix! Unless you want a very sweet, weird cake. Don’t do that.
- Granulated sugar: Because, well, it’s cake. Duh.
- Baking soda: Our little lift-off agent. Don’t confuse it with baking powder; they’re not the same, though they are friends.
- Salt: A pinch, just to balance all that sweetness and make the chocolate pop. It’s science!
- Milk: Any kind works. Whole milk for richness, skim for… well, for existing.
- Vegetable oil: Or canola, or any neutral oil. It keeps these cakes super moist, **IMO**, way better than butter sometimes.
- Vanilla extract: A tiny splash of pure joy. It makes everything taste more “bakery.”
- Warm water: The secret weapon for intensifying that chocolate flavor. Don’t skip it!
- Optional (but highly recommended) for frosting/topping: Powdered sugar, a little more cocoa, a dash of milk, and maybe some sprinkles or chocolate chips for pizzazz.
Step-by-Step Instructions
- Preheat & Prep: First things first, turn your oven to 350°F (175°C). Grab your muffin tin and line it with paper liners. This recipe usually makes 6-8 mini cakes, depending on how generous you are with filling.
- Dry Mix Magic: In a medium bowl, whisk together your flour, cocoa powder, sugar, baking soda, and salt. Make sure there are no lumpy bits. You want smooth sailing here.
- Wet Mix Wonder: In a separate, smaller bowl, combine the milk, vegetable oil, and vanilla extract. Give it a good whisk until it’s all one happy family.
- Combine Forces: Pour the wet ingredients into the dry ingredients. Stir them together until just combined. **Do not overmix!** A few small lumps are totally fine; overmixing leads to tough cakes, and nobody wants a tough cake.
- Chocolate Boost: Now, carefully pour in the warm water and stir until just incorporated. The batter will be thin, and that’s exactly what you want for a super moist cake.
- Fill ‘Em Up: Divide the batter evenly among your prepared muffin cups. Fill them about two-thirds full. They’ll rise, so don’t overfill, unless you enjoy cleaning up overflow.
- Bake Time Bliss: Pop the muffin tin into your preheated oven. Bake for 18-22 minutes, or until a toothpick inserted into the center of a cake comes out clean.
- Cool Down: Let them cool in the muffin tin for about 5 minutes, then transfer them to a wire rack to cool completely. This is the hardest part, I know, but resist the urge to eat them scorching hot!
Common Mistakes to Avoid
- Not Preheating the Oven: Rookie mistake! Your cakes need that initial heat blast to rise properly. Don’t be impatient.
- Overmixing the Batter: I said it once, I’ll say it again: **overmixing is the enemy of tender cakes**. Stir until *just* combined. Seriously.
- Eyeballing Ingredients: Baking is a science, my friend. A delicious, delicious science. Use measuring cups and spoons for best results. This isn’t a “wing it” kind of recipe, unless you’re a seasoned baker who’s developed a sixth sense for flour.
- Forgetting the Salt: It sounds counterintuitive for a sweet cake, but salt enhances all the other flavors. Without it, your chocolate might taste a bit flat.
- Opening the Oven Door Too Early: Patience, grasshopper! Opening the door before your cakes are set can make them sink. Let them do their thing.
Alternatives & Substitutions
Feeling rebellious? Here are a few tweaks you can make:
- Milk: Out of cow’s milk? Almond, soy, or oat milk work beautifully here. Just make sure it’s plain and unsweetened.
- Oil: If you’re out of vegetable oil, melted coconut oil (neutral flavor) or even melted unsalted butter can be swapped in, though the texture might be slightly different. **FYI**, butter adds a richer flavor, but oil typically makes for a moister cake.
- Add-ins: Want to level up? Fold in a handful of chocolate chips, chopped nuts, or even a tablespoon of instant espresso powder for a mocha kick right before you pour the batter into the cups. You’re the boss!
- Frosting Fun: Don’t have time for homemade frosting? A dollop of whipped cream, a dusting of powdered sugar, or even some store-bought chocolate fudge sauce will do the trick. No judgment here!
FAQ (Frequently Asked Questions)
Got questions? I’ve got (casual) answers!
- Can I make these into a regular-sized cake? Well, technically yes, but you’d need to adjust baking time significantly and probably double the recipe. Why complicate things when mini cakes are so cute and easy?
- What if I don’t have a muffin tin? You could try small ramekins, but you’d need to adjust baking time and keep a very close eye on them. Or, you know, buy a muffin tin. They’re useful!
- Can I use self-rising flour? No! Self-rising flour already has leavening agents. If you use it, you’ll need to omit the baking soda (and potentially the salt). Better to stick to all-purpose for this one.
- How long do these mini cakes last? In an airtight container at room temperature, they’re good for 2-3 days. But let’s be real, do you *actually* think they’ll last that long?
- My cakes sank in the middle! What happened? Usually, this means one of two things: either your baking soda wasn’t fresh (it loses potency over time!), or you opened the oven door too early and let out all the precious heat. Learn from your mistakes, bake more cake!
Final Thoughts
So there you have it – your new go-to recipe for when a chocolate craving hits hard, but your ambition is on vacation. These chocolate mini cakes are proof that you don’t need a culinary degree or hours of free time to create something truly delicious. They’re simple, they’re satisfying, and they’re perfectly sized for a solo treat (or for sharing, if you’re feeling generous). Now go impress someone – or, more importantly, yourself – with your new culinary skills. You’ve earned this chocolatey goodness!


