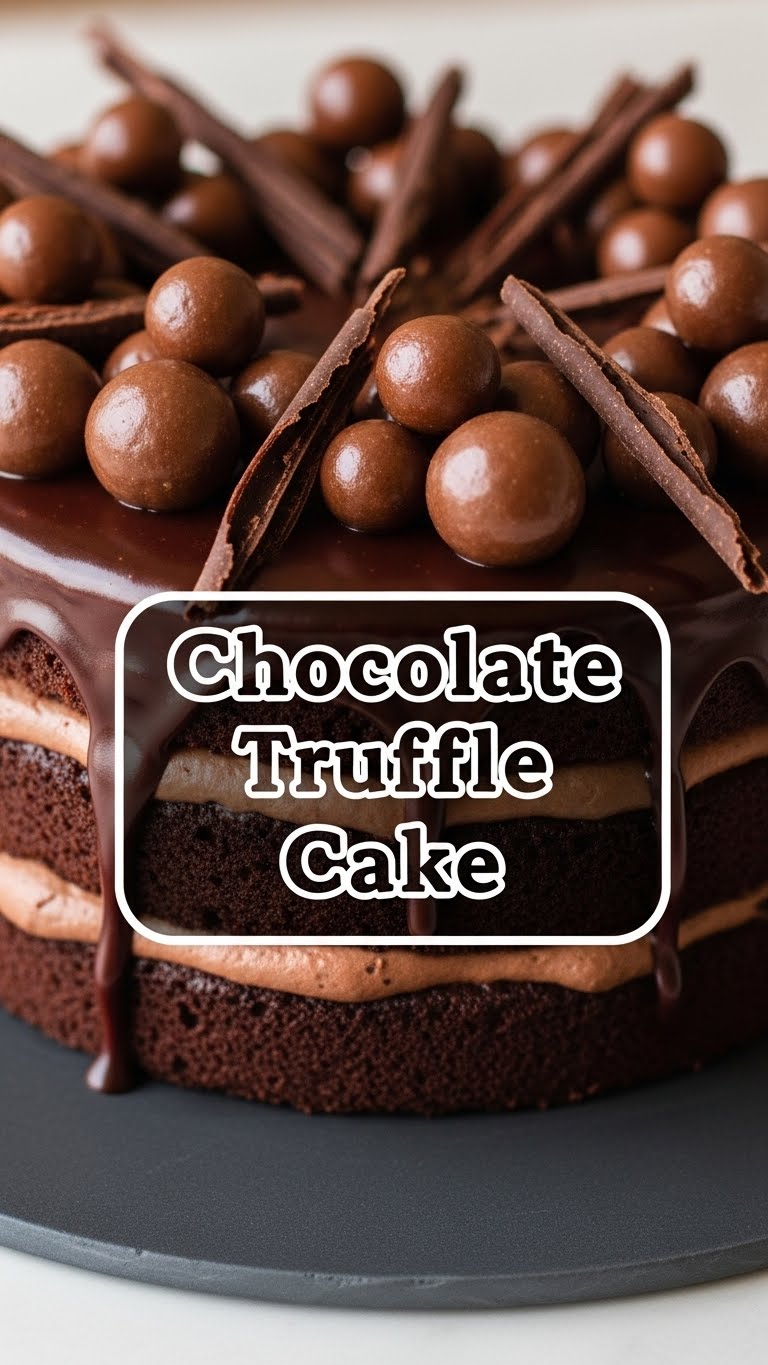
So, you’re looking for something decadently chocolatey, easy enough to whip up without a culinary degree, and guaranteed to make you feel like a kitchen wizard? Welcome, my friend, you’ve found your tribe. We’re diving headfirst into the glorious, silky world of Chocolate Truffle Cake! Or, well, *cake* in the sense of a super-rich, dense, truffle-like dessert. Less “bake for an hour” and more “mix, chill, and look fabulous.”
Why This Recipe is Awesome
Let’s be real: adulting is hard. Sometimes you just need to drown your sorrows (or celebrate your wins!) in something truly epic. This Chocolate Truffle Cake isn’t just a dessert; it’s a mood. It’s awesome because:
- It’s ridiculously simple. Seriously, if you can melt chocolate, you can make this. Even *I* didn’t mess it up, and my kitchen has seen some things.
- **No baking required!** That’s right, we’re skipping the oven drama entirely. Preheat? What’s preheat?
- It looks super fancy, but requires minimal effort. Prepare to bask in undeserved compliments. You’re welcome.
- The texture is out of this world – smooth, dense, intensely chocolatey, like a giant, huggable truffle.
Ingredients You’ll Need
Gather your chocolatey arsenal! Quality matters here, especially for the star of the show. Don’t cheap out on the chocolate; your tastebuds will thank you.
- **1 lb (about 450g) Good Quality Dark Chocolate**: Think 60-70% cacao. Chips work, but a chopped bar melts smoother. This is where the magic happens, so splurge a little!
- **2 cups (480ml) Heavy Cream (aka whipping cream)**: This is your best friend for silky richness. Don’t even *think* about light cream.
- **½ cup (113g) Unsalted Butter**: Cut into cubes. Because butter makes everything better, duh.
- **¼ cup (30g) Powdered Sugar (Confectioners’ Sugar)**: Sifted, please! No one likes lumpy sugar in their truffle.
- **1 teaspoon Pure Vanilla Extract**: Adds that warm, comforting note.
- **Pinch of Salt**: **Don’t skip this!** It’s like a secret weapon that amplifies the chocolate flavor. Trust me.
- **Optional for Dusting/Topping**: Cocoa powder, chocolate shavings, sprinkles, chopped nuts, fresh berries. Get creative!
Step-by-Step Instructions
Ready? Let’s make some magic without breaking a sweat (unless your kitchen is really hot, in which case, hydrate!).
- **Prep Your Chocolate**: Finely chop your dark chocolate and place it in a large, heatproof bowl. The finer the chop, the faster it melts, which means less waiting for deliciousness.
- **Heat the Cream**: Pour the heavy cream into a saucepan. Heat it over medium heat until it’s just simmering around the edges – you’ll see tiny bubbles. **Do not boil!** We’re not making soup here.
- **Melt the Chocolate**: Immediately pour the hot cream over your chopped chocolate. Let it sit for about 5 minutes. This gives the chocolate time to get all melty and happy.
- **Whisk to Perfection**: After 5 minutes, gently whisk the mixture starting from the center and working your way out until it’s completely smooth, shiny, and looks utterly divine. This is your ganache, and it’s beautiful.
- **Butter and Flavor Time**: Add the cubed unsalted butter, powdered sugar, vanilla extract, and that crucial pinch of salt to the ganache. Whisk again until everything is fully incorporated and smooth. Taste a little bit (for quality control, of course).
- **Chill Out**: Pour your glorious mixture into a springform pan (an 8 or 9-inch works great). Cover it with plastic wrap and chill in the refrigerator for at least 4-6 hours, or ideally, overnight. **Patience is a virtue here!**
- **Decorate & Devour**: Once firm, carefully remove the cake from the springform pan. Dust generously with cocoa powder, sprinkle with chocolate shavings, or go wild with any other toppings you fancy. Slice with a hot knife (run under hot water and wipe dry between slices for clean cuts) and prepare for applause.
Common Mistakes to Avoid
Even though this recipe is pretty foolproof, there are a few rookie errors that can turn your truffle triumph into a chocolatey tragedy. Learn from my past blunders, folks!
- **Boiling the Cream**: Remember step 2? Simmer, not boil! Overheated cream can scorch and make your ganache greasy. Nobody wants greasy chocolate.
- **Using Low-Quality Chocolate**: You’re making a *chocolate* truffle cake. The chocolate is the star! Don’t use those waxy, cheap baking chips. **Invest in good chocolate.**
- **Skipping the Chill Time**: I know, the wait is agonizing. But if you try to unmold or slice before it’s properly firm, you’ll have a delicious, albeit messy, chocolate puddle.
- **Over-Whisking the Ganache**: Once everything is combined and smooth, stop whisking. Over-whisking can incorporate too much air, making it less dense and possibly breaking the emulsion.
- **Forgetting the Salt**: Seriously, that pinch of salt is a game-changer. It enhances the chocolate flavor dramatically. It’s not optional, it’s essential.
Alternatives & Substitutions
Feeling adventurous? This recipe is super flexible. Think of it as a canvas for your chocolatey creativity!
- **Different Chocolate Flavors**: Want it sweeter? Use milk chocolate (though you might want to reduce the powdered sugar). Craving white chocolate? Go for it, just make sure it’s good quality.
- **Infused Cream**: Before heating, infuse your cream with things like orange zest, a cinnamon stick, or even a few dried chili flakes for a subtle kick. Strain before pouring over chocolate.
- **Liqueur Love**: Add a splash (1-2 tablespoons) of your favorite liqueur with the butter and vanilla. Kahlúa, Grand Marnier, rum, or even peppermint schnapps would be divine.
- **Topping Extravaganza**: Instead of just cocoa powder, roll small scoops of the mixture (before chilling the whole cake) into truffles and coat them in finely chopped nuts, toasted coconut, sprinkles, or even finely crushed pretzels for a salty crunch.
- **Extract Swap**: Try almond extract instead of vanilla for a different flavor profile. Peppermint extract is also fantastic for a holiday twist.
FAQ (Frequently Asked Questions)
Got questions? I’ve got answers. Mostly.
- **Can I use milk chocolate instead of dark?** Well, technically yes, but it will be much sweeter and less intense. Dark chocolate gives you that deep, rich “truffle” experience. Why water down the dream?
- **How long does it last in the fridge?** If it actually makes it into the fridge past the first day, it’ll keep for about 5-7 days. Just keep it covered. (Spoiler: it rarely lasts that long.)
- **My ganache looks greasy/split, what did I do wrong?** Uh oh! This usually happens if the cream was too hot, or you over-whisked it. Try adding a tablespoon of warm milk or cream and whisking gently until it comes back together. Sometimes it works, sometimes… well, it’s still edible.
- **Can I freeze this cake?** You bet! Wrap it tightly in plastic wrap, then foil, and it’ll keep in the freezer for up to a month. Thaw it in the fridge overnight before serving.
- **Do I really need to use good quality chocolate?** Yes, please! This is not the time to skimp. The fewer ingredients you have, the more each one matters. Bad chocolate makes bad truffles. Good chocolate makes you a legend.
- **What if I don’t have a springform pan?** You can line a regular cake pan with parchment paper, leaving an overhang on the sides to help you lift it out later. Or, make individual truffles by chilling the ganache, scooping, rolling, and coating!
Final Thoughts
So there you have it, my friend! Your ticket to chocolate heaven, without the stress or the oven. This Chocolate Truffle Cake is a showstopper, a mood booster, and honestly, just darn delicious. Go on, whip one up. Impress your friends, baffle your enemies, or simply treat yourself to something truly spectacular. You’ve earned it!

