So, you’re craving something ridiculously decadent, chocolatey, and maybe a little sticky-sweet, but the thought of spending an entire afternoon in the kitchen makes you want to crawl under a blanket? Yeah, I get it. We’ve all been there. And that’s exactly why we’re making this Chocolate Cake with Caramel today. It’s the kind of showstopper that looks like you’ve been slaving away for hours, but in reality, it’s so chill, you’ll wonder why you ever bought a store-bought cake again. Seriously, put on your comfy pants, because things are about to get delicious (and surprisingly easy).
Why This Recipe is Awesome
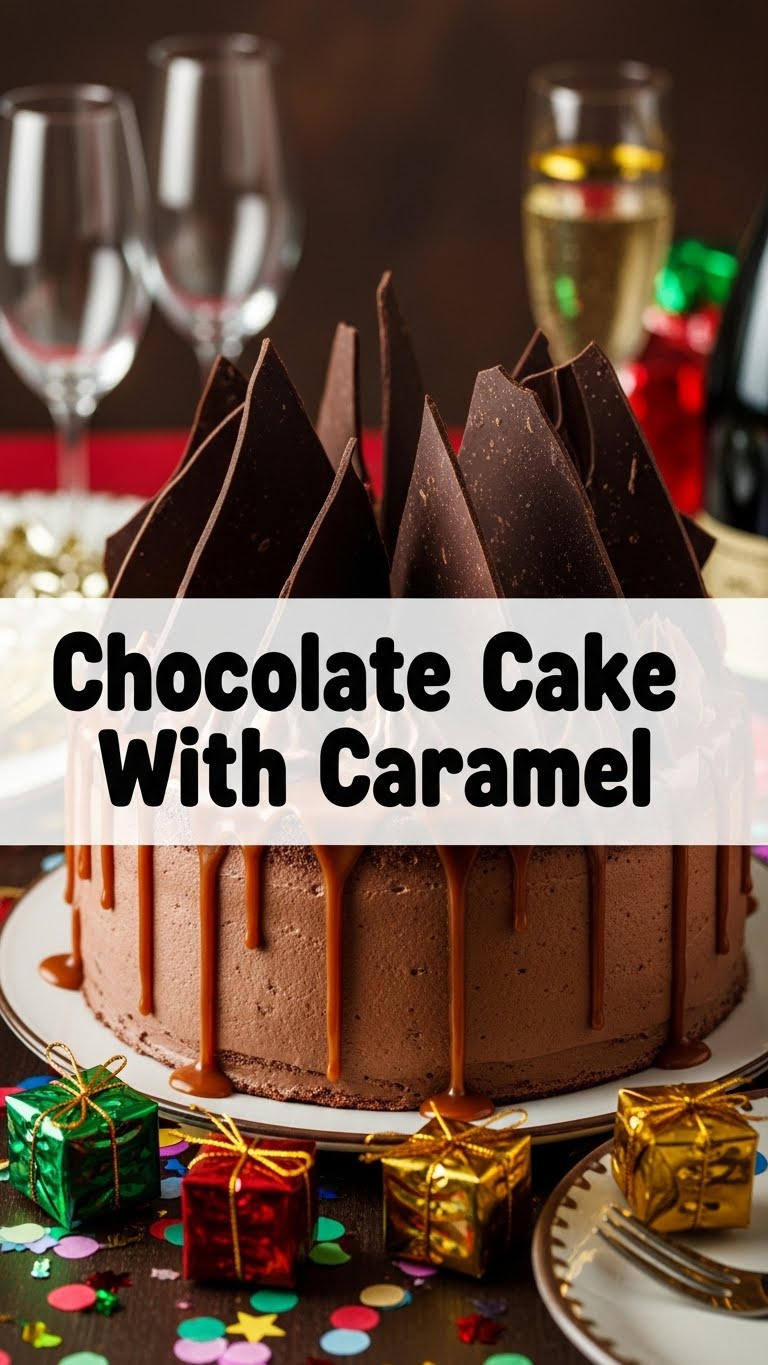
First off, it’s chocolate cake. Do I need to say more? No, but I will. This isn’t just any chocolate cake; it’s a moist, rich, deep-chocolate dream. And then, we drench it in homemade caramel. Yes, *homemade*. Don’t freak out, it’s way easier than it sounds, and about a gazillion times better than anything you’ll squeeze out of a bottle. This recipe is practically **idiot-proof**. I made it, and I sometimes burn toast. So, if I can do it, you absolutely can. It’s perfect for impressing friends, bribing family members, or just for devouring solo on a Tuesday night. No judgment here.
Ingredients You’ll Need
- For the Chocolate Cake:
- 1 ½ cups (180g) all-purpose flour (the basic stuff, nothing fancy)
- 1 ½ cups (300g) granulated sugar (sweetness personified)
- ¾ cup (65g) unsweetened cocoa powder (the darker, the better for that deep chocolate flavor!)
- 1 ½ teaspoons baking soda (our little lift-off rocket fuel)
- 1 teaspoon salt (because even sweet things need a little balance)
- 1 cup (240ml) milk (any kind works, seriously)
- ½ cup (120ml) vegetable oil (or any neutral oil, for extra moistness)
- 2 large eggs (happy chickens make happy cakes, probably)
- 1 teaspoon vanilla extract (the secret sauce to everything delicious)
- 1 cup (240ml) boiling water (this is a game-changer for moisture, don’t skip!)
- For the Homemade Caramel Sauce:
- 1 cup (200g) granulated sugar (more sugar, less problems, right?)
- ¼ cup (60ml) water (just enough to get the party started)
- ½ cup (113g) unsalted butter, cut into cubes (room temp is best, for smooth sailing)
- ½ cup (120ml) heavy cream, warmed (just zap it for a few seconds, it helps prevent seizing)
- 1 teaspoon vanilla extract (because vanilla is always a good idea)
- ½ teaspoon sea salt (or regular salt, if you’re not feeling fancy, but sea salt makes it *chef’s kiss*)
Step-by-Step Instructions
- Get Prepped: Preheat your oven to 350°F (175°C). Grease and flour a 9×13 inch baking pan. This step is non-negotiable, unless you like your cake stuck to the pan, which, who does?
- Mix the Dry Stuff: In a large bowl, whisk together the flour, sugar, cocoa powder, baking soda, and salt. Make sure there are no lumpy bits.
- Add the Wet (Mostly): Add the milk, oil, eggs, and vanilla extract to the dry ingredients. Beat with an electric mixer on medium speed for about 2 minutes, until everything is well combined and smooth. Don’t go crazy here; we’re mixing, not aerating for a soufflé.
- The Boiling Water Secret: Carefully pour in the boiling water and mix until just combined. The batter will be thin, and that’s totally okay. **Do not overmix!** A few lumps are better than a tough cake.
- Bake It Up: Pour the batter into your prepared pan. Bake for 30-35 minutes, or until a wooden skewer or toothpick inserted into the center comes out clean.
- Cool Down: Let the cake cool completely in the pan on a wire rack. Patience, grasshopper. This is crucial for happy slicing later.
- Now for the Caramel Magic: In a medium, heavy-bottomed saucepan, combine the sugar and water. Stir just until the sugar is wet.
- Cook the Sugar: Cook over medium-high heat without stirring. Watch it like a hawk! Swirl the pan occasionally to prevent hot spots. It will bubble, then turn amber. This usually takes 8-10 minutes. As soon as it turns a beautiful golden-amber color, remove it from the heat.
- Add the Good Stuff: Carefully (and I mean *carefully*, sugar is HOT) add the cubed butter to the hot sugar. Stir until melted. The mixture will bubble up like crazy, so be ready.
- Cream it Up: Slowly pour in the warm heavy cream, stirring constantly. It will get foamy and bubbly again, totally normal. Keep stirring until smooth.
- Finish the Caramel: Stir in the vanilla extract and salt. Let it cool for about 15-20 minutes, stirring occasionally, until it’s thick enough to pour over the cake but still warm. If it gets too thick, you can gently reheat it over low heat.
- Assemble Your Masterpiece: Once the cake is completely cool, pour that luscious caramel sauce all over the top. Spread it out evenly.
- Dig In! Slice it up and enjoy your glorious creation. You’ve earned this.
Common Mistakes to Avoid
- Thinking you don’t need to preheat the oven. Rookie mistake! Your cake won’t rise properly, and nobody wants a sad, flat cake.
- Overmixing the batter. Seriously, once it’s combined, stop. Overmixing develops gluten, which leads to a tough, rubbery cake. We’re aiming for tender and fluffy here.
- Not watching your caramel like a hawk. One minute it’s golden, the next it’s burnt and smells like despair. Stay by the stove, my friend.
- Adding cold cream to hot caramel. This can make your caramel seize into a rock-hard lump. That’s why we warm the cream first.
- Trying to frost a warm cake. The caramel will just melt and slide off, creating a delicious (but messy) puddle. Let that cake cool!
Alternatives & Substitutions
Feeling rebellious? Go for it! This recipe is pretty forgiving.
- Gluten-Free: Swap the all-purpose flour for a 1:1 gluten-free baking blend. Easy peasy!
- Dairy-Free: Use your favorite plant-based milk (almond, soy, oat all work great) and a good quality dairy-free butter substitute for the caramel. Just make sure your heavy cream alternative is suitable for cooking.
- Store-Bought Caramel: Okay, look, I won’t tell anyone if you use a good quality store-bought caramel sauce instead of making your own. Sometimes life happens, and a shortcut is necessary. Just make sure it’s thick enough to coat.
- Add-ins: Want extra crunch? Sprinkle some toasted pecans or walnuts on top of the caramel. A little flaky sea salt on the caramel is also a *chef’s kiss* moment.
FAQ (Frequently Asked Questions)
Can I use margarine instead of butter? Well, technically yes, but why hurt your soul like that? Butter just tastes better, especially in caramel. For the cake, it’s less critical, but butter makes everything sing.
My caramel seized up! What now? Don’t panic! This happens. Sometimes if the butter or cream is too cold, it can cause the sugar to crystallize. Try putting the saucepan back on very low heat and stirring gently. Add a tablespoon or two of warm water if needed, and keep stirring until it melts back into a smooth sauce. Be patient!
Can I make the cake ahead of time? Absolutely! The cake itself can be baked a day in advance and stored covered at room temperature. Make the caramel closer to serving, or store it in the fridge and gently reheat before pouring.
How long does this cake last? If kept covered at room temperature, it’s usually good for 2-3 days. In the fridge, it can last up to 5 days, but let’s be real, it probably won’t last more than 24 hours.
Do I *have* to use boiling water? While you *could* use hot tap water, boiling water truly enhances the cocoa powder’s flavor and ensures a super moist cake. It’s an extra step that’s totally worth it, IMO.
Can I make this in a different size pan? Sure thing! For an 8×8 inch pan, you might want to halve the recipe and adjust baking time (it’ll be shorter). For a round cake, two 8 or 9-inch round pans will work, but you’ll have two layers. Adjust baking time accordingly—usually 25-30 mins for thinner layers.
Final Thoughts
See? That wasn’t so scary, was it? You just made a ridiculously delicious chocolate cake with homemade caramel. You’re basically a kitchen wizard now. This cake is proof that fancy doesn’t have to mean difficult. So go ahead, slice yourself a generous piece (or three), brag a little, and enjoy every single gooey, chocolatey bite. You totally earned this. Now go impress someone—or yourself—with your new culinary skills. You’ve officially graduated from “I can barely boil water” to “I make my own caramel.” High five!


