So, you’re looking for that warm, chocolatey hug without the commitment of a serious relationship, huh? You crave that deep, dark, intensely satisfying sweetness that only a really good chocolate cake can deliver, but you also want to be able to whip it up without selling your soul to the kitchen gods? My friend, you’ve come to the right place. Grab your apron (or don’t, I won’t tell), because we’re about to make some magic!
Why This Recipe is Awesome
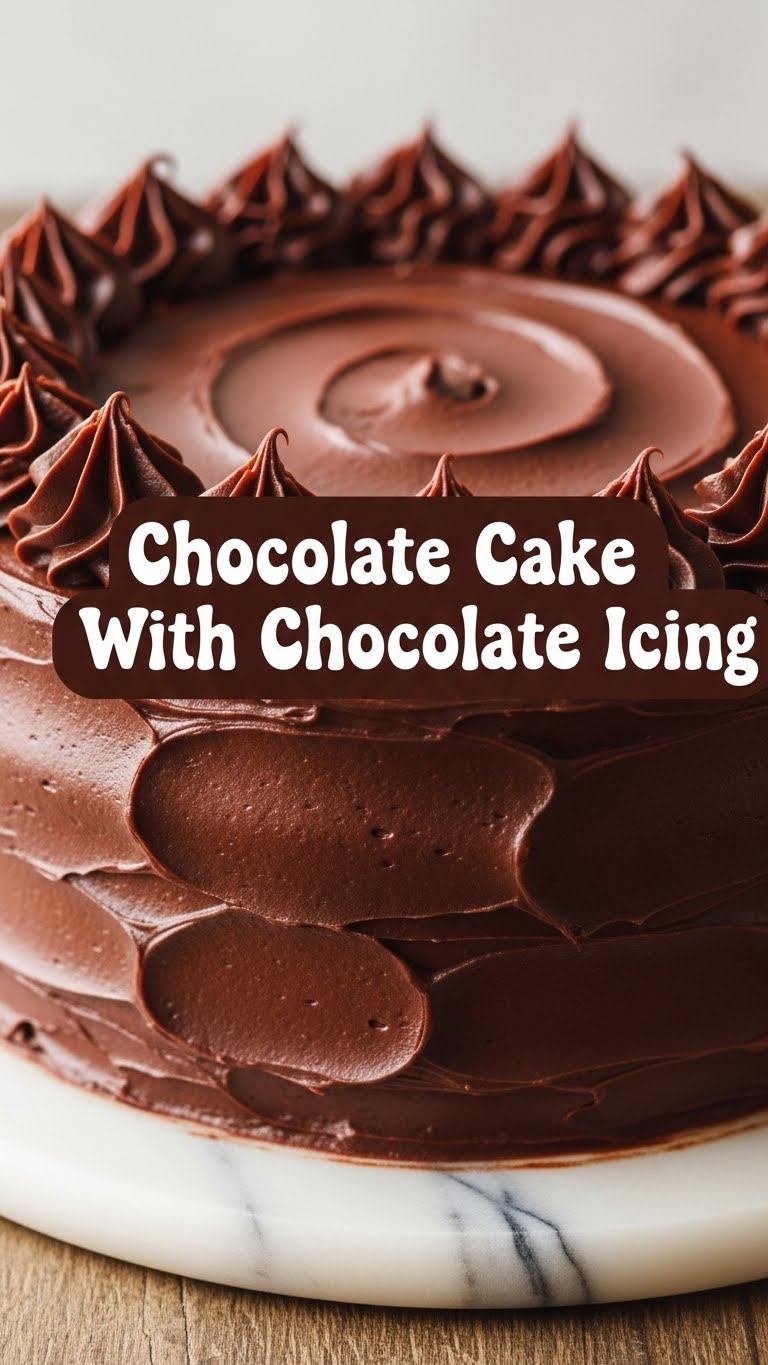
Listen, this isn’t your grandma’s “take all day and use 17 different bowls” cake. This is “I need chocolate NOW and I want it to be ridiculously good and look like I tried harder than I actually did” cake. Seriously, it’s pretty much **idiot-proof**. Even I, the self-proclaimed queen of minor kitchen mishaps, nail this one every single time. It’s moist, it’s rich, it’s got that deep chocolate flavor that makes you close your eyes and do a little happy dance. Plus, the icing is so fudgy, you’ll want to eat it with a spoon directly from the bowl. No judgment here, we’ve all been there.
Ingredients You’ll Need
Get ready to gather your delicious arsenal. Nothing too wild, just good old pantry staples.
- For the Cake:
- 1 ½ cups (190g) All-Purpose Flour – The usual suspect. Nothing fancy, just your everyday flour.
- 1 ½ cups (300g) Granulated Sugar – Because we’re making cake, not a health tonic.
- ¾ cup (65g) Unsweetened Cocoa Powder – The darker, the better for that intense chocolate flavor.
- 1 ½ teaspoons Baking Soda – For lift, because nobody likes a flat cake.
- 1 teaspoon Baking Powder – Its trusty sidekick, also for lift. Don’t confuse them!
- 1 teaspoon Salt – Just a pinch to make everything else pop and balance the sweetness.
- 2 Large Eggs – Room temperature, if you’re feeling fancy and want a smoother batter.
- ¾ cup (180ml) Whole Milk – Or whatever milk you have. Whole milk just adds a little extra richness.
- ½ cup (120ml) Vegetable Oil – Our secret weapon for keeping it super moist. Trust me on this.
- 2 teaspoons Vanilla Extract – Because everything’s better with a splash of vanilla.
- 1 cup (240ml) Hot Water or Hot Coffee – The real MVP for deepening that chocolate flavor. Coffee doesn’t make it taste like coffee, it just makes the chocolate sing!
- For the Chocolate Icing:
- ½ cup (113g) Unsalted Butter, softened – Don’t use cold butter unless you enjoy fighting with your mixer.
- 2 ½ cups (300g) Powdered Sugar (Confectioners’ Sugar) – Sift it if you’re feeling ambitious and want zero lumps.
- ½ cup (45g) Unsweetened Cocoa Powder – Again, the good stuff.
- ¼ cup (60ml) Milk or Heavy Cream – To make it wonderfully creamy.
- 1 teaspoon Vanilla Extract – More vanilla!
Step-by-Step Instructions
Alright, let’s get down to business. Follow these steps, and you’ll be swimming in chocolatey goodness in no time.
- Get Prepped: Preheat your oven to 350°F (175°C). Grease and flour two 8-inch round cake pans. Don’t skip the greasing AND flouring, unless you enjoy playing “pry the cake from the pan” later.
- Mix the Dry Stuff: In a large bowl, whisk together the flour, granulated sugar, cocoa powder, baking soda, baking powder, and salt. Give it a good whisk to break up any lumps and ensure everything is evenly distributed.
- Combine the Wet Stuff: In a separate medium bowl, whisk together the eggs, milk, vegetable oil, and vanilla extract until well combined.
- Bring Them Together: Pour the wet ingredients into the dry ingredients. Mix with a whisk or spatula **just until combined**. A few tiny lumps are okay, but **don’t overmix!** Overmixing is the enemy of a tender cake.
- Add the Secret Weapon: Carefully pour the hot water (or hot coffee, highly recommended!) into the batter and stir until fully incorporated. The batter will be quite thin – don’t panic, that’s exactly how it should be! This is what gives it that amazing moisture.
- Bake Time! Divide the thin batter evenly between your two prepared cake pans. Bake for 30-35 minutes, or until a wooden skewer or toothpick inserted into the center comes out clean.
- Cool Down: Let the cakes cool in their pans on a wire rack for about 10-15 minutes. Then, carefully invert them onto the wire rack to cool completely. **This is crucial!** Don’t even *think* about frosting a warm cake unless you want a molten chocolate mess.
- Whip Up the Icing: While the cakes are chilling, grab a large bowl and your electric mixer. Beat the softened butter on medium speed until creamy.
- Add the Powder: Gradually add the powdered sugar and cocoa powder to the butter, alternating with splashes of milk or cream, and mix on low speed until combined. Once it’s all in there, add the vanilla extract and beat on medium-high speed until light, fluffy, and absolutely glorious.
- Assemble Your Masterpiece: Once the cakes are completely cool, place one layer on your serving plate. Spread a generous amount of icing on top. Place the second cake layer on top, then frost the top and sides of the entire cake. Get creative, or just slop it on – it’ll taste amazing either way!
Common Mistakes to Avoid
Look, we all make mistakes. But let’s try to dodge these common cake pitfalls, shall we?
- Overmixing the Batter: I cannot stress this enough! Mixing too much develops the gluten, leading to a tough, dense, and frankly, sad cake. Mix only until the ingredients are just combined.
- Not Preheating Your Oven: Thinking you don’t need to preheat the oven? Rookie mistake. Your oven needs to be at the correct temperature *before* the cake goes in, or you’ll get uneven baking and weird textures.
- Opening the Oven Door Too Soon: Curiosity killed the cat, and it will also collapse your cake. Resist the urge to peek during the first two-thirds of the baking time.
- Frosting a Warm Cake: Unless you’re going for a “deconstructed molten lava” look, wait until your cakes are **completely** cool. Otherwise, your beautiful frosting will melt and slide right off, creating a chocolatey puddle of despair.
- Forgetting the Hot Water/Coffee: Yeah, the batter looks super thin when you add it. But this step is vital for a moist cake and deep chocolate flavor. Don’t skip it!
Alternatives & Substitutions
Feeling a little rebellious, or just missing an ingredient? Here are some quick fixes and fun swaps:
- Milk: Any milk will work! Almond milk, oat milk, skim milk – your cake might be slightly less rich, but still delicious.
- Oil: You can use melted butter instead of vegetable oil for a slightly different, buttery flavor. Applesauce can also work for a healthier twist, but it might change the texture a bit (more dense).
- Hot Water/Coffee: You can just use hot water if you’re out of coffee. But honestly, the coffee doesn’t make it taste like coffee, it just **boosts** the chocolate flavor dramatically. IMO, it’s the **GOAT** for chocolate cakes.
- Icing: Not a fan of buttercream? Try a rich chocolate ganache (heavy cream + chocolate) for a super decadent finish, or a cream cheese frosting if you want a tangy contrast.
- Cocoa Powder: For an even darker, more intense cake, use Dutch-processed cocoa powder. Just be aware it reacts differently with baking soda, so some recipes adjust leavening. For this recipe, either works great, but natural cocoa powder is standard.
FAQ (Frequently Asked Questions)
Got questions? I’ve got (casual and hopefully helpful) answers!
- Can I make cupcakes with this recipe? Absolutely! Just line a muffin tin with cupcake liners, fill them about two-thirds full, and bake for 18-22 minutes. Keep an eye on them!
- My cake sank in the middle, what happened? Oh, the dreaded sinkhole! This usually happens if you overmixed the batter, opened the oven door too soon, or if your oven temperature was off (too hot then dropped, or not hot enough). Next time, be gentle, be patient, and trust your oven thermometer.
- Can I make this cake gluten-free? Yep! Swap the all-purpose flour for a good quality gluten-free all-purpose flour blend (one that contains xanthan gum is best). The texture might be slightly different, but it’ll still be delish.
- How long does this chocolate masterpiece last? Stored in an airtight container at room temperature, it’s usually good for 2-3 days. Pop it in the fridge, and it’ll last up to a week. Bring it to room temp before serving for the best flavor and texture!
- Do I *have* to use hot water/coffee? Can’t I just use cold? Well, technically you *could* use cold, but why hurt your soul like that? The hot liquid helps bloom the cocoa powder, bringing out way more chocolate flavor, and helps create that super moist crumb. Trust the process, my friend!
Final Thoughts
So there you have it, folks! You just whipped up a seriously impressive chocolate cake with chocolate icing, and you barely broke a sweat (unless you were doing a happy dance, which is encouraged). Now go impress someone – or yourself! – with your new culinary skills. You’ve earned that chocolatey bliss. Slice yourself a generous piece, grab a fork, and enjoy every single fudgy, moist, decadent bite. You’re a rockstar! Now, go forth and conquer that craving!

