So, you’ve got a special guy’s birthday coming up – or, let’s be real, you just want an excuse to eat an entire chocolate cake yourself – and you need something that screams “I love you” (or “I really like cake”) without also screaming “I spent my entire weekend stressing over this!” Sound familiar? Good, because we’re about to make a Chocolate Drip Cake that looks like you hired a pro, but is actually so easy, you’ll wonder why you ever bought a store-bought one. This isn’t just a cake; it’s a statement. A delicious, chocolate-y, “I’m amazing at baking” statement.
Why This Recipe is Awesome
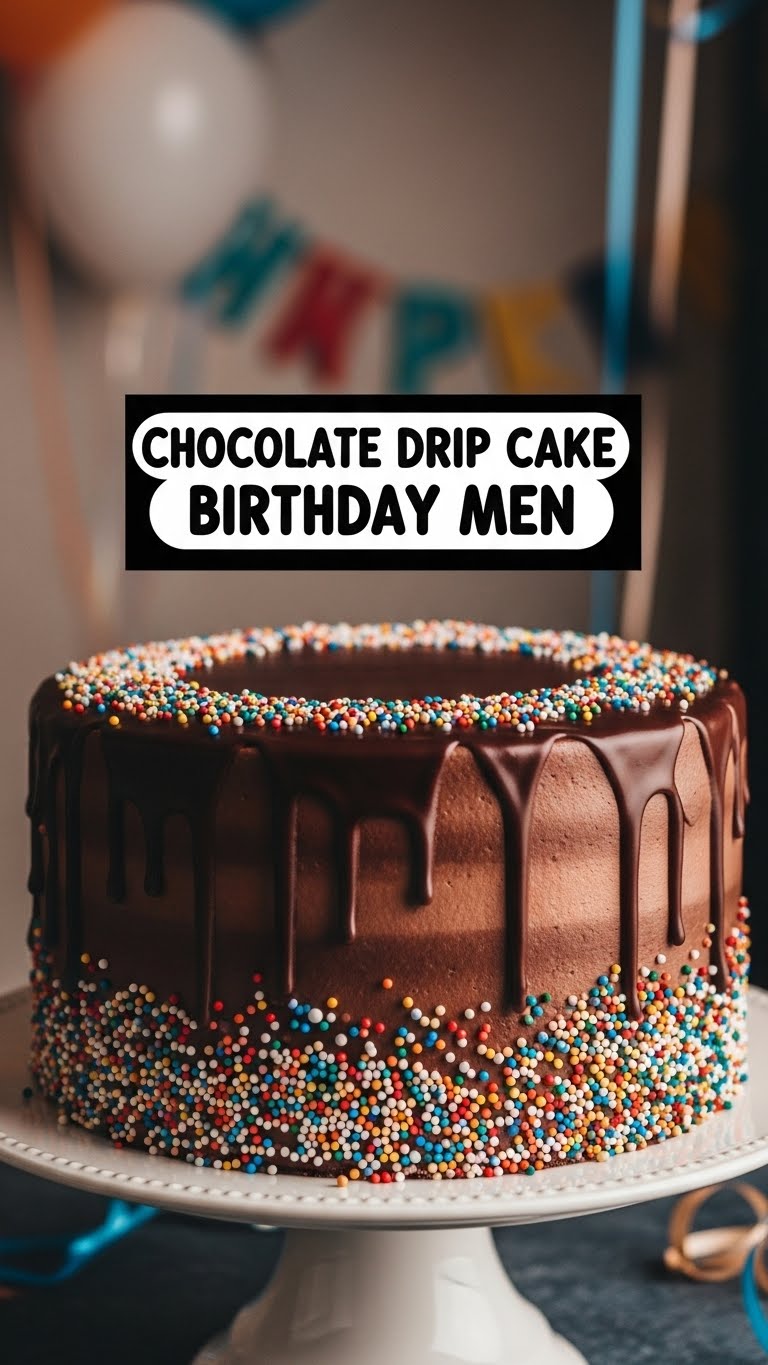
Okay, buckle up, buttercup. This isn’t your grandma’s dry, crumbly chocolate cake. This is the moistest, most decadent, “I need another slice right now” kind of cake. And the drip? Oh, the drip! It looks fancy schmancy, like you went to pastry school, but **it’s actually ridiculously simple to pull off**. Seriously, it’s almost idiot-proof. Even I, notorious for burning toast, managed to make this look spectacular. Plus, it’s hearty enough for any “Birthday Man” – or woman, or anyone who appreciates a serious chocolate fix. No delicate flowers here, just pure, unadulterated chocolate glory.
Ingredients You’ll Need
Gather your troops! Here’s what you’ll need to assemble this chocolate masterpiece:
- For the Cake:
- 2 cups all-purpose flour (the basic stuff!)
- 2 cups granulated sugar (sweetness central)
- ¾ cup unsweetened cocoa powder (the darker, the better, IMO)
- 2 teaspoons baking soda (the magic leavener)
- 1 teaspoon baking powder (its trusty sidekick)
- 1 teaspoon salt (enhances all that chocolate goodness)
- 1 cup buttermilk (or regular milk + 1 tbsp vinegar/lemon juice, let it sit for 5 min – DIY!)
- ½ cup vegetable oil (for supreme moistness)
- 2 large eggs (happy hens, happy cake)
- 1 teaspoon vanilla extract (don’t skimp on the good stuff)
- 1 cup hot strong coffee (or hot water if you’re not a coffee fan, but trust me on this!)
- For the Chocolate Buttercream Frosting:
- 1 cup (2 sticks) unsalted butter, softened (NOT melted, people!)
- 4-5 cups powdered sugar (the fluffy white stuff)
- ⅔ cup unsweetened cocoa powder (again, go dark!)
- ¼ cup milk or heavy cream (for creaminess)
- 1 teaspoon vanilla extract (more good stuff)
- Pinch of salt (to balance the sweetness)
- For the Chocolate Drip:
- ½ cup good quality semi-sweet chocolate chips (or chopped chocolate, for a smoother melt)
- ¼ cup heavy cream (the secret to that perfect drip)
- Optional Garnish:
- Your favorite chocolate candies, sprinkles, or even fresh berries (if you’re feeling fancy).
Step-by-Step Instructions
Part 1: The Cake Bake
- Get Ready: Preheat your oven to 350°F (175°C). Grease and flour two 8-inch round cake pans. Or, even better, line the bottoms with parchment paper and grease the sides.
- Mix Dry: In a large bowl, whisk together the flour, sugar, cocoa powder, baking soda, baking powder, and salt. Make sure there are no lumps!
- Add Wet (Mostly): Add the buttermilk, oil, eggs, and vanilla to the dry ingredients. Beat with an electric mixer on medium speed for about 2 minutes, until well combined.
- The Hot Coffee Boost: Carefully stir in the hot coffee (or water). The batter will be thin – don’t panic, it’s supposed to be! This is what makes it super moist.
- Bake Time: Divide the batter evenly between your prepared cake pans. Bake for 30-35 minutes, or until a wooden skewer inserted into the center comes out clean.
- Cool Down: Let the cakes cool in the pans for about 10-15 minutes, then invert them onto a wire rack to cool completely. **Patience is a virtue here; do NOT try to frost warm cakes!** They’ll crumble and melt your frosting, and nobody wants that mess.
Part 2: Frosting Fun
- Cream the Butter: In a large bowl, beat the softened butter with an electric mixer until light and fluffy (about 2-3 minutes).
- Add the Goods: Gradually add the powdered sugar, cocoa powder, salt, and vanilla extract. Start on low speed to avoid a sugar cloud explosion, then increase to medium.
- Achieve Creaminess: Pour in the milk or heavy cream and beat on high speed for another 2-3 minutes until the frosting is super light, fluffy, and spreadable. If it’s too thick, add more milk a teaspoon at a time. Too thin? More powdered sugar!
Part 3: Assembly & The Drip
- Stack ’em Up: Once your cakes are completely cool, place one layer on your serving plate or cake stand. Spread a generous layer of buttercream on top.
- Second Layer: Carefully place the second cake layer on top.
- Crumb Coat: Apply a thin layer of frosting all over the cake – top and sides. This is your “crumb coat” and it traps any loose crumbs. Pop it in the fridge for 15-20 minutes to firm up. **This is a crucial step!**
- Final Frosting: Take the cake out of the fridge and apply the remaining frosting, smoothing it out with an offset spatula or knife. Get it as smooth as you can, but don’t obsess; the drip will cover minor imperfections!
- Make the Drip: In a microwave-safe bowl, combine the chocolate chips and heavy cream. Microwave in 30-second intervals, stirring well after each, until smooth and completely melted. Let it cool for about 10-15 minutes. It should be warm, but not hot – like a thick syrup. **Test consistency on the side of a glass first!** If it’s too thin, add a few more chocolate chips. Too thick? A tiny splash more cream.
- Drip Time! Carefully pour the ganache over the top center of the cake. Use the back of a spoon or an offset spatula to gently push some ganache over the edges, creating those beautiful drips. Some short, some long – it’s art!
- Decorate: While the ganache is still wet, add your optional garnishes. Sprinkles, chopped candy bars, or even chocolate-covered pretzels look amazing.
- Chill Out: Refrigerate the cake for at least 30 minutes to set the drip and frosting before slicing.
Common Mistakes to Avoid
- Warm Cakes + Frosting = Disaster: Trying to frost cakes that aren’t fully cooled is a rookie mistake. Your frosting will melt, your cake will crumble, and you’ll end up with a mess. **Don’t do it.**
- Overmixing the Batter: Once you add the wet ingredients to the dry, mix just until combined. Overmixing develops the gluten too much, leading to a tough, dry cake. Nobody wants a tough cake for their birthday!
- Ignoring the Crumb Coat: Skipping this step means you’ll have crumbs in your beautiful final layer of frosting. It takes an extra 15 minutes, but it’s **worth every second**.
- Impatient Drip Application: Pouring the ganache on when it’s too hot means it’ll be too thin and just slide right off the cake. Too cold, and it won’t drip at all. Practice patience, my friend.
- Not Using Good Cocoa: Your cake is only as good as its main star! A cheap, pale cocoa powder won’t give you that deep, rich chocolate flavor you’re aiming for.
Alternatives & Substitutions
Feeling creative? Or just missing an ingredient? No worries, I got you!
- For the Cake:
- Coffee Haters: Seriously, use hot water if you absolutely must. But the coffee really enhances the chocolate flavor without making it taste like coffee, swear!
- Gluten-Free: Swap out the all-purpose flour for a 1:1 gluten-free baking blend.
- For the Frosting:
- Cream Cheese Kick: You could swap out half the butter for softened cream cheese for a tangy chocolate cream cheese frosting. Yum!
- Flavor Boost: Add a splash of almond extract or even a tablespoon of instant espresso powder for a more complex flavor profile.
- For the Drip:
- White Chocolate Drip: Use white chocolate chips and heavy cream for a dramatic contrast. You can even color it with gel food coloring!
- Caramel Drip: A store-bought caramel sauce, thinned slightly with a tiny bit of cream if needed, makes a great alternative.
FAQ (Frequently Asked Questions)
Got questions? I’ve got (casual) answers!
- Can I use margarine instead of butter? Well, technically yes, but why hurt your soul like that? Butter just tastes better, period. It gives that rich, creamy flavor the cake deserves.
- How far in advance can I make this cake? You can bake the cake layers up to 2 days in advance, wrap them tightly, and store them at room temp. The frosting can be made a day ahead and stored in the fridge (bring to room temp and re-whip before using). The assembled and frosted cake is best within 2-3 days.
- My drip isn’t dripping! What gives? It’s probably too cold. Gently warm it in the microwave for 5-10 seconds and stir. Test the consistency again.
- My cake is dry! What went wrong? You likely overbaked it. Ovens vary, so start checking earlier than the recipe suggests. Or, you might have overmixed the batter.
- Can I use different size pans? Yes, but baking times will vary. If you use three 8-inch pans, reduce the time. A 9×13-inch pan will take longer. Just keep an eye on it and use that wooden skewer test!
- How do I store the leftovers? Keep it covered at room temperature for a day or two, or in the fridge for up to 5 days. Let it come to room temp for 30 minutes before serving for the best texture and flavor.
Final Thoughts
So there you have it, folks! A chocolate drip cake that will make you look like a baking wizard, even if your usual culinary feat is successfully boiling water. This recipe is your secret weapon for birthdays, celebrations, or just a Tuesday that desperately needs some chocolate. Now go impress someone – or yourself – with your new culinary skills. You’ve earned it!


